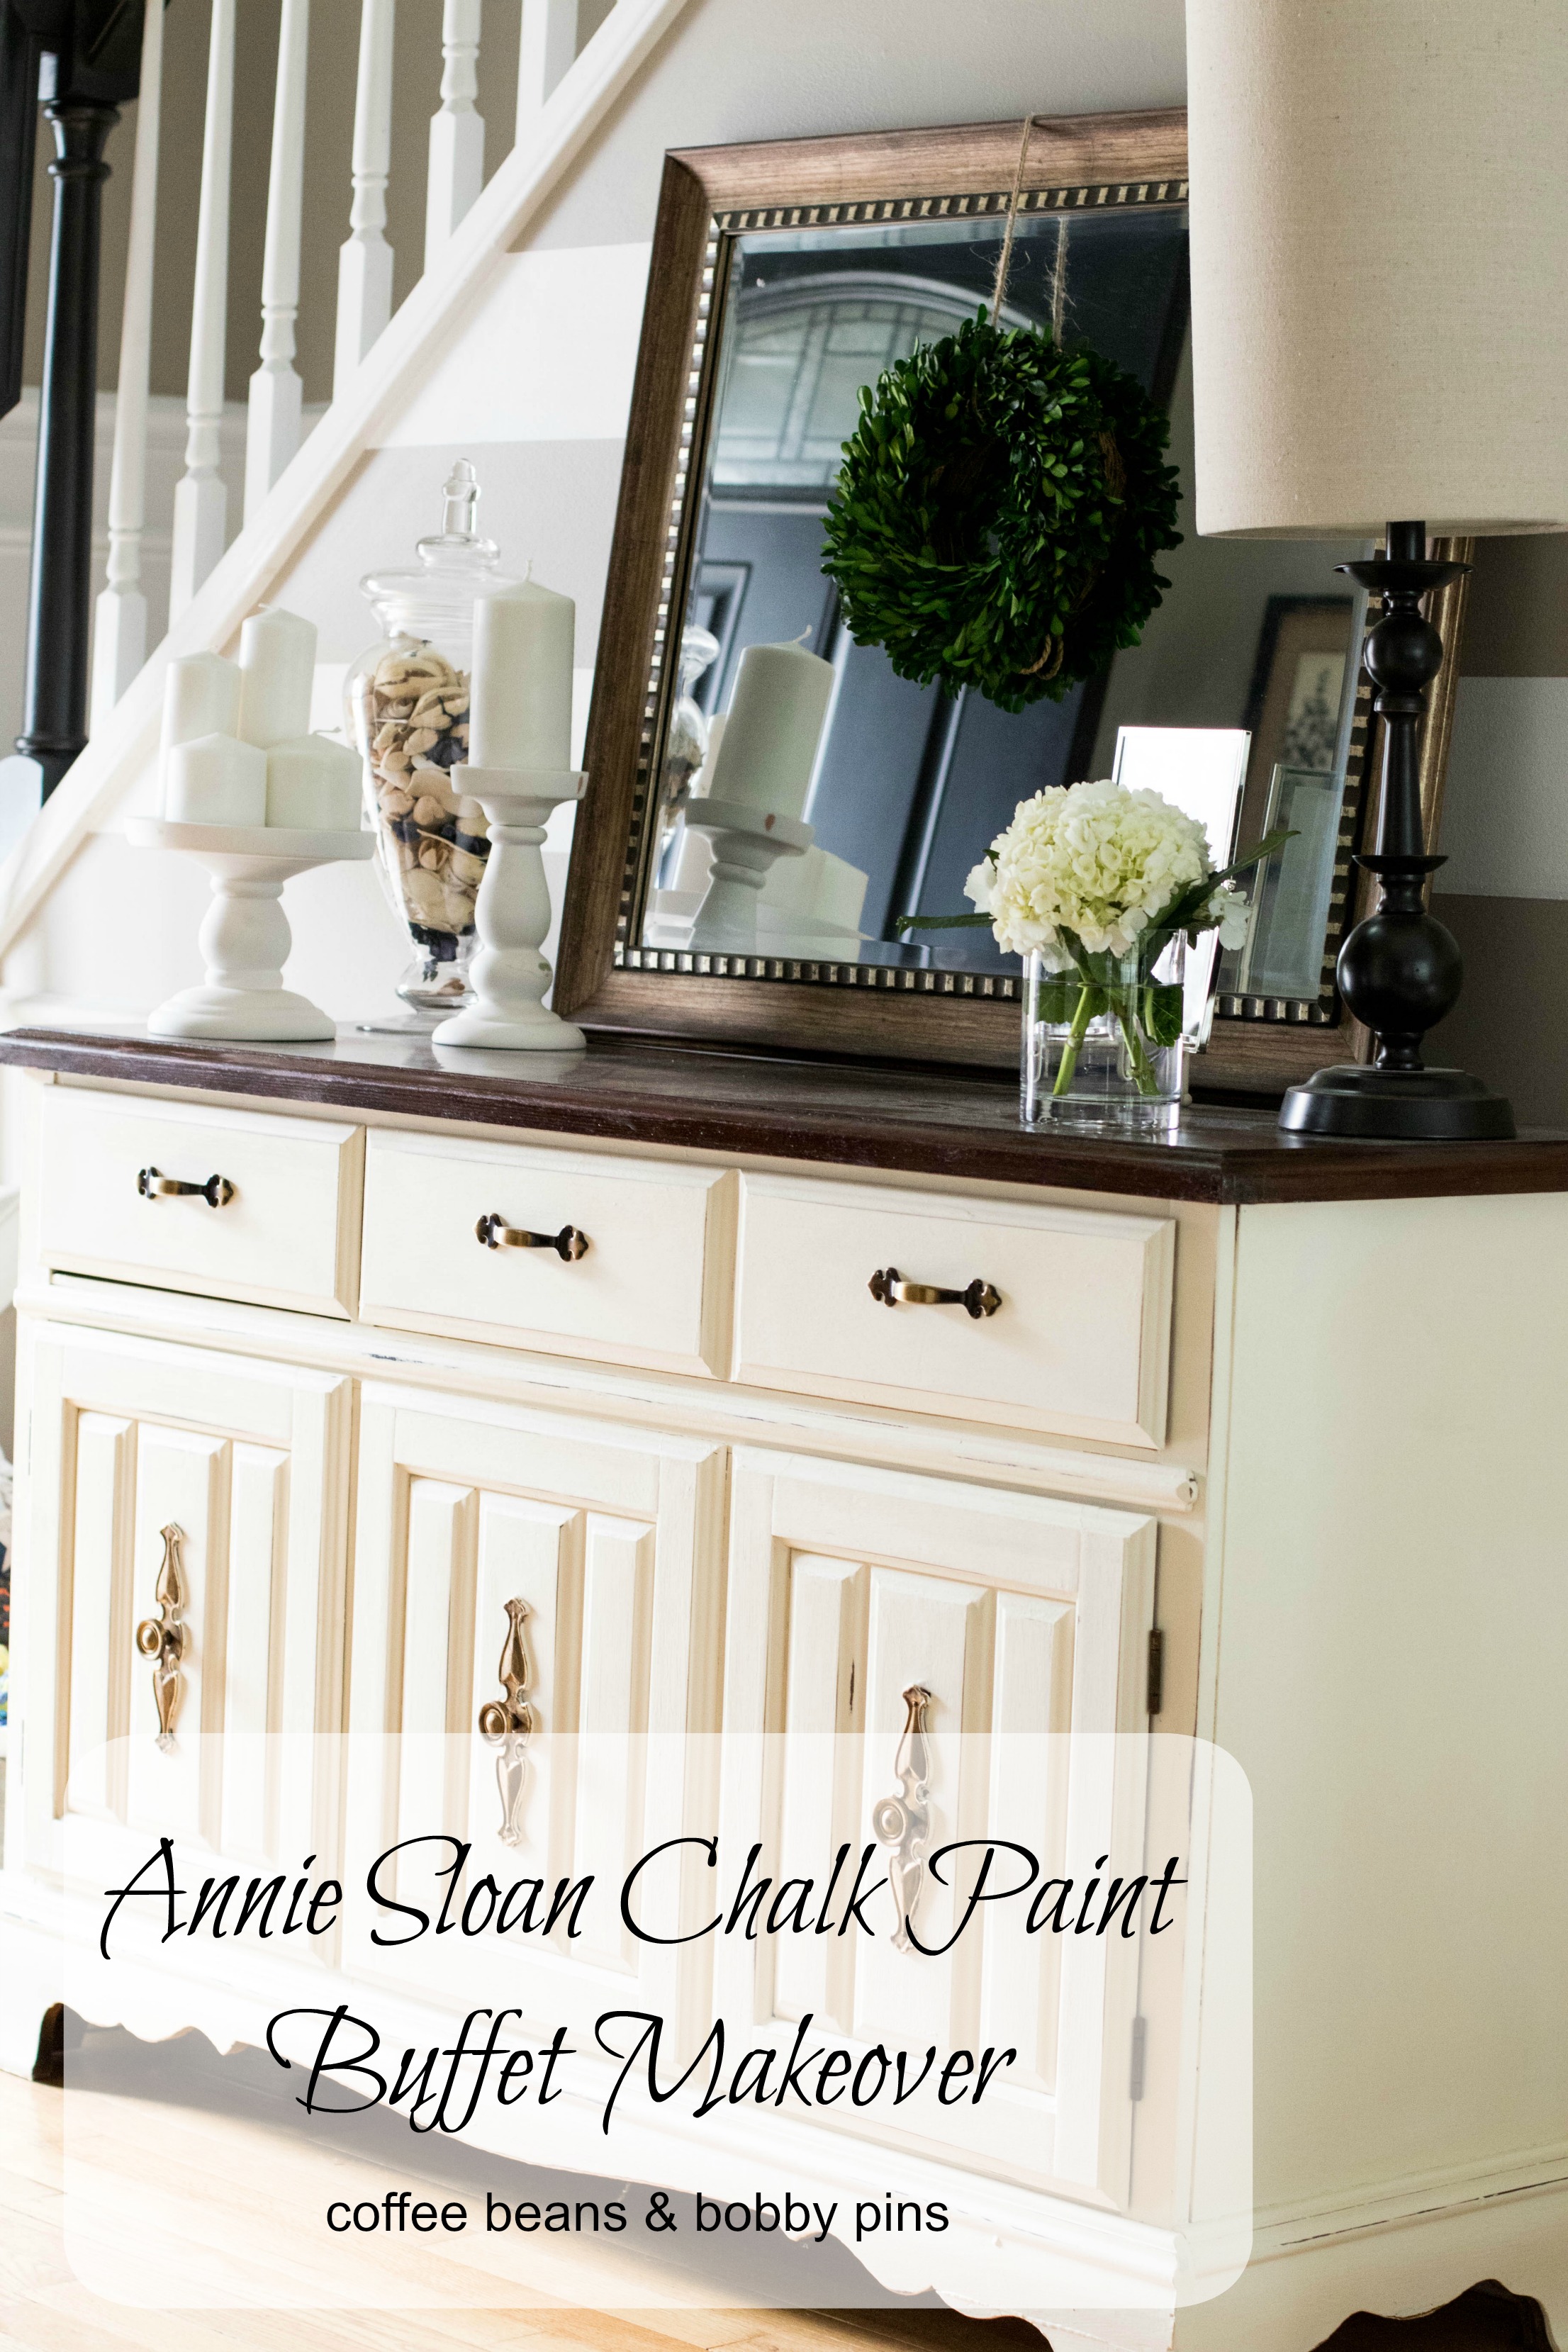
I’ve been searching for a vintage french country-esque buffet since before Christmas. The ones I found either were way out of my price range, or just not what I was looking for. Then, I thought I hit the jackpot because I found a married couple on Craig’s List that revamped old pieces and sold them for a reasonable amount. But here is the kicker- every time I found a piece I loved, I emailed them and it was already gone. Talk about a hot commodity. So literally after emailing with the sellers for a few months, I thought to myself, “it’s not meant to be.”
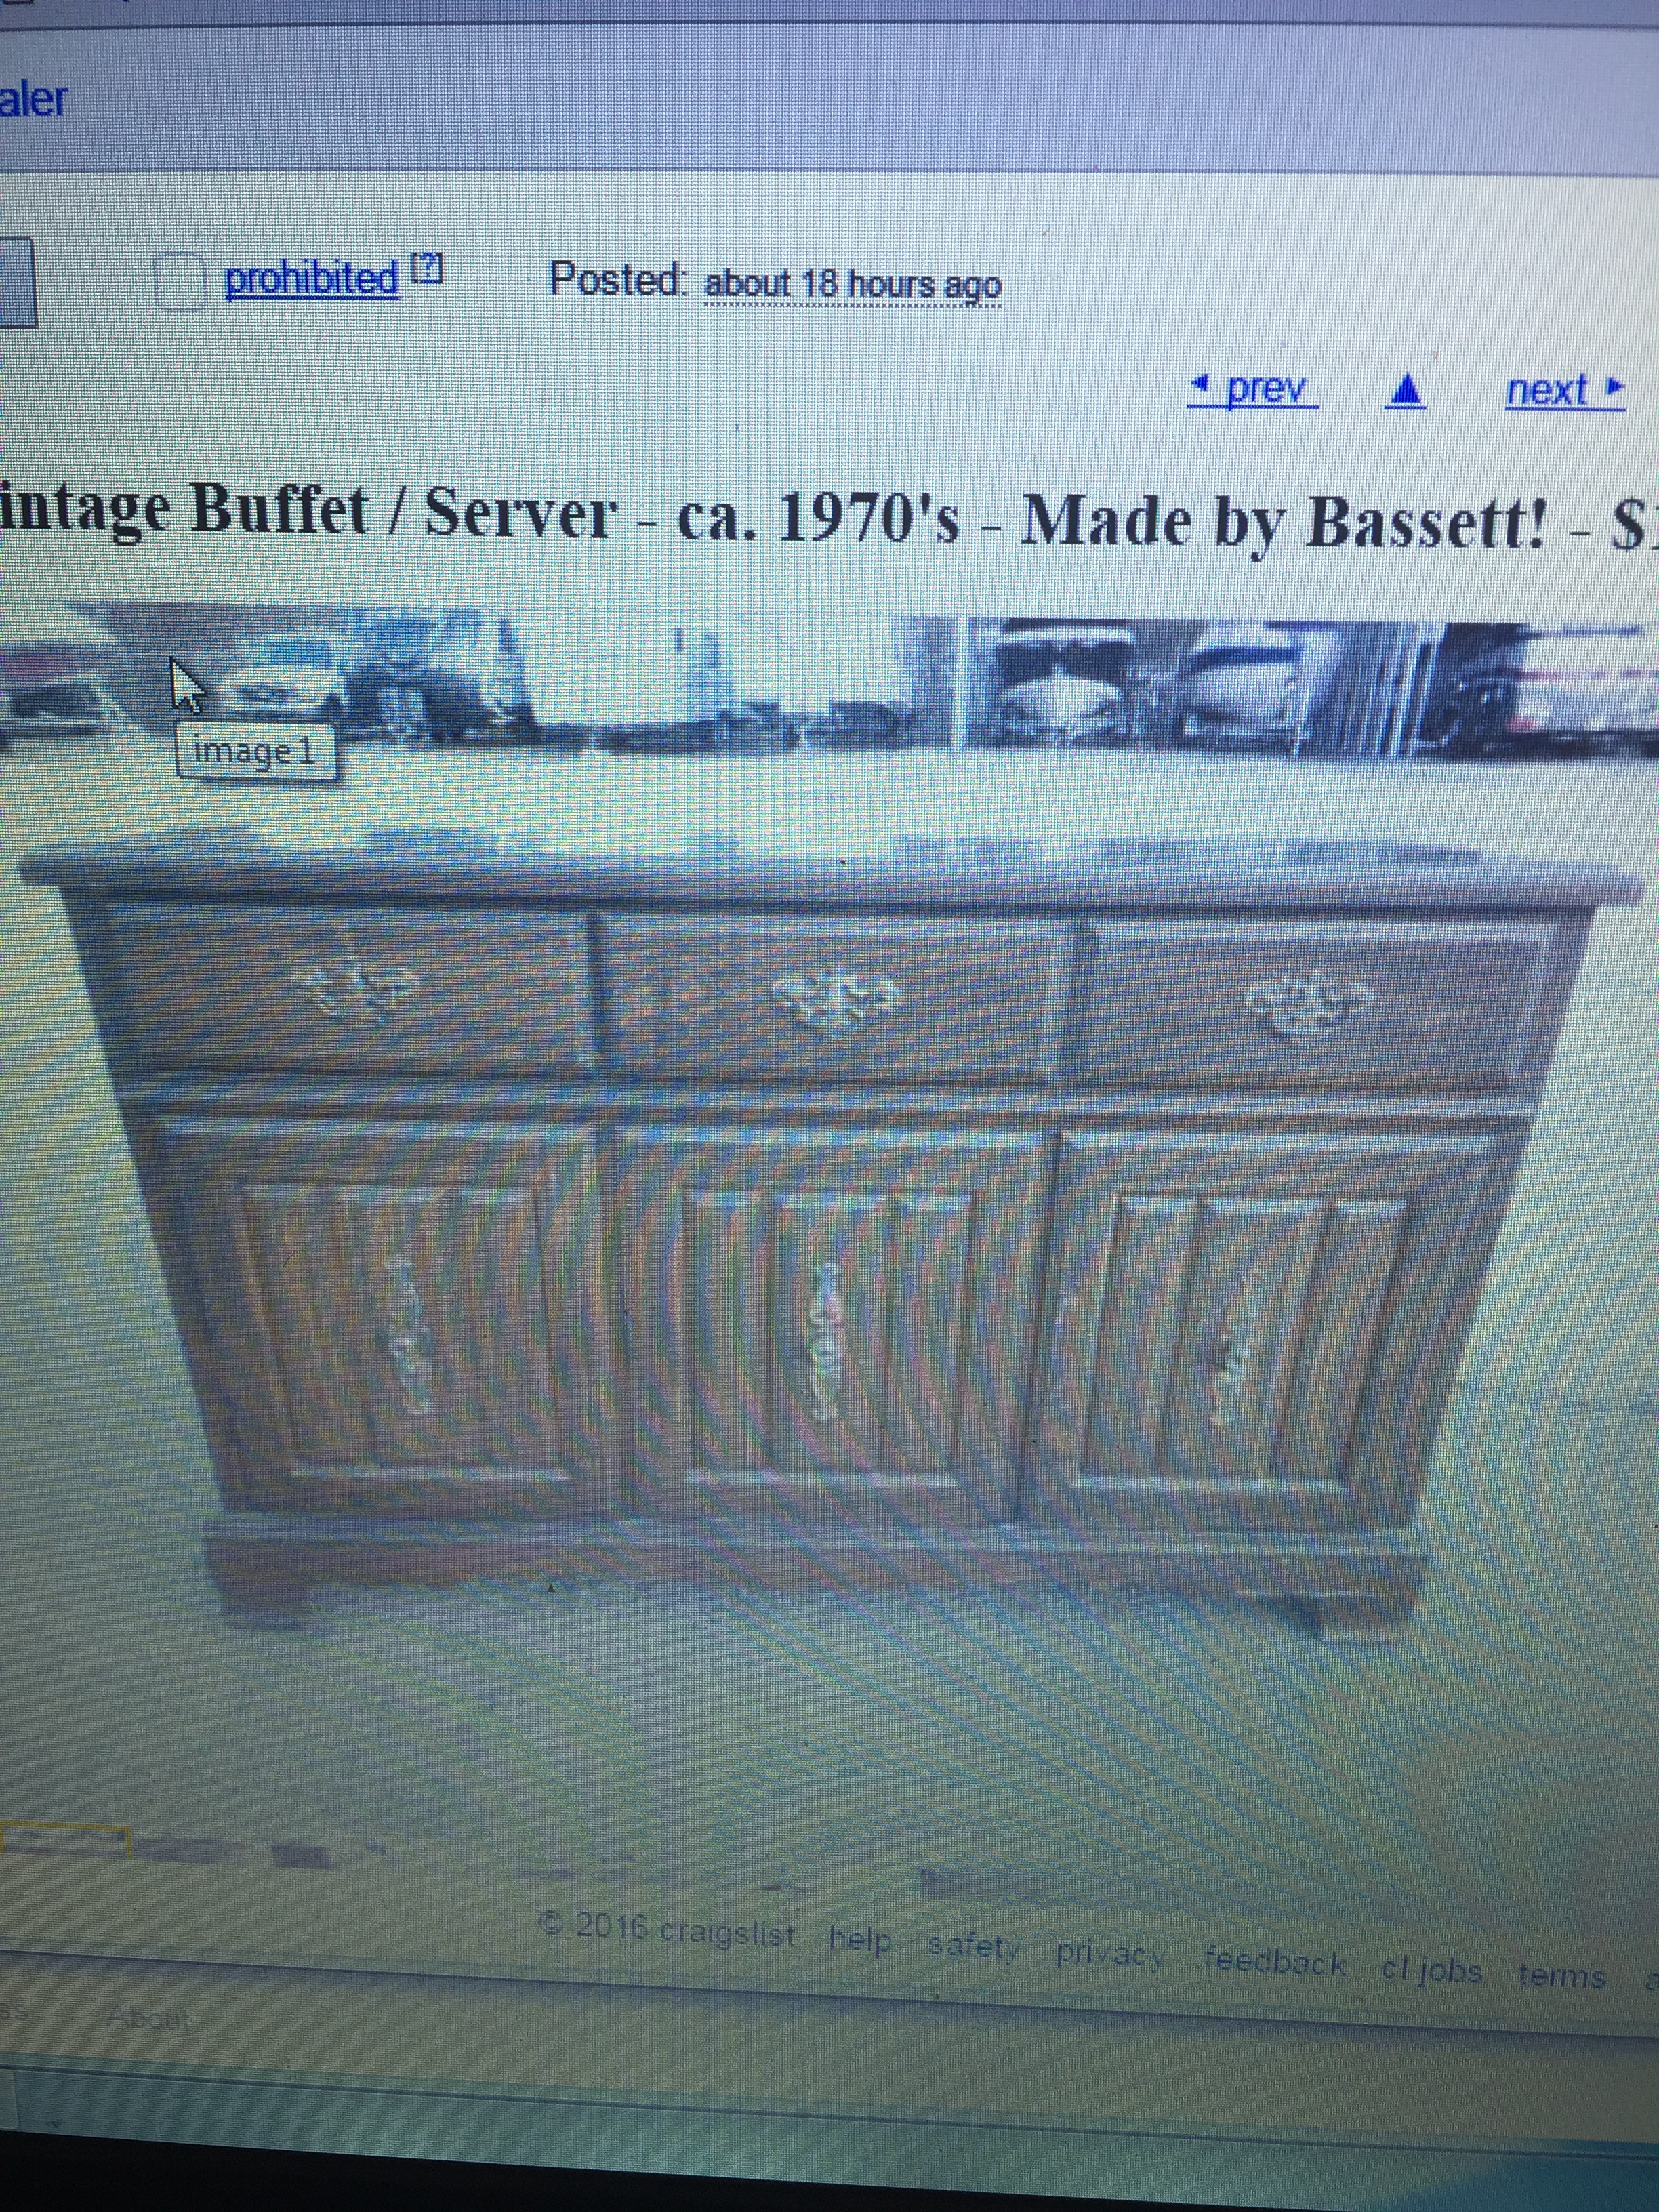
The next day it was like magic, I happened to check CL, saw this unfinished piece in need of a little TLC for $100.00 and they were willing to deliver for a small fee. It was fate. I set out to make my own dream buffet – plus, it was the perfect opportunity to try out Annie Sloan‘s Paint which I had been wanting to try forever. I know the picture below is terrible quality, it’s a picture of the computer screen, but that is what the buffet looked like before I refinished it.
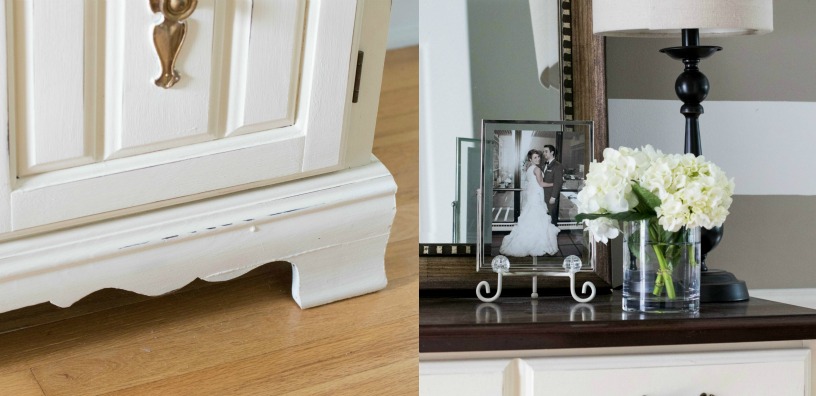
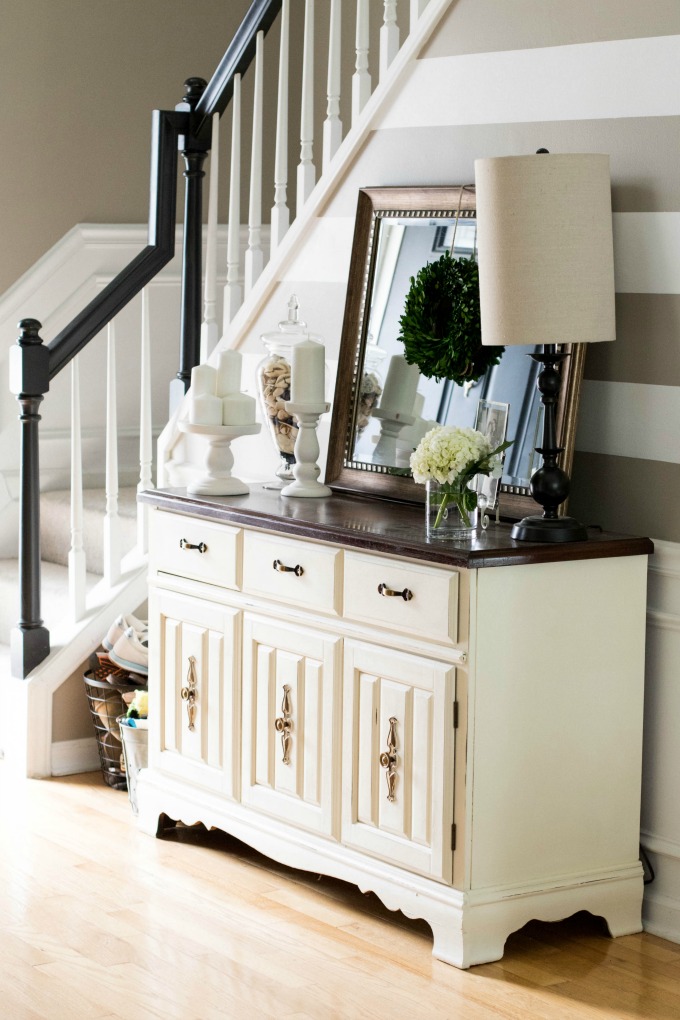
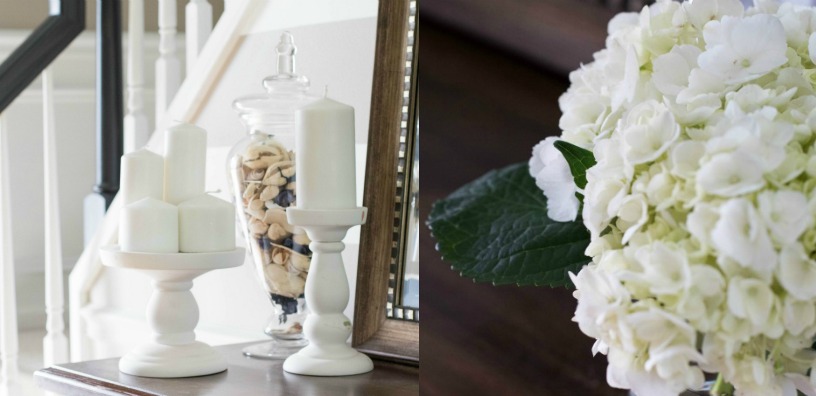
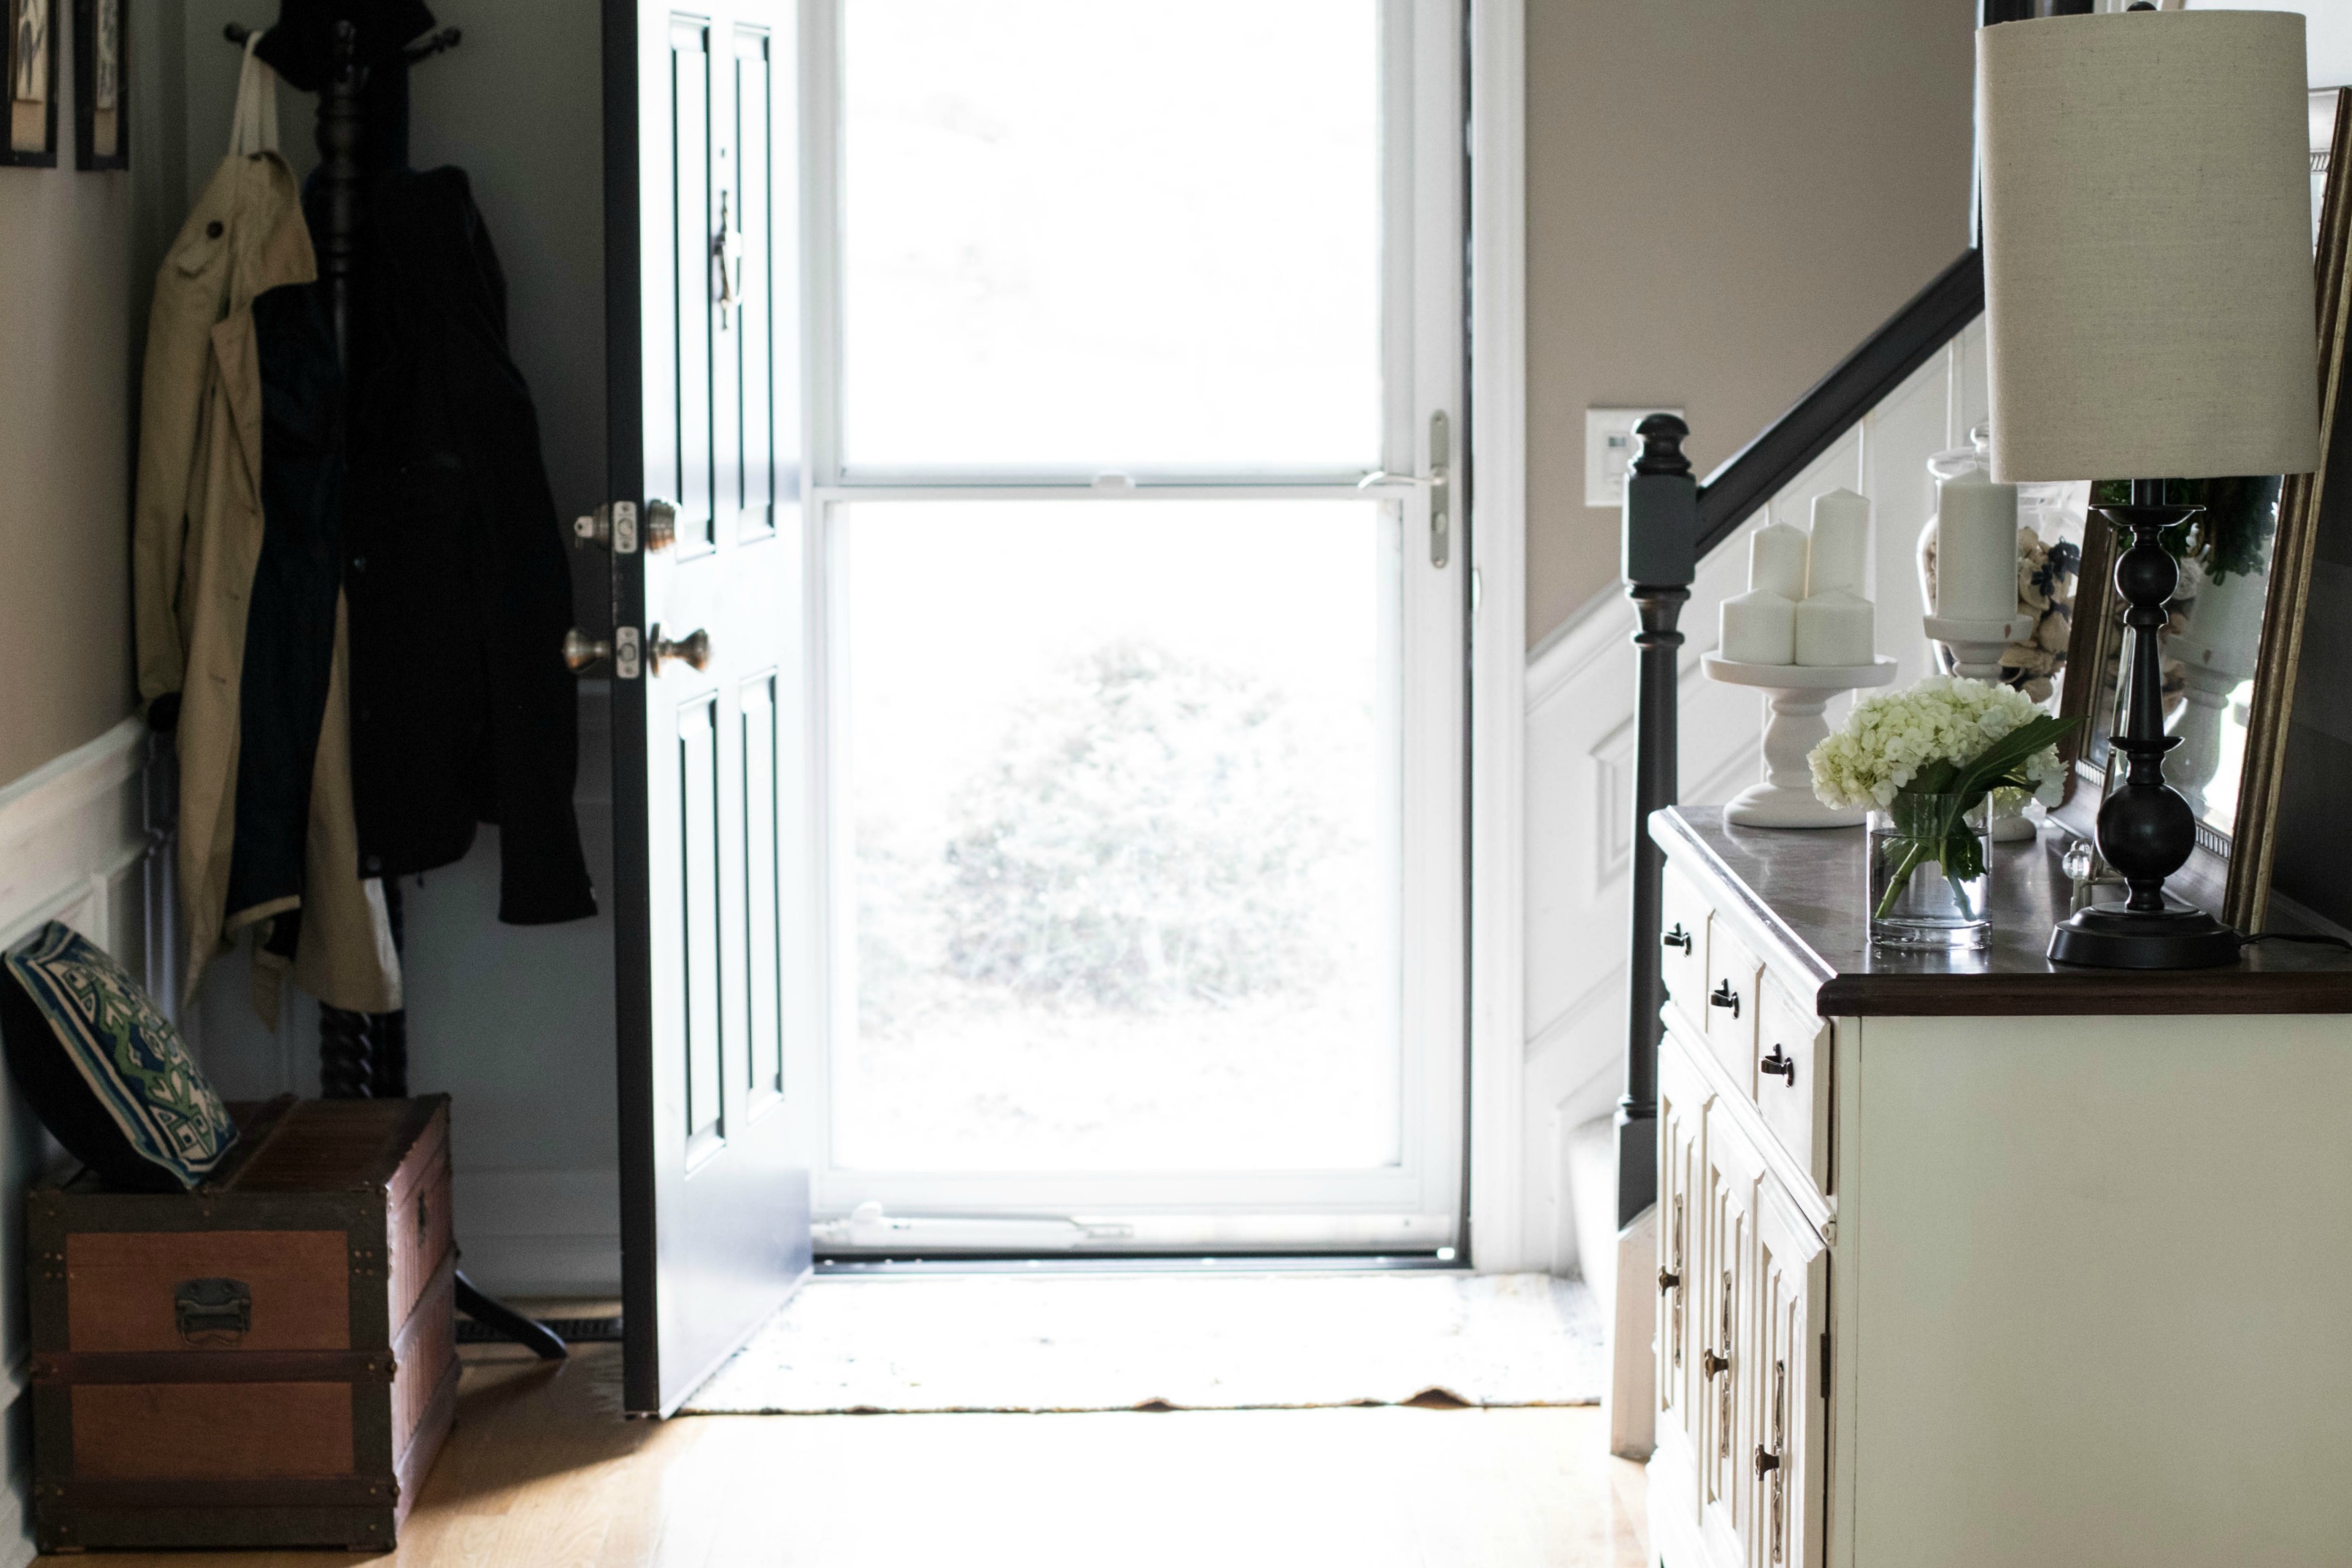
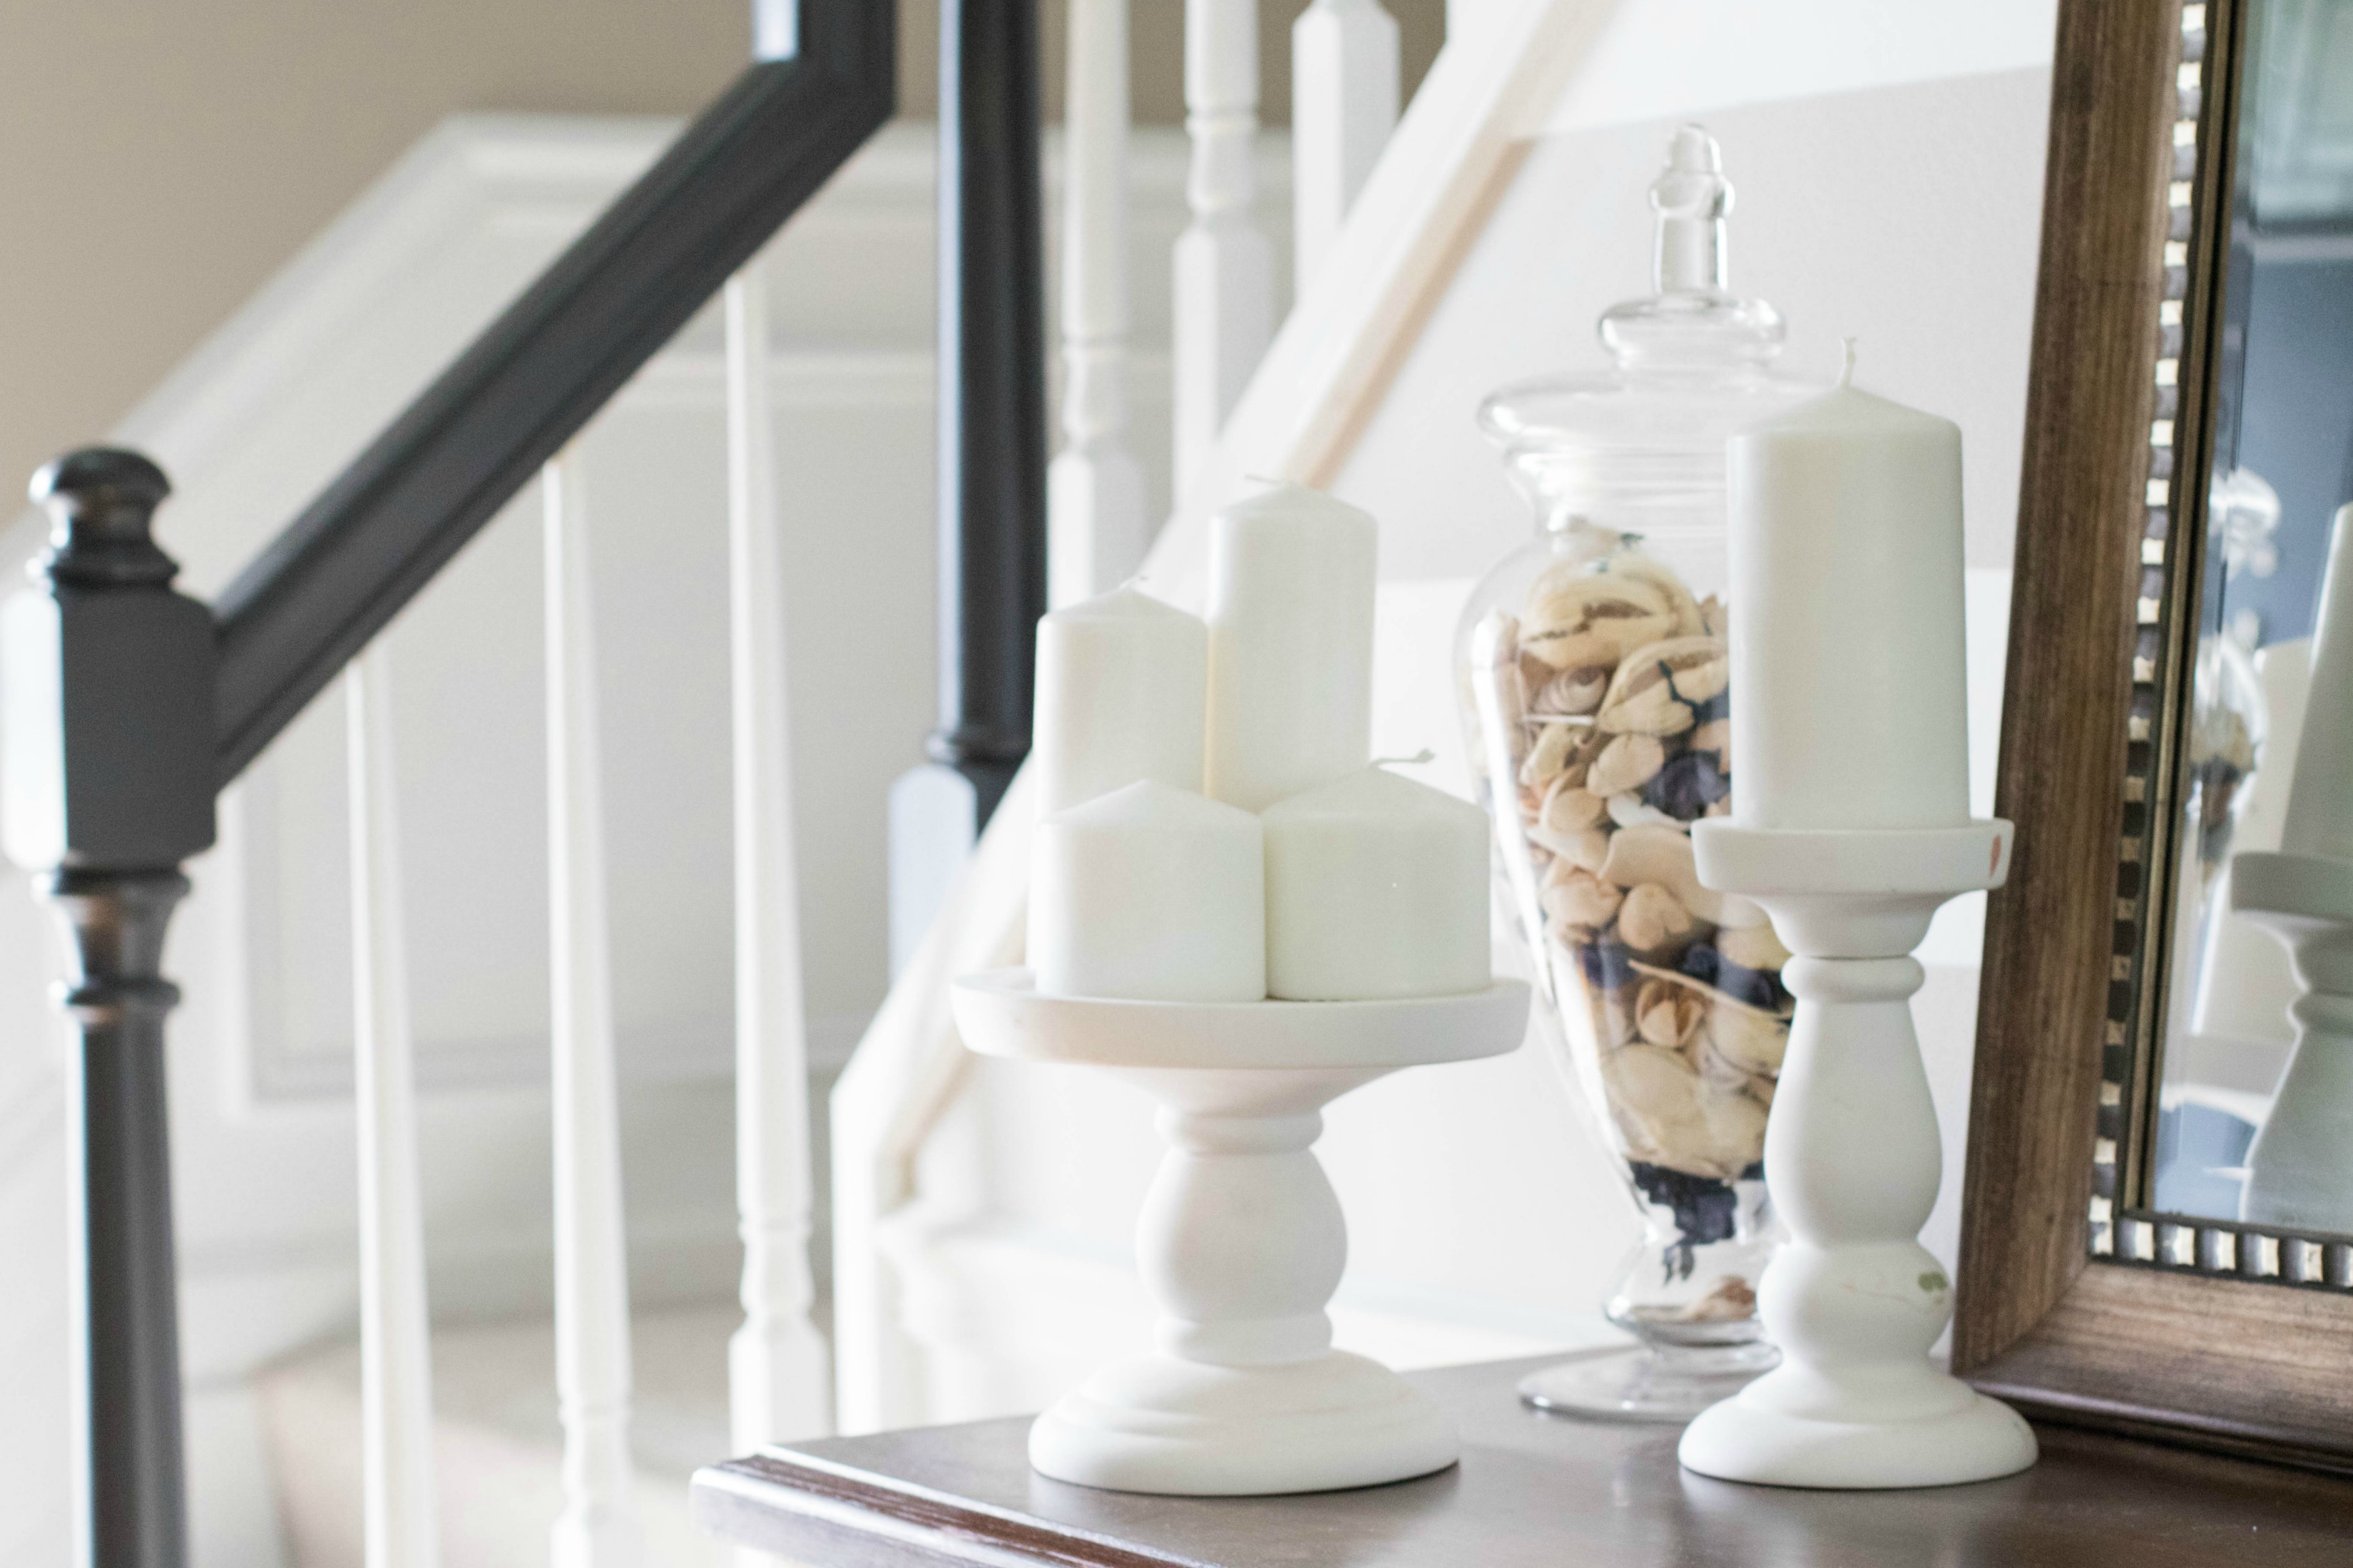
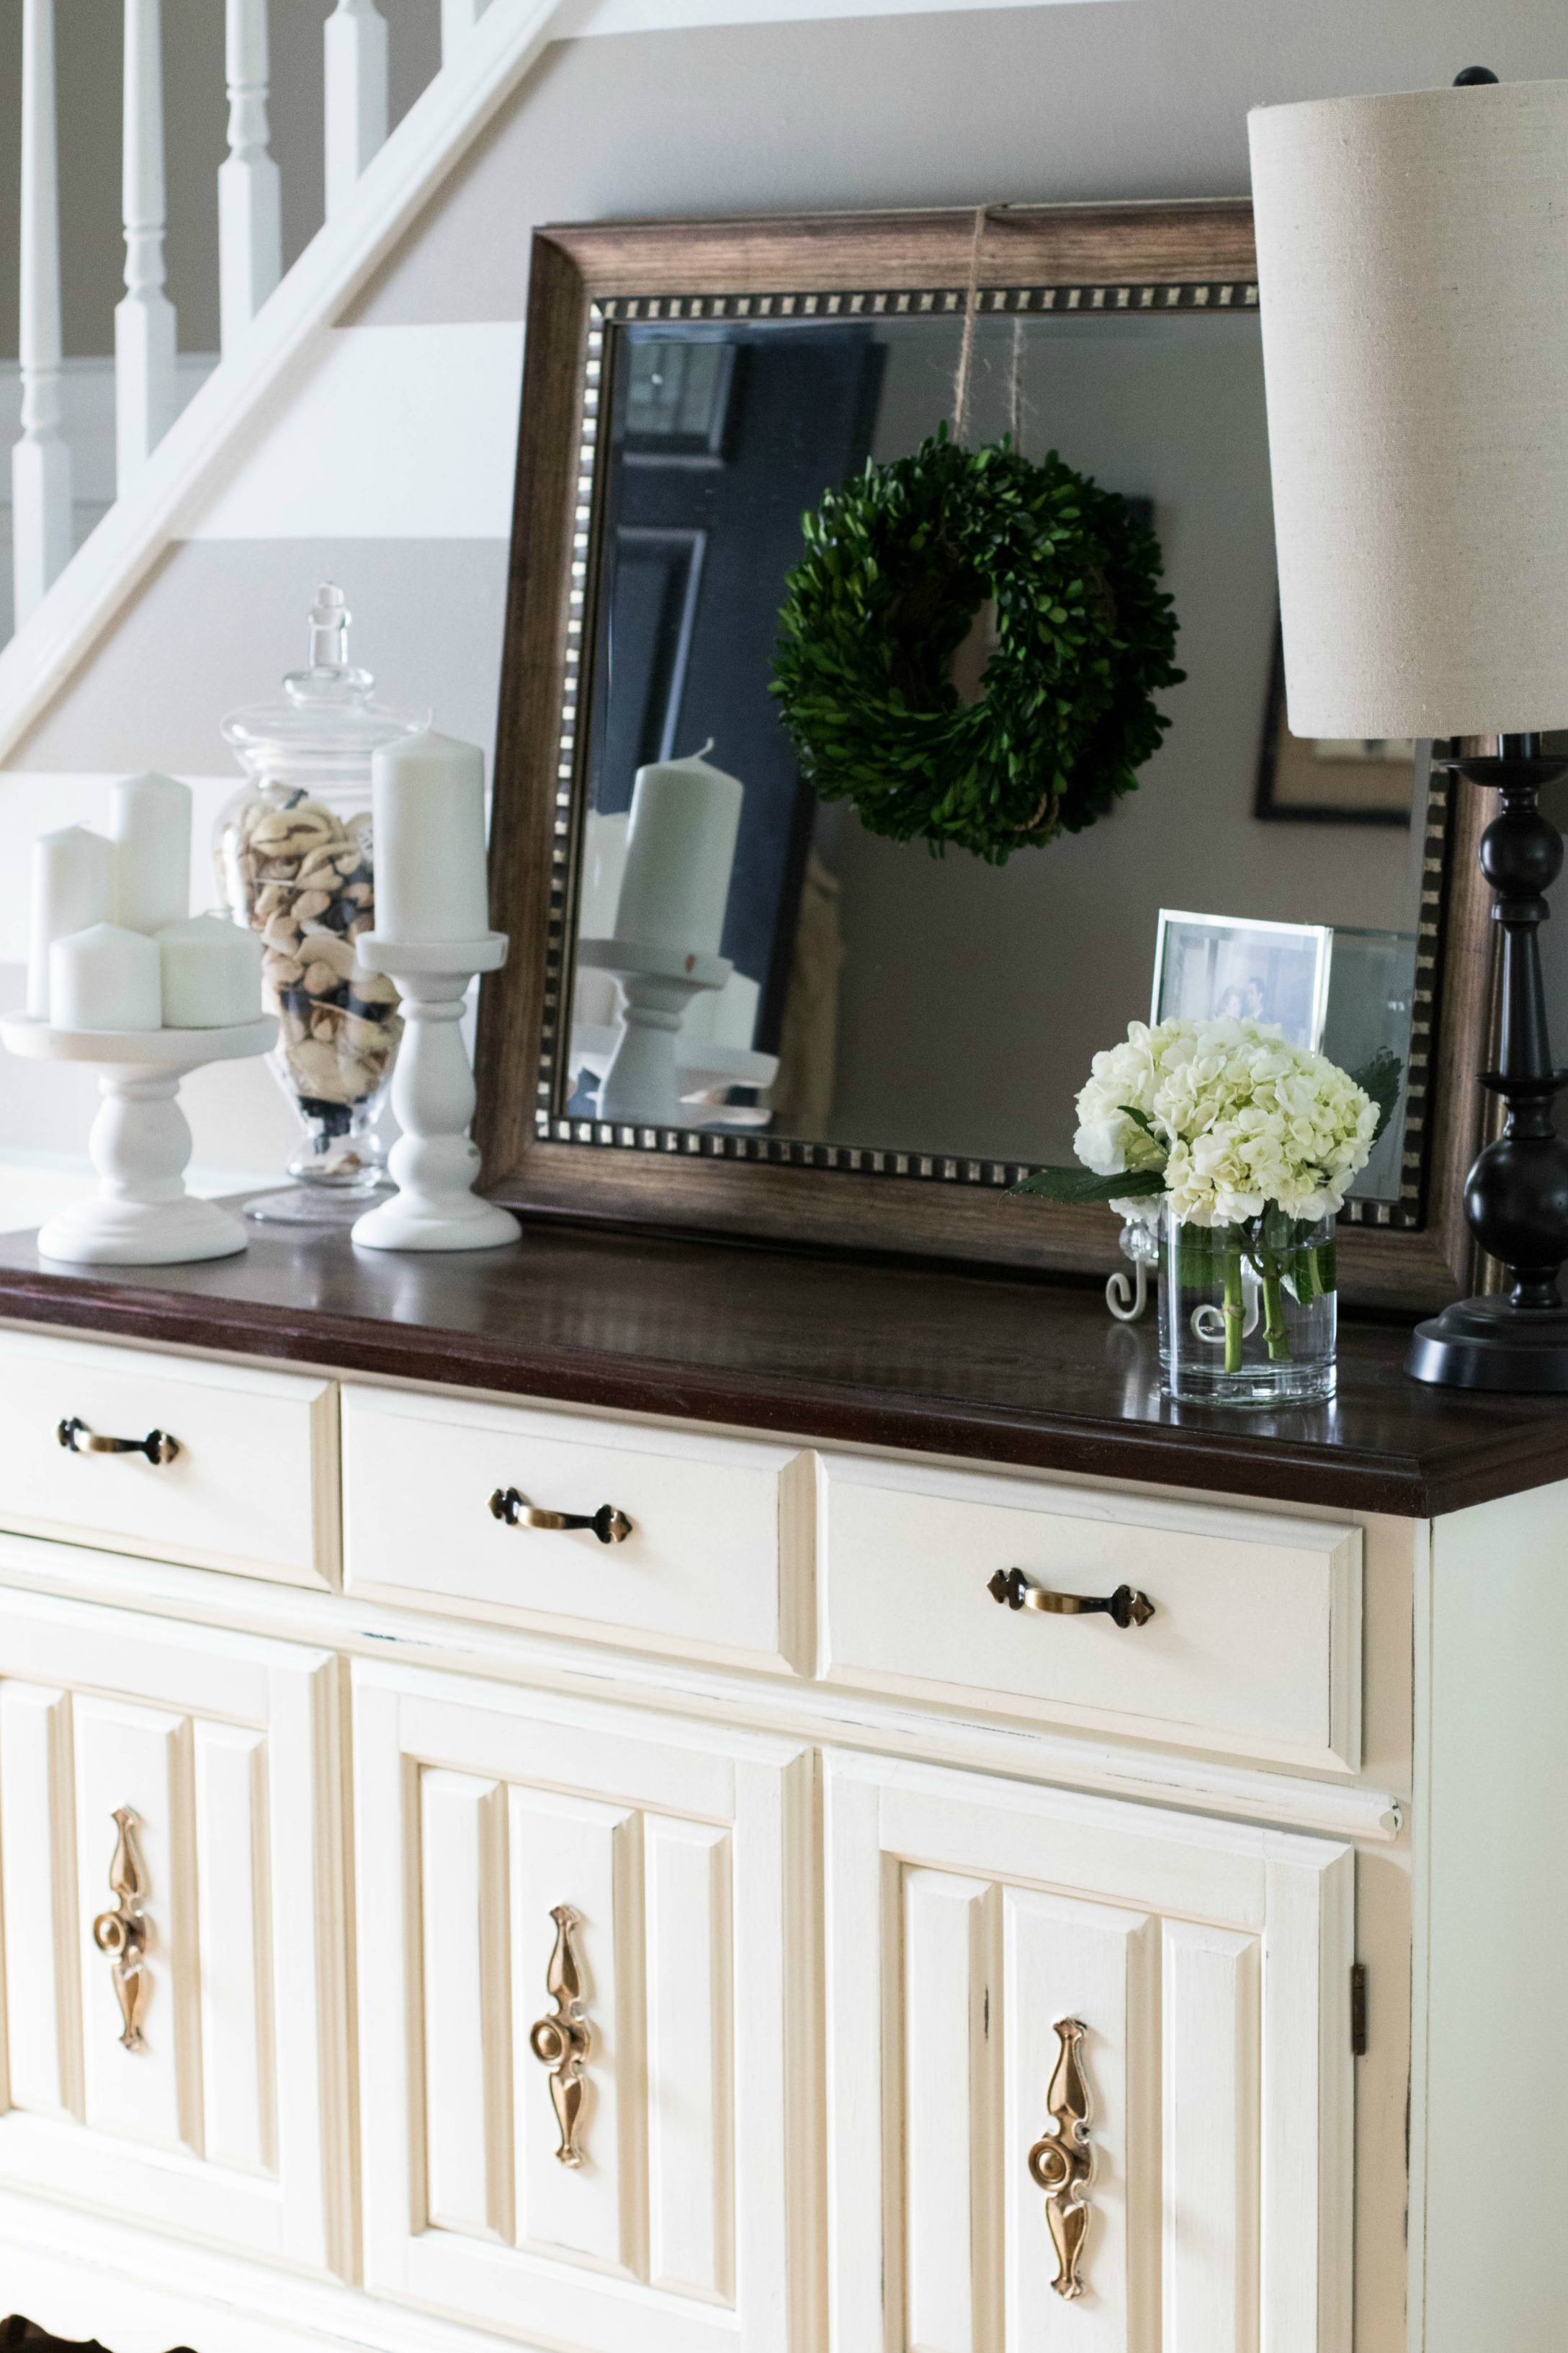
The process was SOOOO easy you guys. No sanding, no striping. Just paint, wax and boom. I also re-stained the top darker with some old stain I had on hand. I purchased new hardware for the drawers and just oil rubbed bronze/gold the bottom knobs and I love the way it turned out.
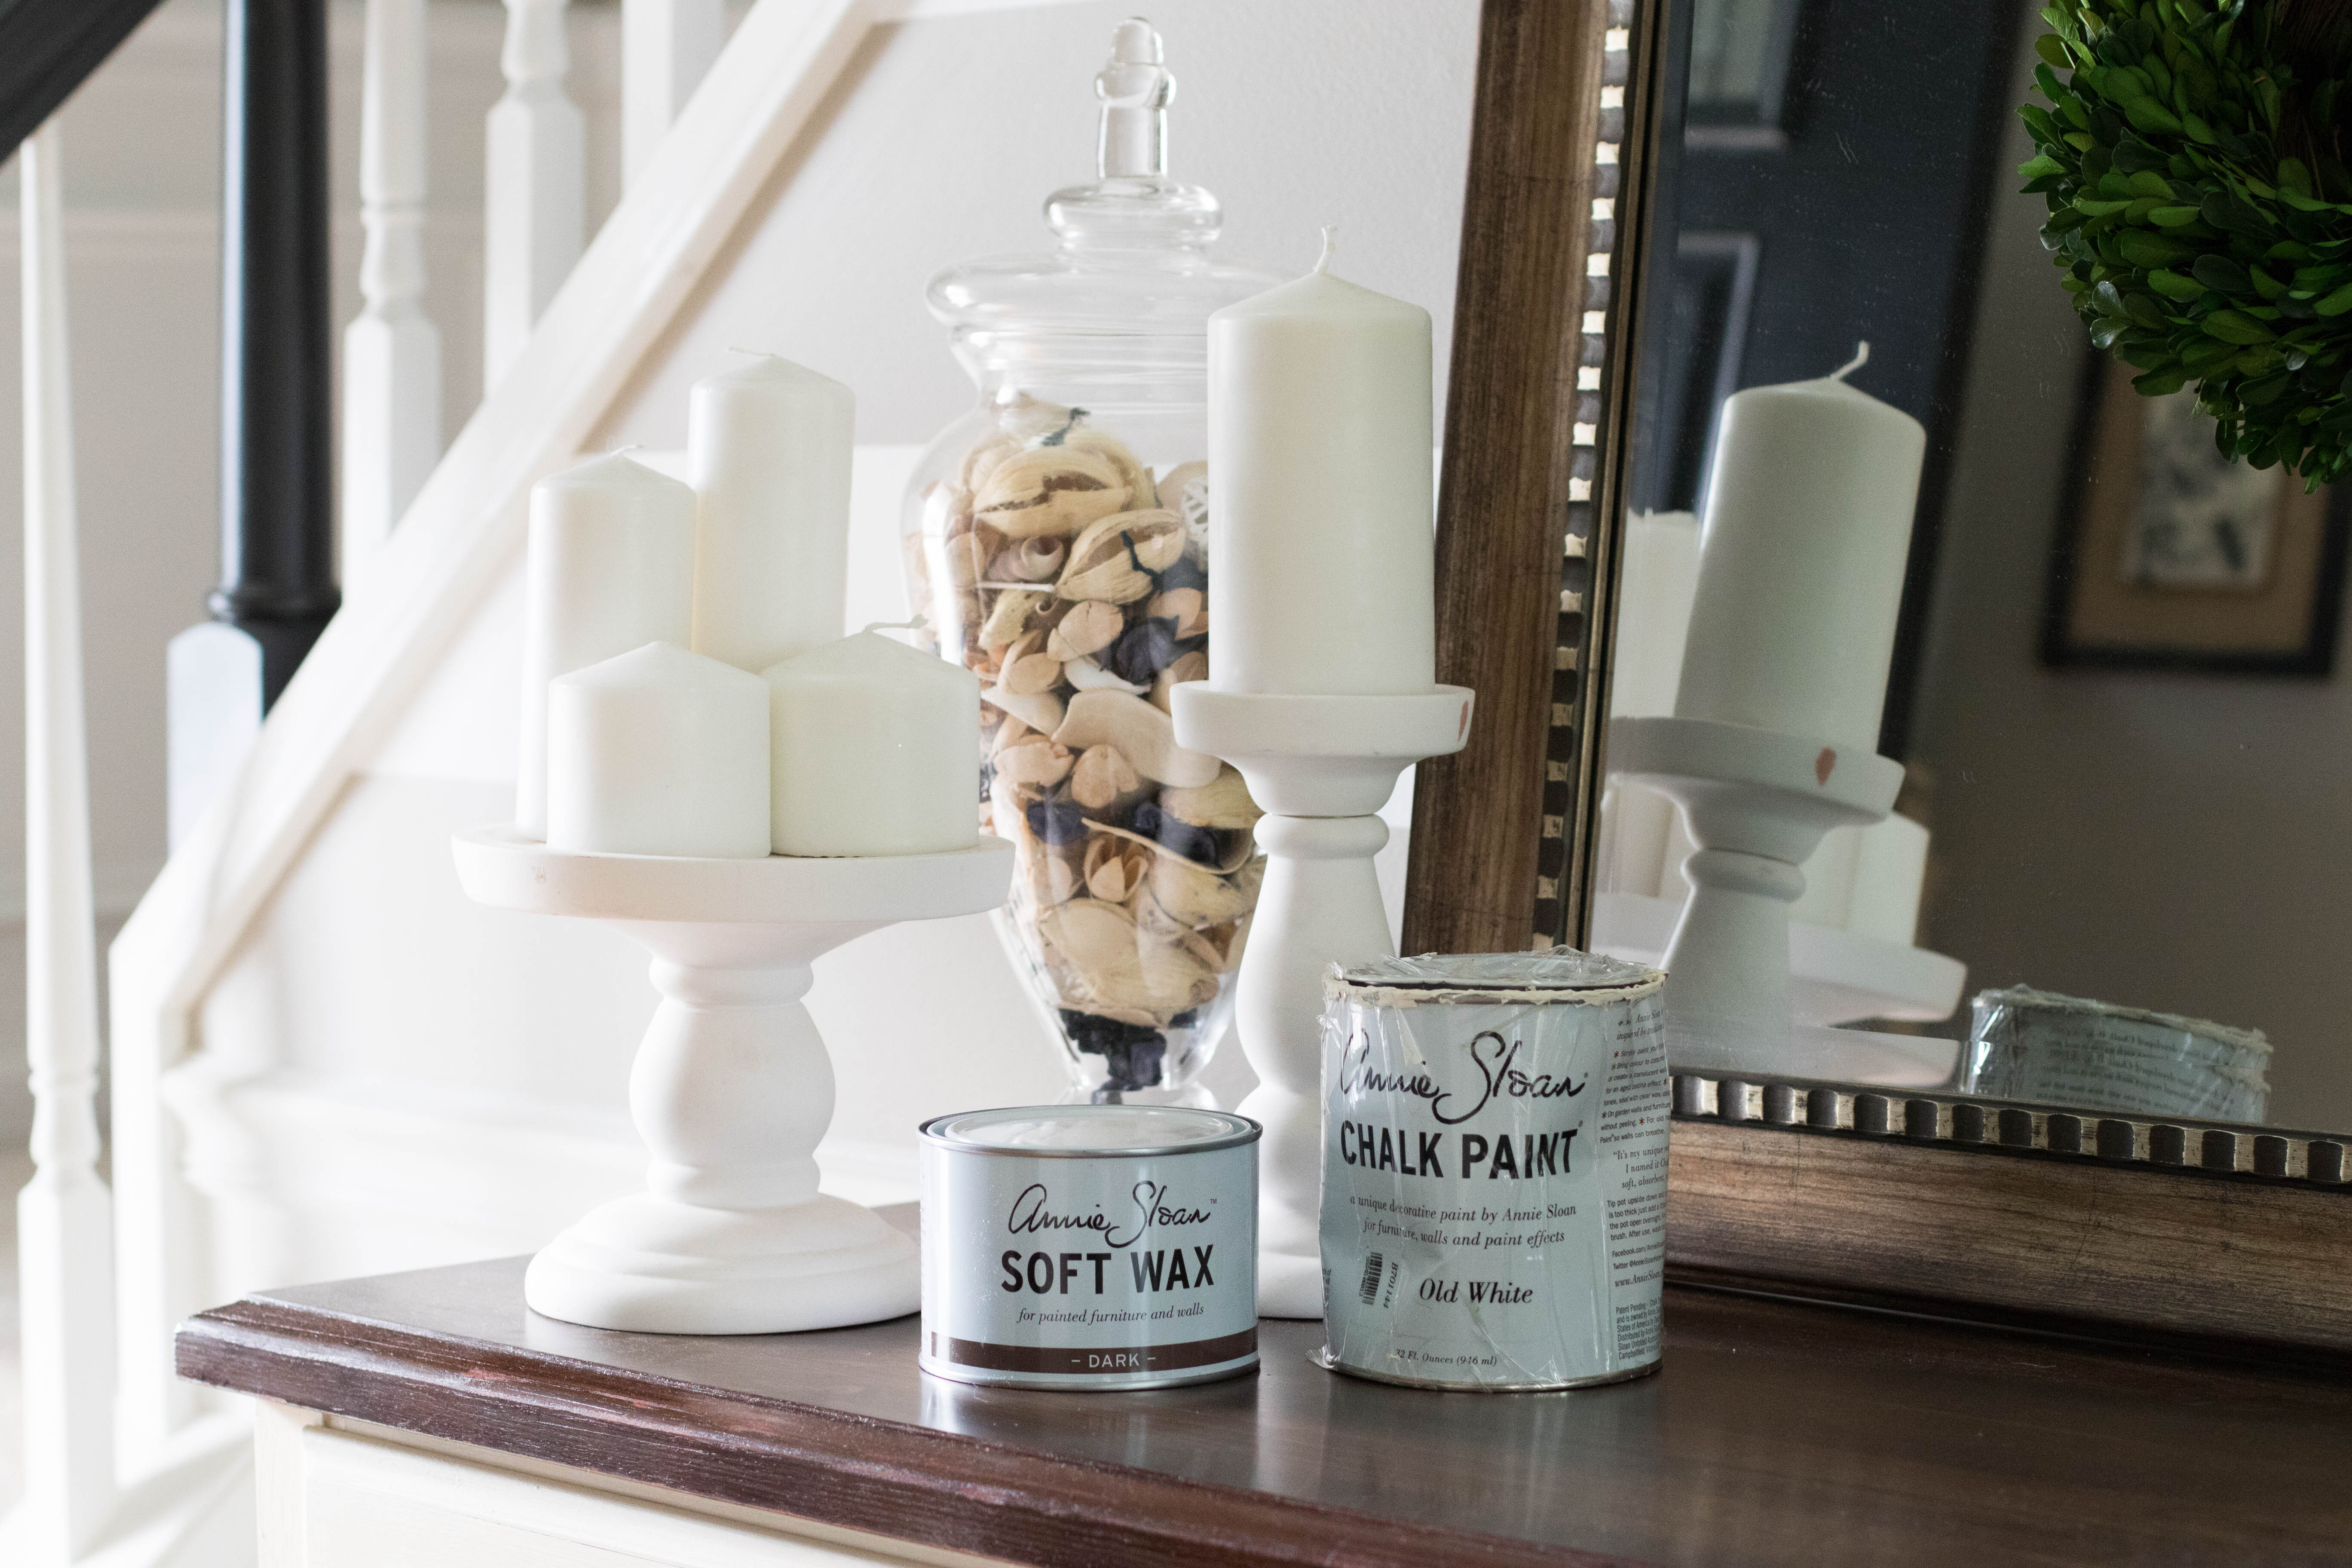
I’ll step back first though. To paint this piece, I used Annie Sloan Old White and the Clear Wax. The paint is extremely “chalky” (duh) and you have to use the wax to set it. The paint is low odor, so I was able to lay a drop cloth and paint this piece right in our entry. Because it dries so quickly, I was able to do two coats within a few hours. I used a normal paint brush, but next time I paint something I’ll use a foam roller for the larger areas to create a more smooth finish. The first coat went on thick, and I was worried you would see a ton of brush strokes, but by coat two, they seemed to even out. The next day, I waxed it. I followed simple tutorials on Youtube, but you definitely want an old cloth and this brush to do the waxing. Here are a few additional tips:
- Before painting, wipe piece of furniture with clean cloth. No need to sand.
- Paint coat, let dry. Assess for second coat (I think it’s good measure). It dried pretty quickly. You can choose to lightly sand in between coats if you see brush strokes, but if not, proceed with coat two.
- Let sit overnight and then wax.
- Voila- reattach hardware and you have a new gorgeous piece!
I choose to distress ours slightly. I would recommend doing this before waxing if you choose. I just took a sandpaper wedge like this and lightly sanded to desire distressing. This whole project only used about 1/2 the can as well, so I’ll have enough paint to tackle another project!
Aaron was so hesitant about me taking this on, but now he loves the piece and often compliments it as he passes it. We used to have a very small, skinny table in our entry and I love how big and beautiful this one it. I store my wedding china in it and table linens and it’s so nice to have them easily accessible for use! I know the paint is a little pricey, but it’s SOOOO worth it to me to not have to sand beforehand. Plus, I love the finished product and for under $200.00 after supplies. #winning
Have you tried Annie Sloan? Feel free to ask me any questions if you think I missed something. This weekend I am tackling another fun project with this color. I can’t wait to share!

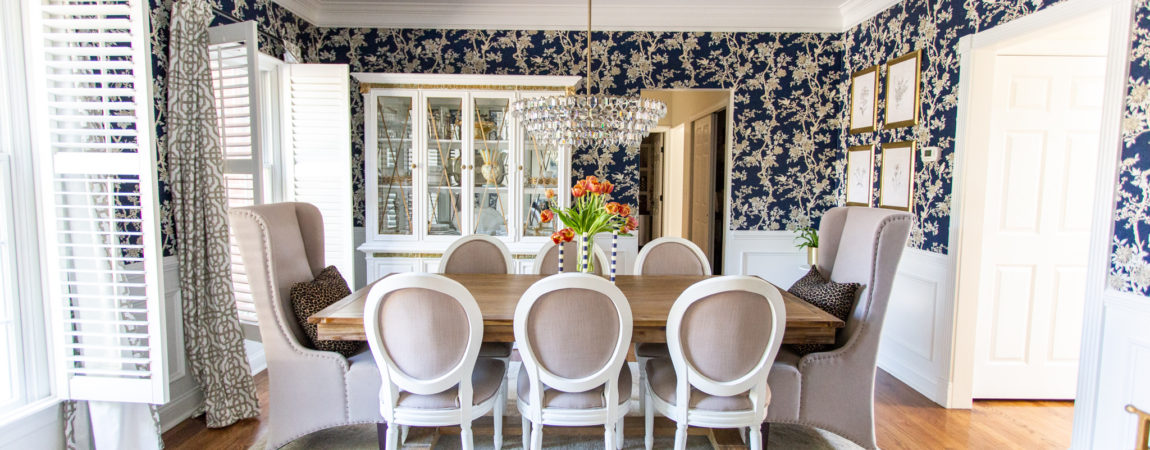





I’ve used Annie Sloan chalk paint several times and just love it! I painted my dining room furniture and some cabinets and just love how easy it is to use. I did wax the same day I painted and it turned out beautifully…
charity
lifeafterbaseball.net
this is stunning my friend and just adore the piece/color choice you decided on! xo