


Hey Y’all
I know I’ve been MIA lately, but life happens and I’m getting back in my groove (have you noticed?). Poppy has been keeping me on my toes and I have been just trying to do some “Spring Winter Cleaning” after the holidays. Today I wanted to change things up a little bit and share with you a more of a home D-I-Y project. One of my New Year’s Resolutions is to try and diversify my content on my blog. Aaron and I have done a lot of DIY projects since we moved into our house and I thought I would share them with you.
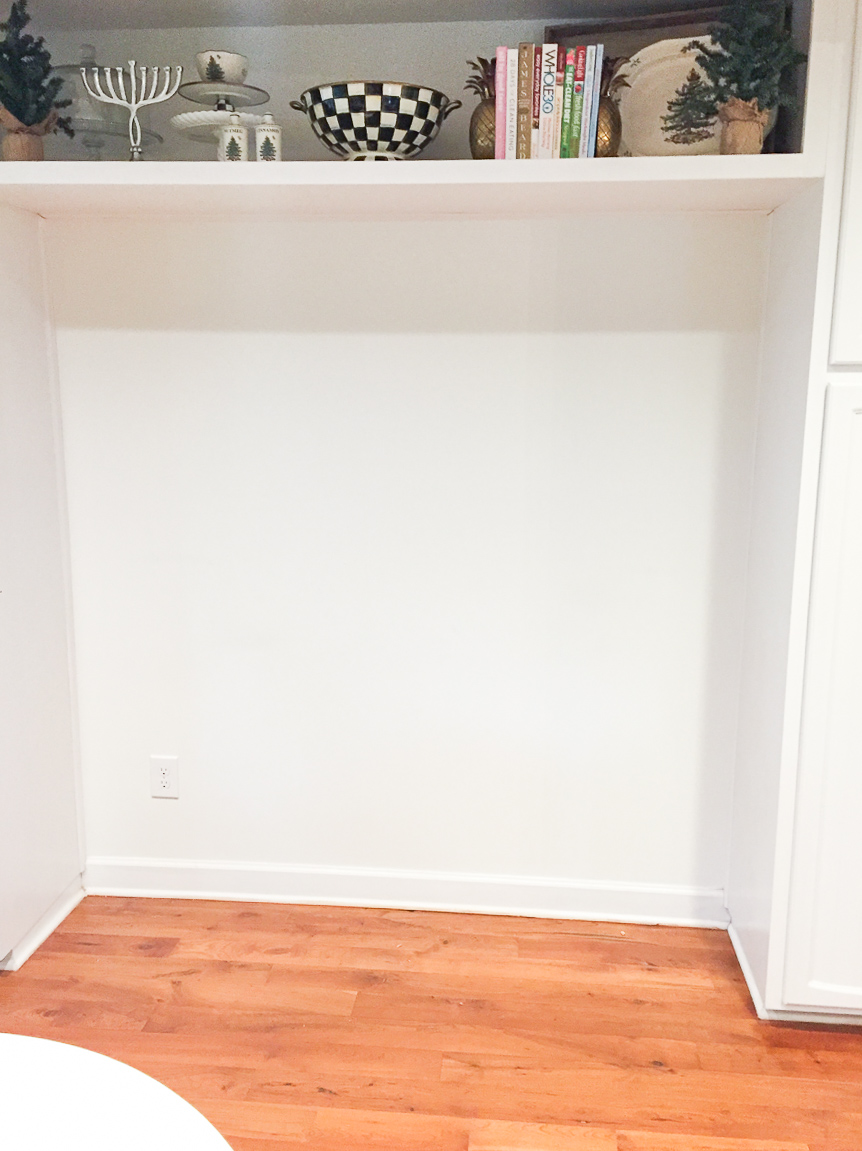
We have a small kitchen table that came with us from Durham where we eat most of our meals. Aaron would prefer to eat in the dining room but since P still throws food everywhere we wanted to continue to eat in the kitchen as it is easier to clean hardwoods than a rug everyday (thanks so much P). We have a nice open area in our kitchen in-between our cabinets where the previous owner had a nice piece of furniture but we wanted to make the space usable so we could have some more room at the breakfast “nook.” So we decided to build a bench seat!
Aaron did a lot of research on different posts about how to do this, but essentially he used the plan from housefulofhandmade.com as the main plan. He made some modifications specifically with the front design and top design elements that were slightly different, so we thought we’d share today. Dimensions are not added as every space is slightly different.
This post is very photo heavy as we wanted to make the DIY kitchen bench tutorial as detailed possible!
The first step was to clear out the existing space.
DIY Kitchen Bench:
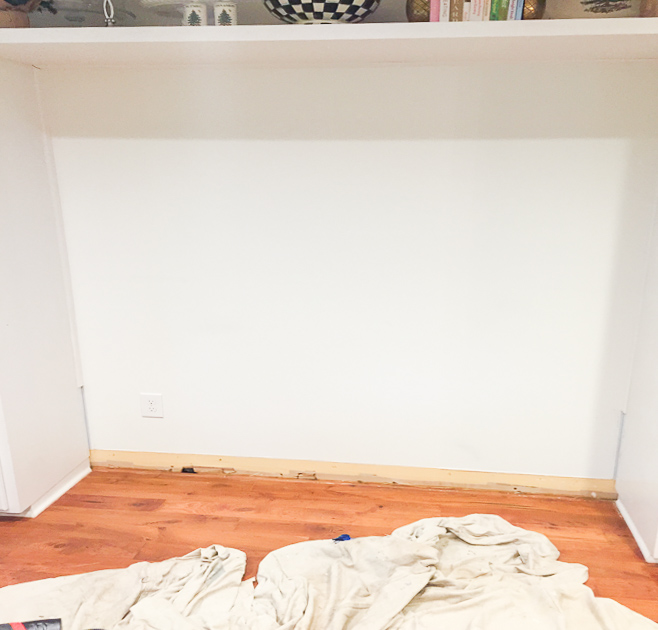
Next, the floor board had to be removed which we did with a “wonder bar” nail remover and hammer. Aaron used shims to place as he went to try and preserve the trim which we ended up not using but it was nice to have a continuous piece just in case!
We then measured the height of one of our current kitchen chairs and accounted a few inches for a pad that would be added later to the top of the bench. This helped to determine how tall the seat would be. Unfortunately, we had a plug on the wall which we didn’t want to re-locate (Aaron’s no electrician) so we had to build it slightly above this. Once the height was determined we cut out the existing vertical trim to lie flush above the bench seat. To cut the existing trim away flush Aaron used an oscillating tool. THIS TOOL HAS BEEN A LIFESAVER in many projects so far in our home (built in bookshelf DIY coming soon).
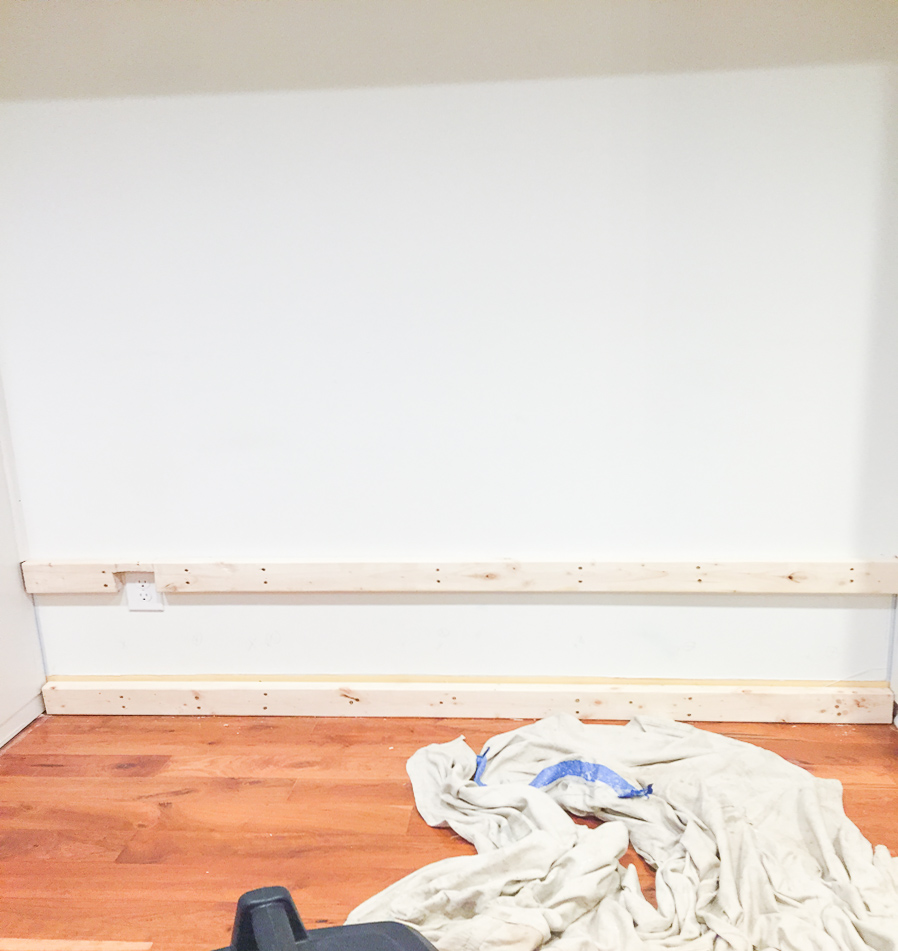
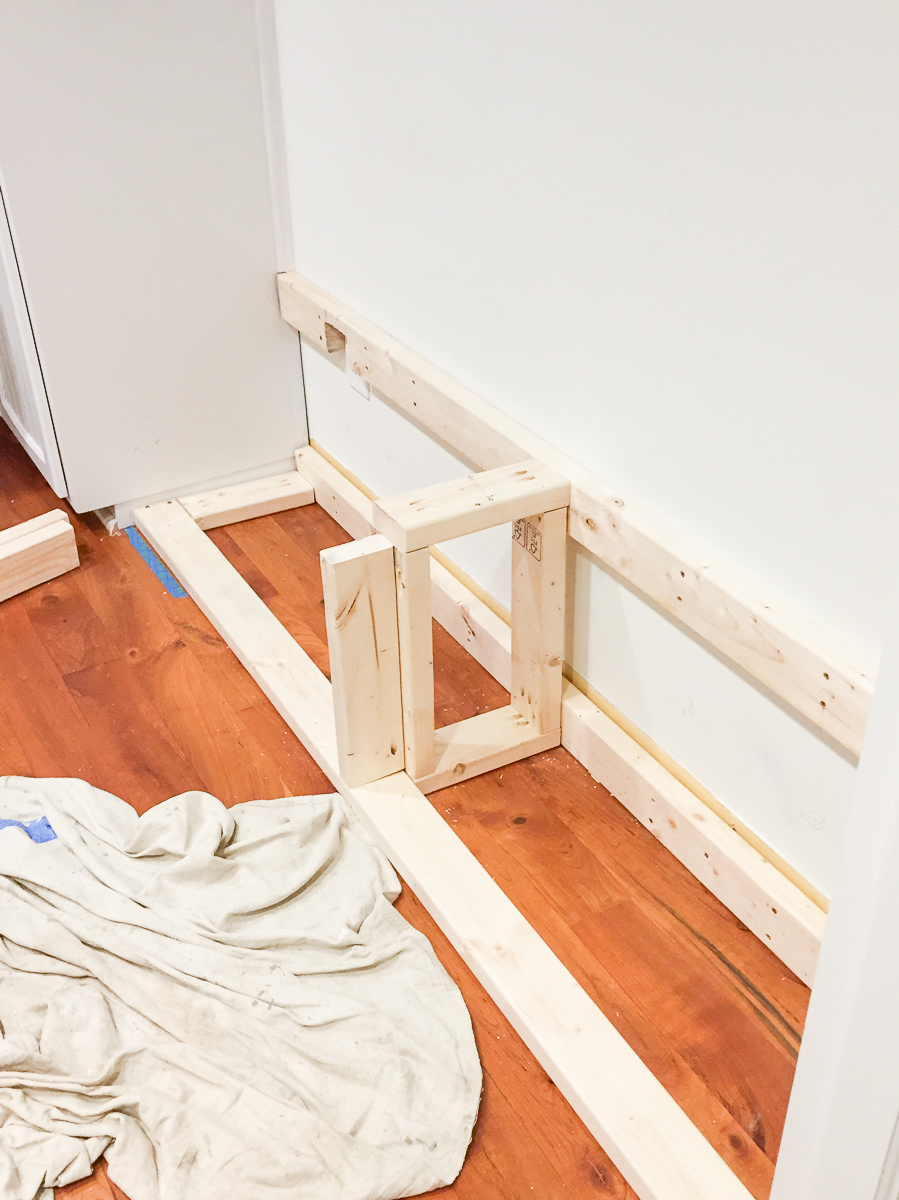
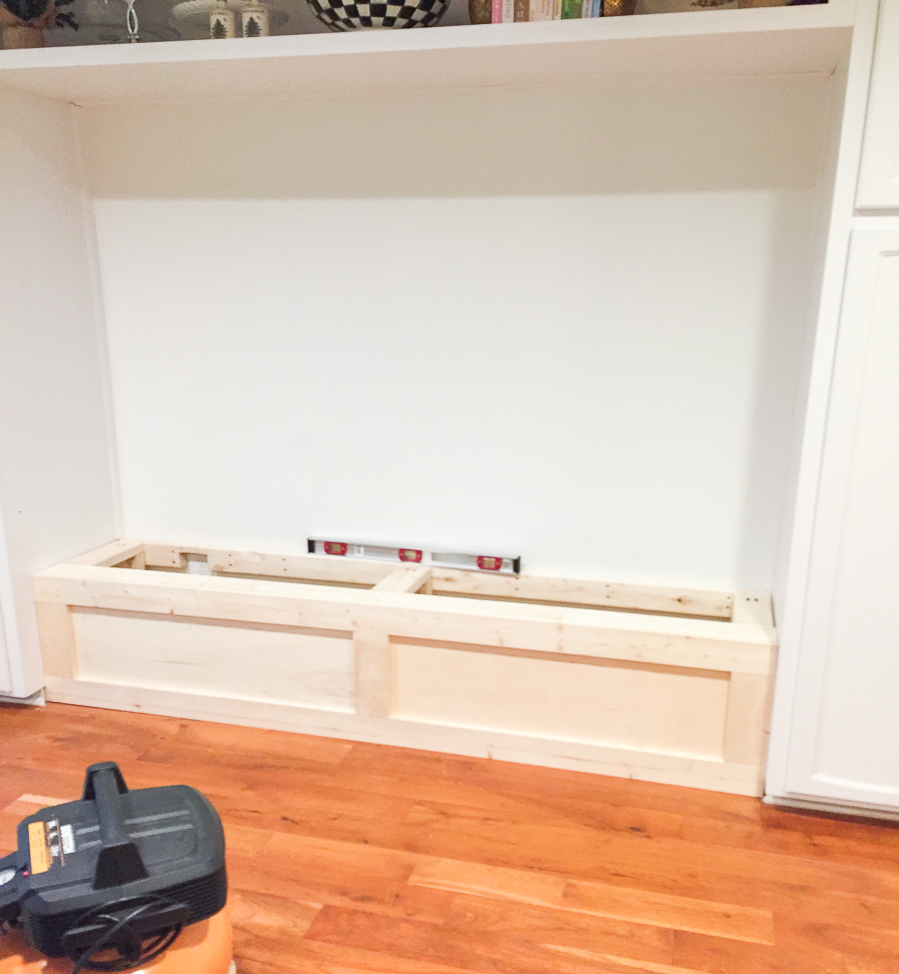
Bracing against the wall to ensure that it would be secure was the next step. We used a stud finder to find the studs and then screwed them into the wall using wood screws. We had to cut out a small portion of the top brace to account for the plug as we wanted it to still be functional. We used 2×4’s for the wood.
After, we placed a 2×4 on the ground to help secure the base. We screwed the ends into the existing floor board near where it meets the existing cabinets.
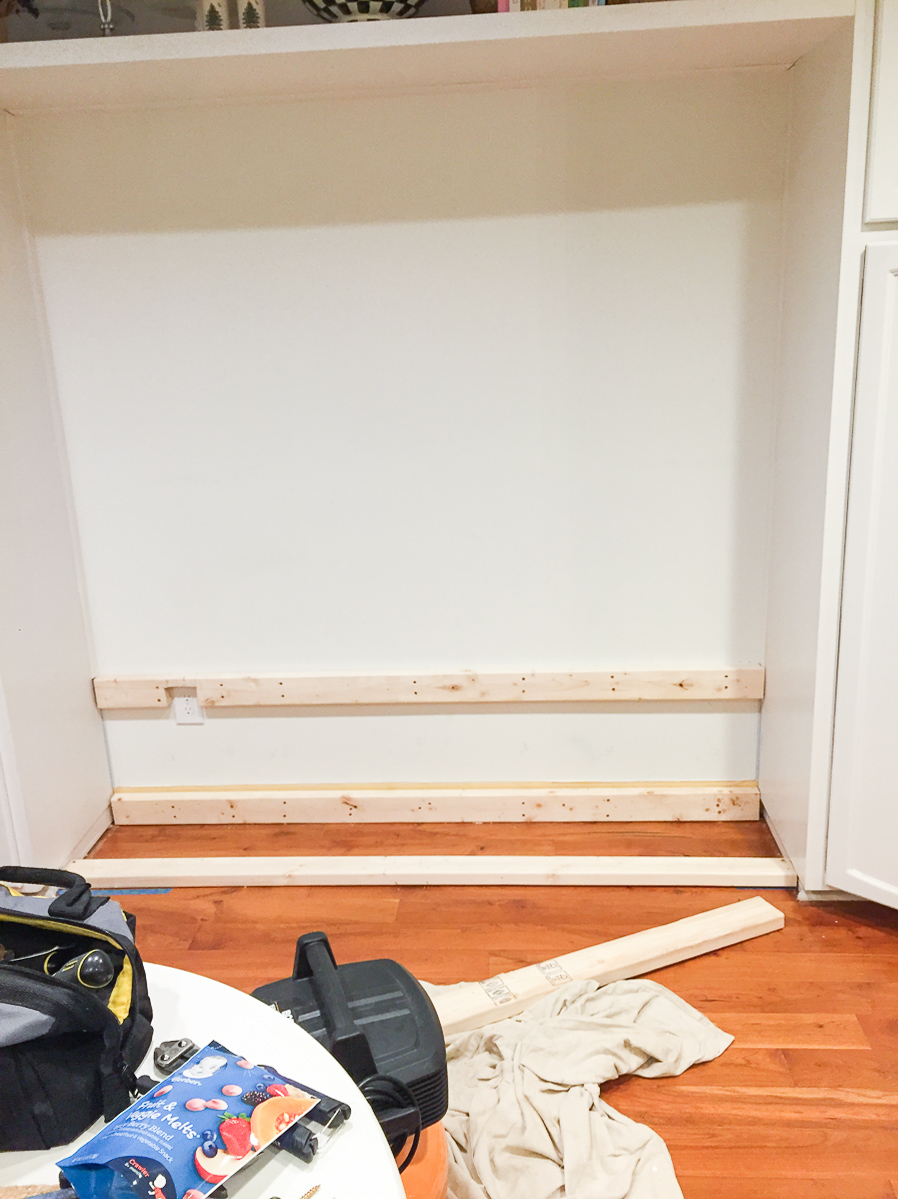
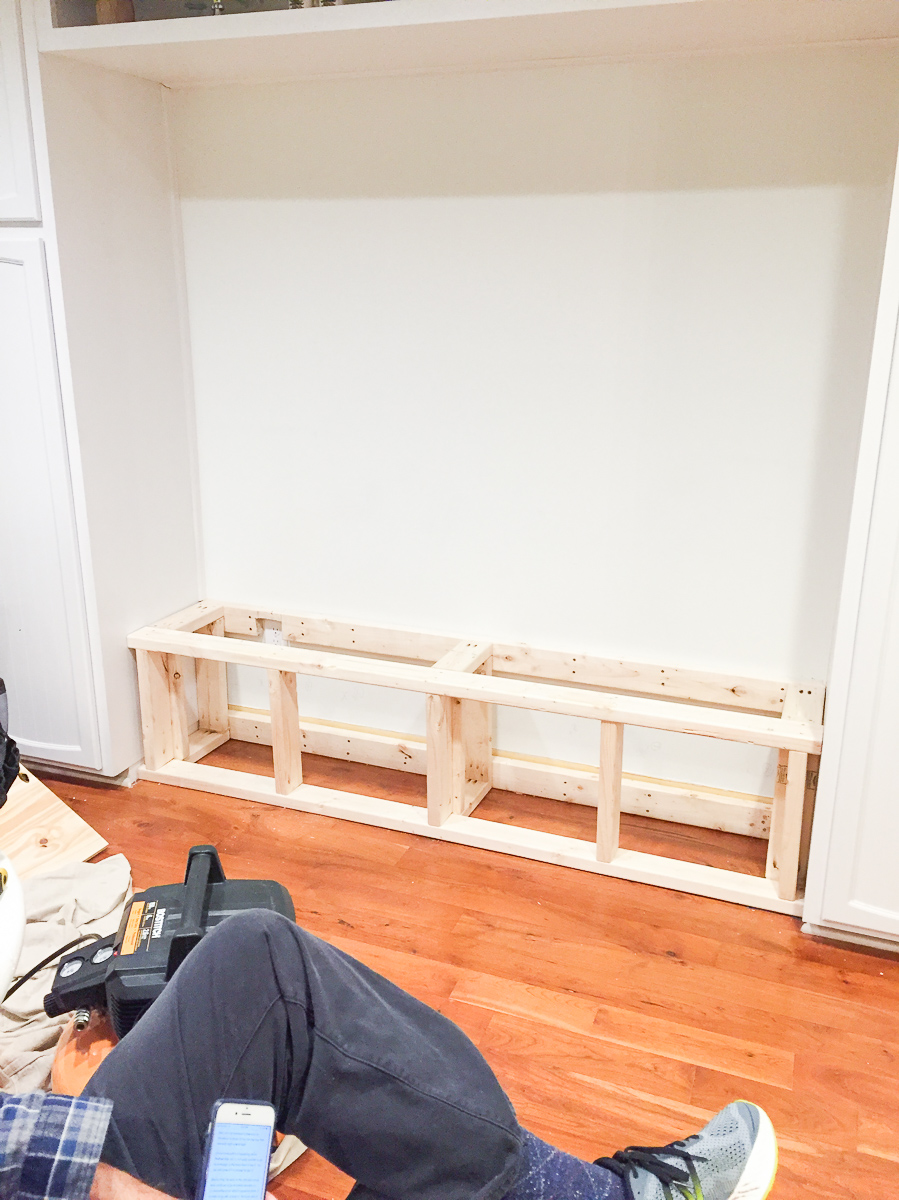
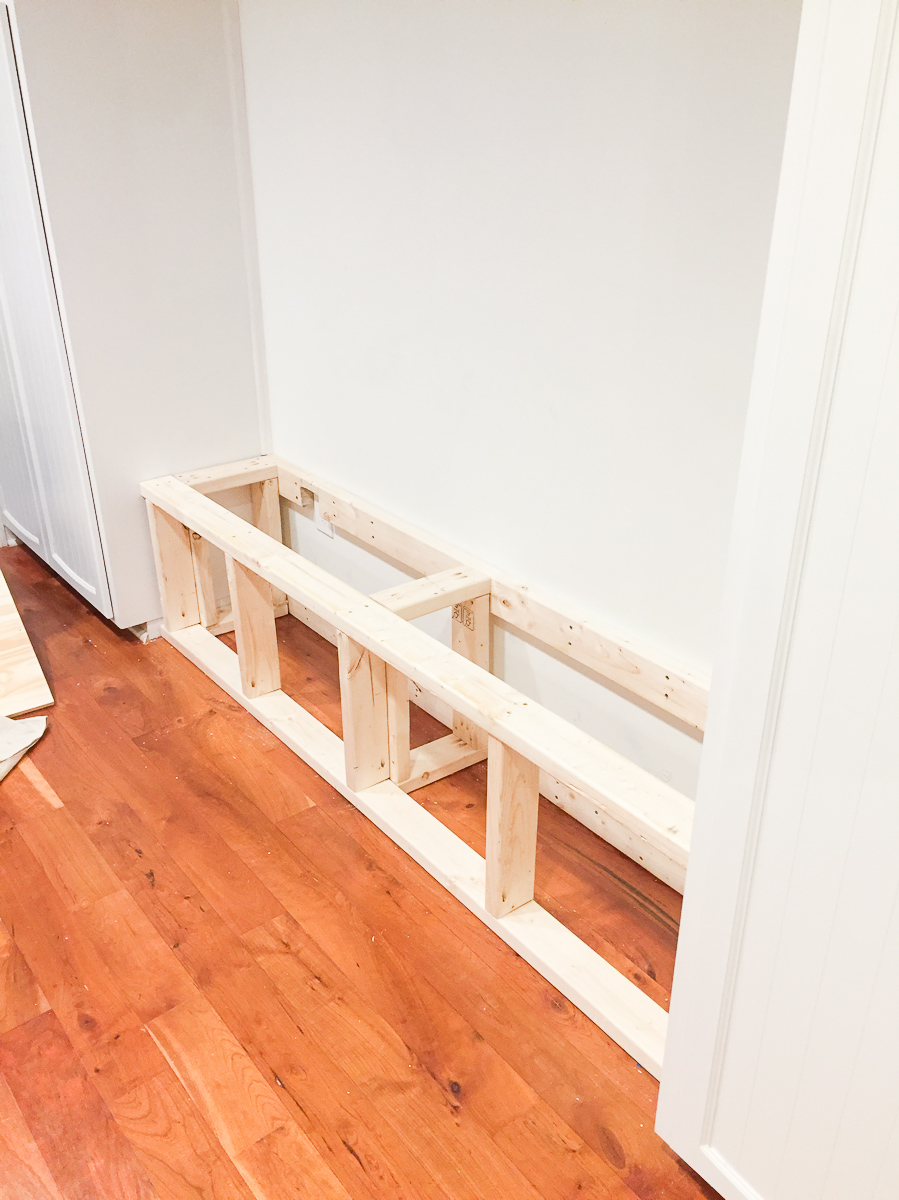
We then cut to pieces for the edges of the base going from front to back and began building the “3 boxes” similar to the outline from “housefulofhandmade.com”. You will need a “jig system” in order to screw the pieces of wood into each other for extra strength. We used the one for $45 and it comes with everything you need!

We added the third “box” to the Right on top of a frame going from front to back. Then added extra shims in the front and middle to add extra support given we are using it for actual seating.
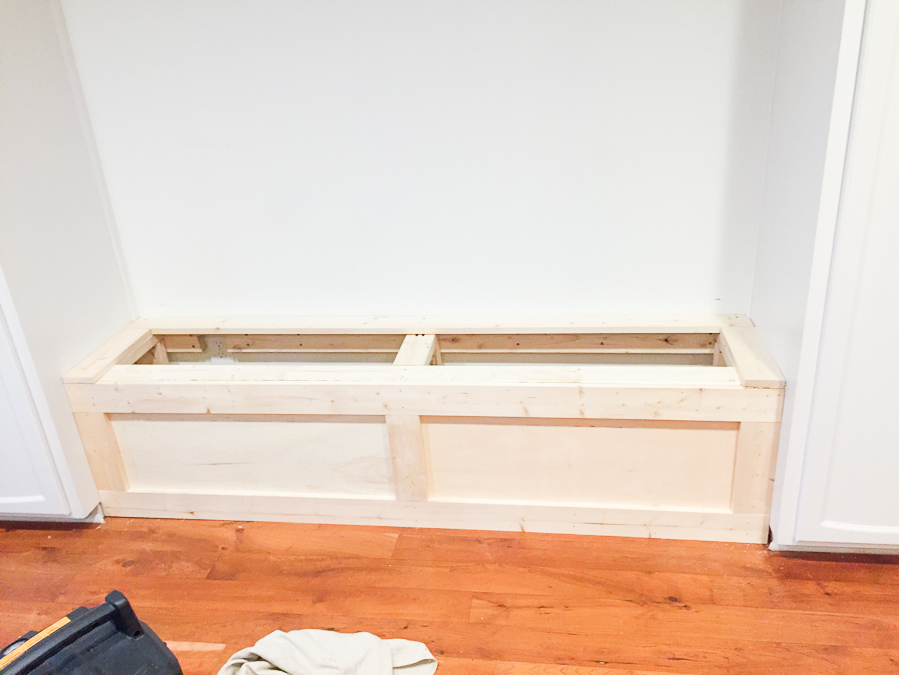
Next, it was time to put the face on. We chose a nice finished think 1/2 ‘’ plywood that we bought at Home Depot. The pieces were already pre-cut to a smaller size and we just had them cut to size to fit the front. We used a Brad Nailer to secure the pieces to the frame. We bought this Bostitch Air Compressor Kit with brad / finish nailer and stapler. I highly recommend it! WE have used it 1,000,000 x already!!
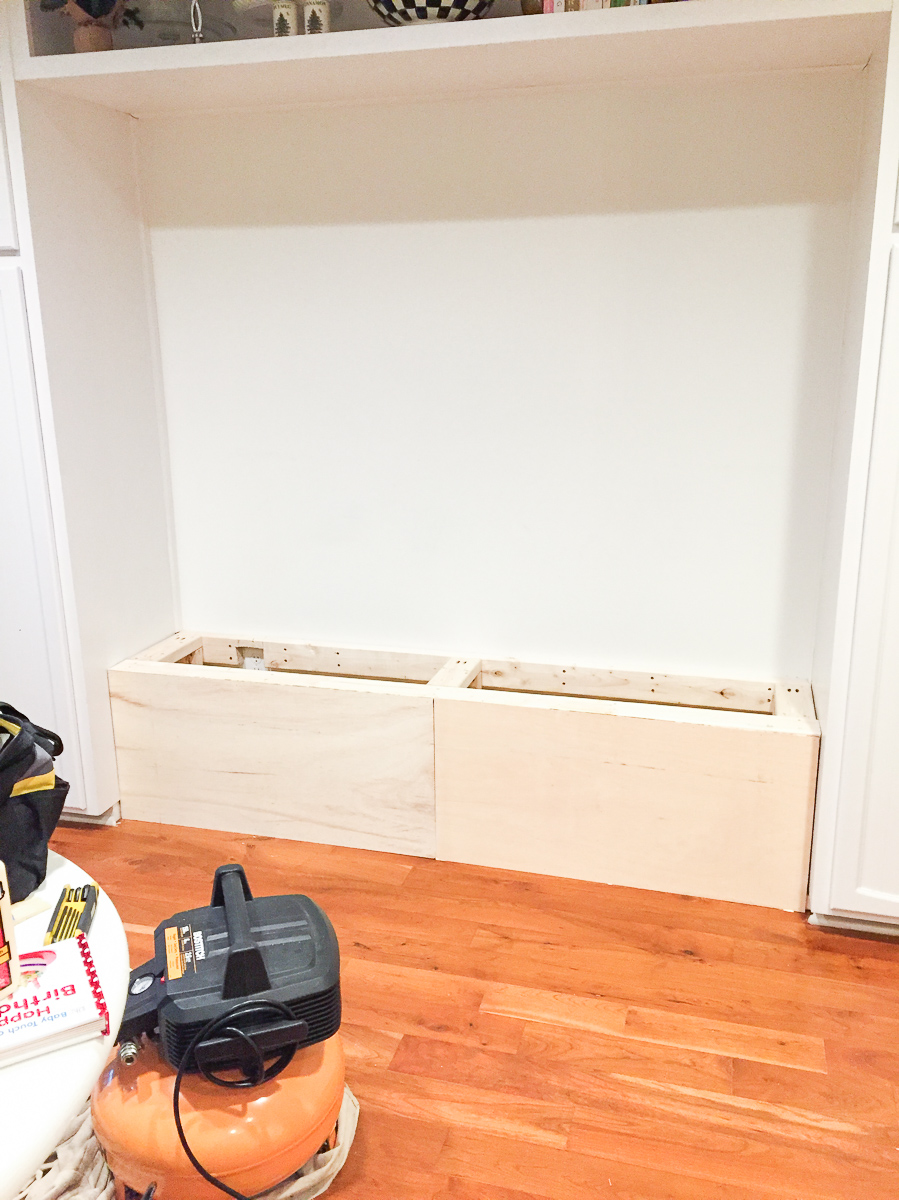
The next step was to create a design on the front so it wasn’t just plain. We chose this design as it matched some of our existing cabinets. We just cut 1x4s to size and placed one across the top, one across the bottom and three vertical pieces on the ends and middle.
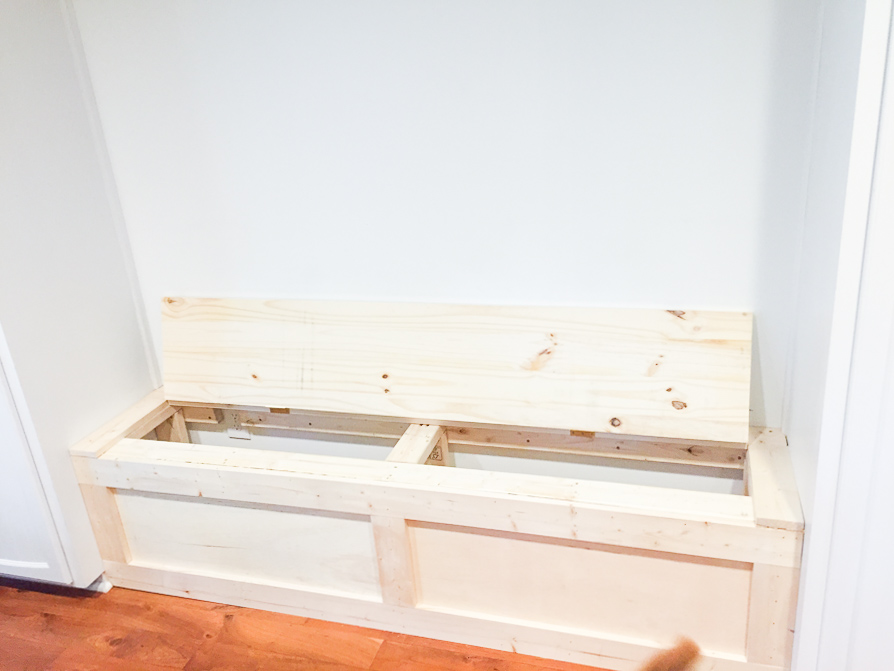
We then placed the same size pieces of wood on the back (flush against the wall) and the sides (on the top) to create a frame for the top (seat) which we wanted to make able to open from the top. The frame was necessary because if we did not have this the top would open directly into the existing wall trim which would look awkward when the top was closed.
Next we bought a nice piece of pine would matching the thickness of the top so it would fit flush. We pre-measured what size we would need to fit the existing space. We then placed two hinges on the inside and voila! We had a bench seat that also offers storage space!! Boo-ya!
Then, it was just paint, paint, paint! I still want to get a cushion made, but until then, I added some pillows for comfort! It absolutely transforms the space and I love the finished product. It’s like it was always there/meant to be there!
And since this DIY kitchen bench post is already reaching close to 1,000 words (yikes, sorry guys, but details are key in DIY). I am going to share the painted and “semi-finalized (without cushion) bench for y’all on Monday!

XX
Loving this DIY kitchen bench feature? Take a look here for more of my at home favorites!
Looking forward to the finished product!
http://www.docdivatraveller.com