Happy Thursday sweet friends, I hope the last few days brought you some sunshine and good feelings (a frost killed my plants I just planted, so I’m bitter). Plus, I hope this post brought you some inspiration for some comfortable and yet, put together looks for quarantine. I’ll admit, it’s Thursday and I look a hot mess, but tomorrow is a new day to try again, right?
If y’all remember when we first moved in, I started tackling our staircase by doing a DIY stair railing makeover and painting the banister, risers on the main stairs and then the footing of the spindles. The project took for what seemed like FOREVER, but I think it made all the difference in our home. I know a lot of people are against painting old or original wood, but it just felt old and dated to me. Plus, the power of paint is amazing and I knew it would transform the space. This house sat vacant for over a year before we bought it, so while yes, the wood was pretty, it wasn’t in the best of shape. It was obvious that the stairs at one point had been carpeted and whoever ripped it out did quite a bit of damage on the stairs with the nails not being taken out properly, etc. Additionally, it just didn’t appear the wood had been cared for as it should have been, so with that, I decided to start the project and I thought I’d not only take y’all through my step-by-step, but also let you know what I used. So without further adieu:
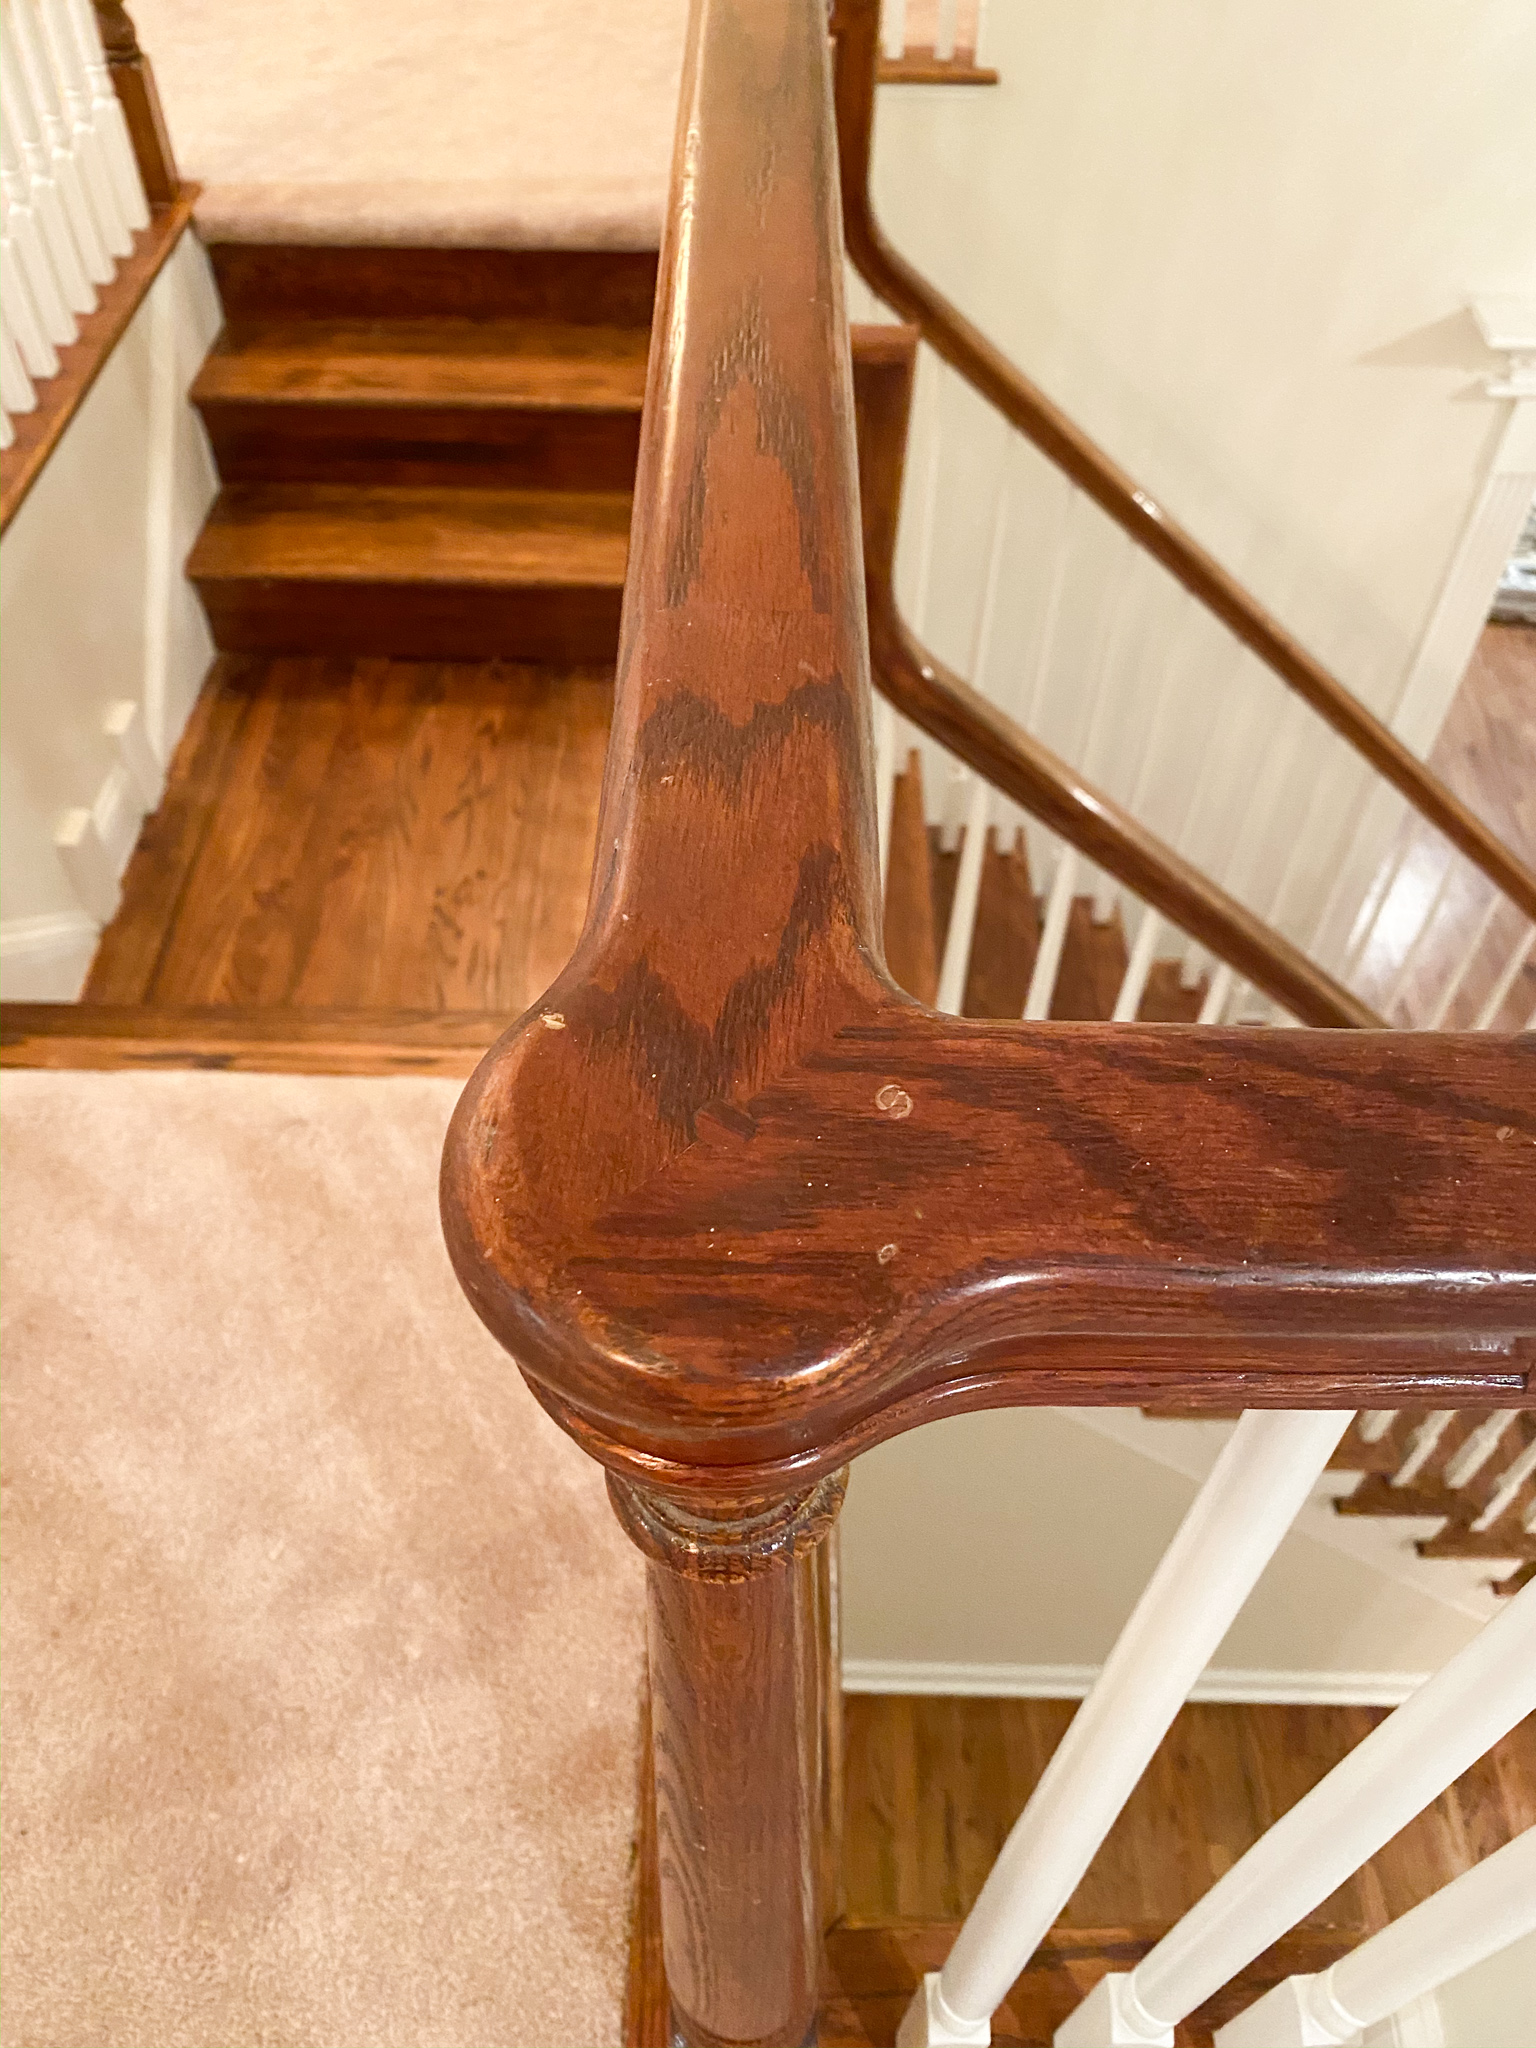
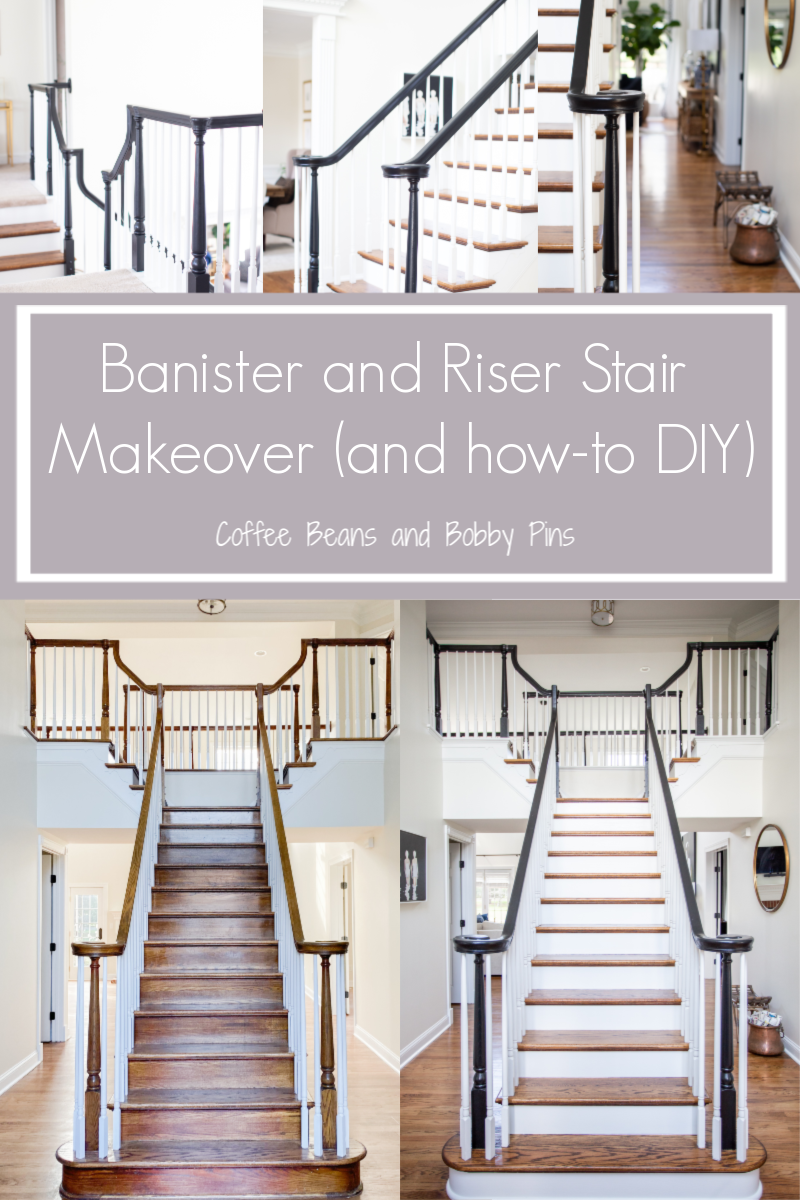
Here is what the staircase/wood looked like prior to moving in.

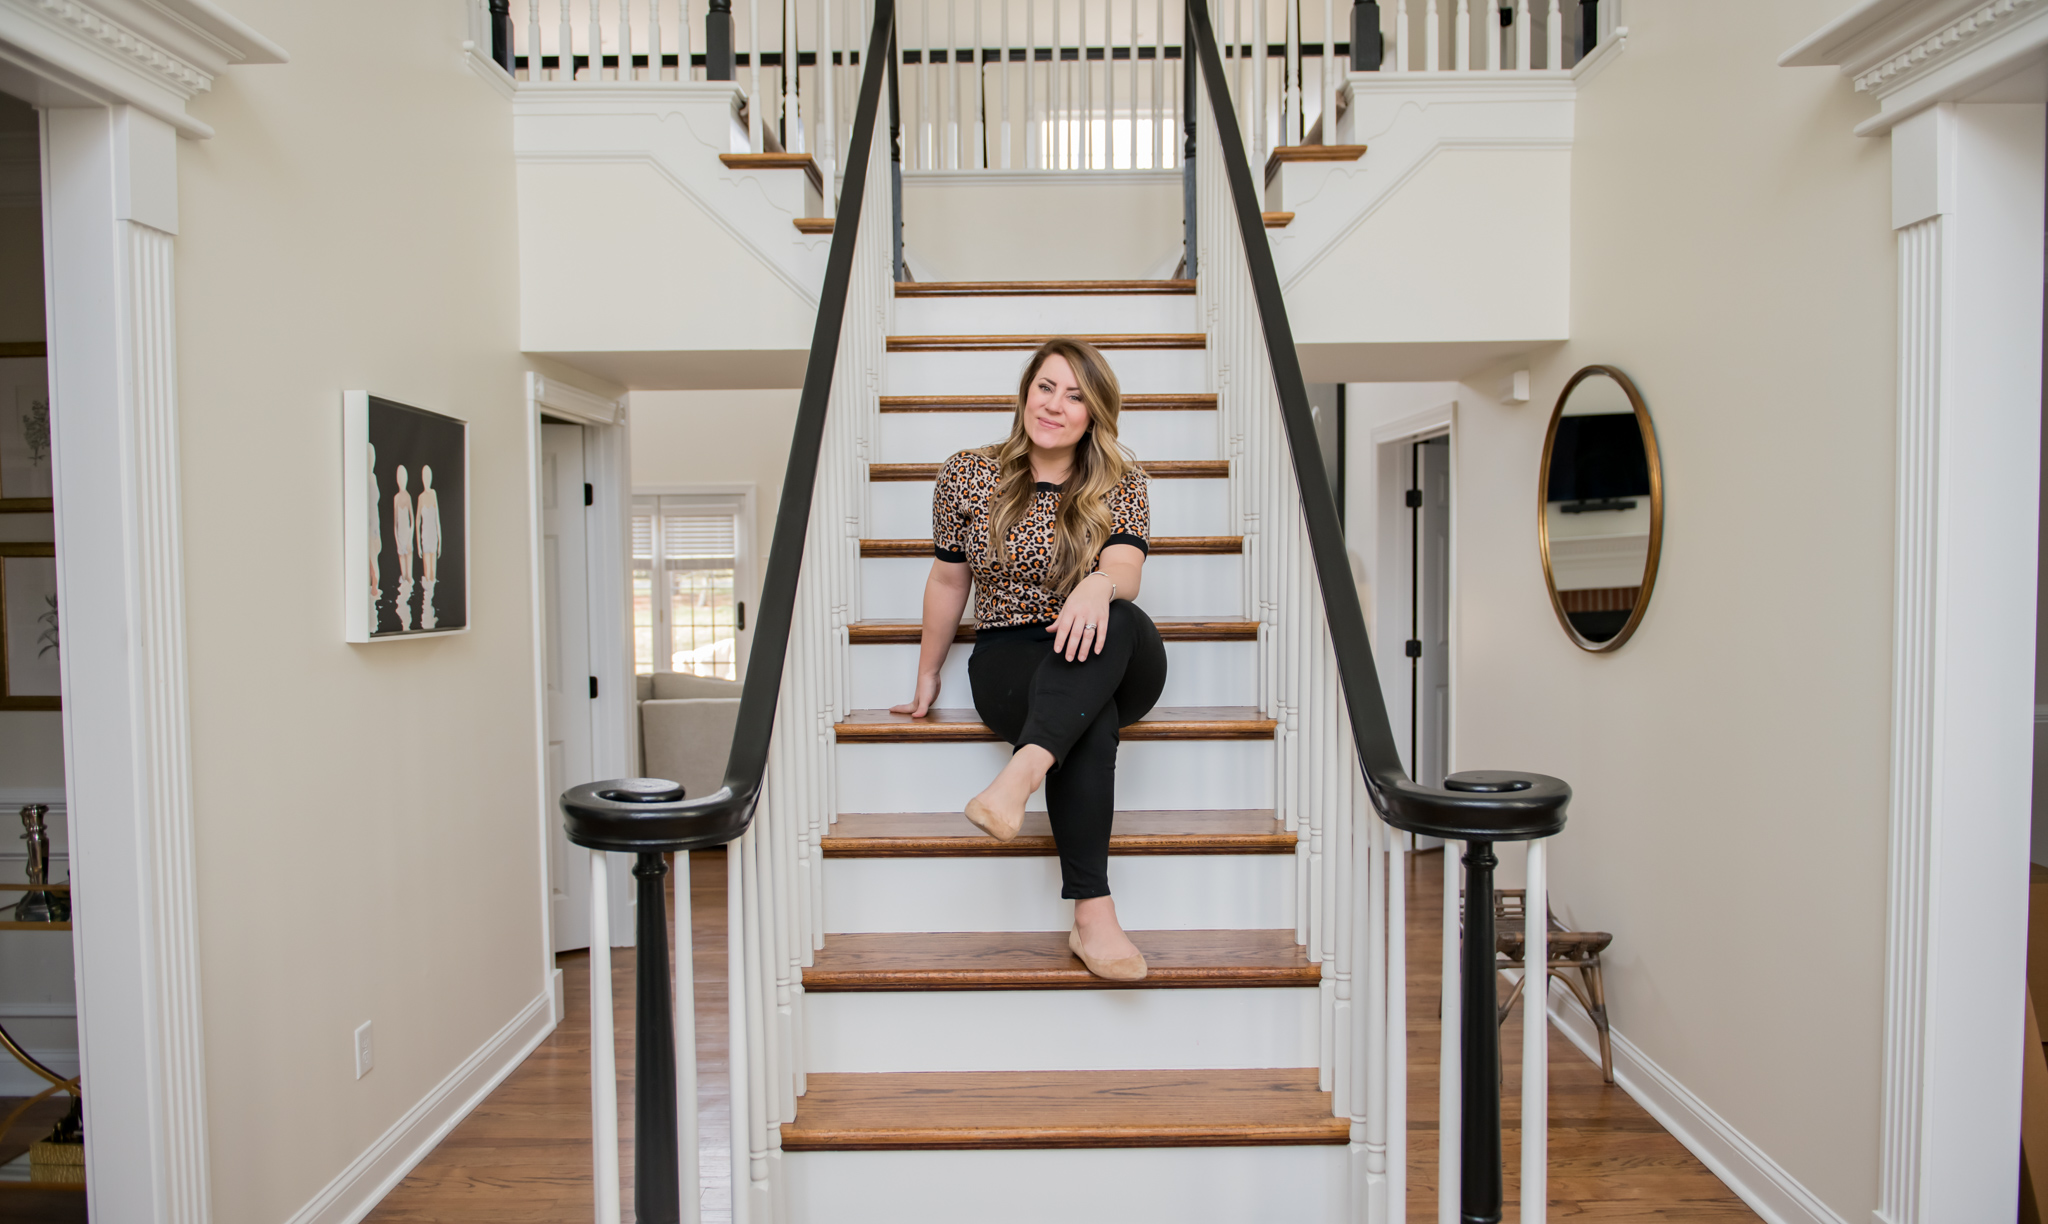
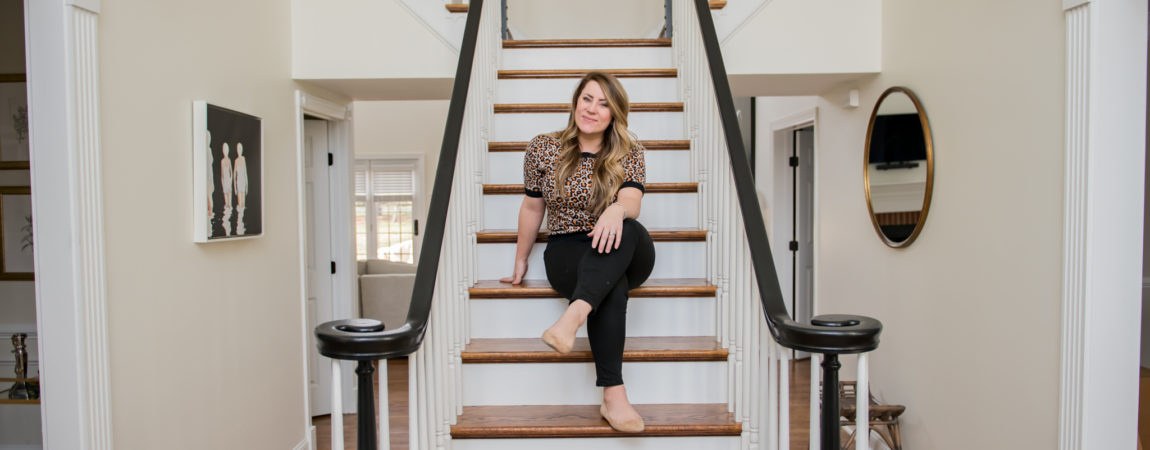
And here is what it looks like now:

DIY Stair Railing Makeover
Supplies List:
- Frog tape: I have painted a lot in our three homes (and numerous other rentals) and can attest that Frog Tape is the best.
- Primer: This is what I used because I trust and know Sherwin Williams and even though it’s more pricey, it’s worth it.
- Paint Color: Again, I used SW and chose their Tricorn Black (which is their purest black) in the Emerald Urethane. DO NOT, I repeat, DO NOT use latex paint on trim of any sort, it will peel and scuff very easily. Urethane is made for high traffic areas like baseboards, banisters, etc. and the finish is silky and smooth, exactly what you want for this type of project.
- Paint Trays
- Angled brush
- Mini foam roller and brushes for said roller
- Small artist brush
- Deglosser
- Sanding Block
Step by Step DIY:
1. First and foremost, lay your drop cloths and tape off your bottom boards (if yours are already painted, you can skip that step), spindles and walls. The biggest pain in the bum was taping off the spindles on the underside of the banister. SO ANNOYING.
2. Next, you need to give your banister and any area you plan to paint a thorough cleaning with the deglosser. Use hot water and scrub, scrub, scrub.
3. Once your areas are dry, take a sanding block and give an easy over scrub. This doesn’t have to be anything vigorous, but just enough to rough the wood up a bit. Once finished, just give a quick light wash over to get any dust off, make sure to dust off the dust that fell on the tape, too.
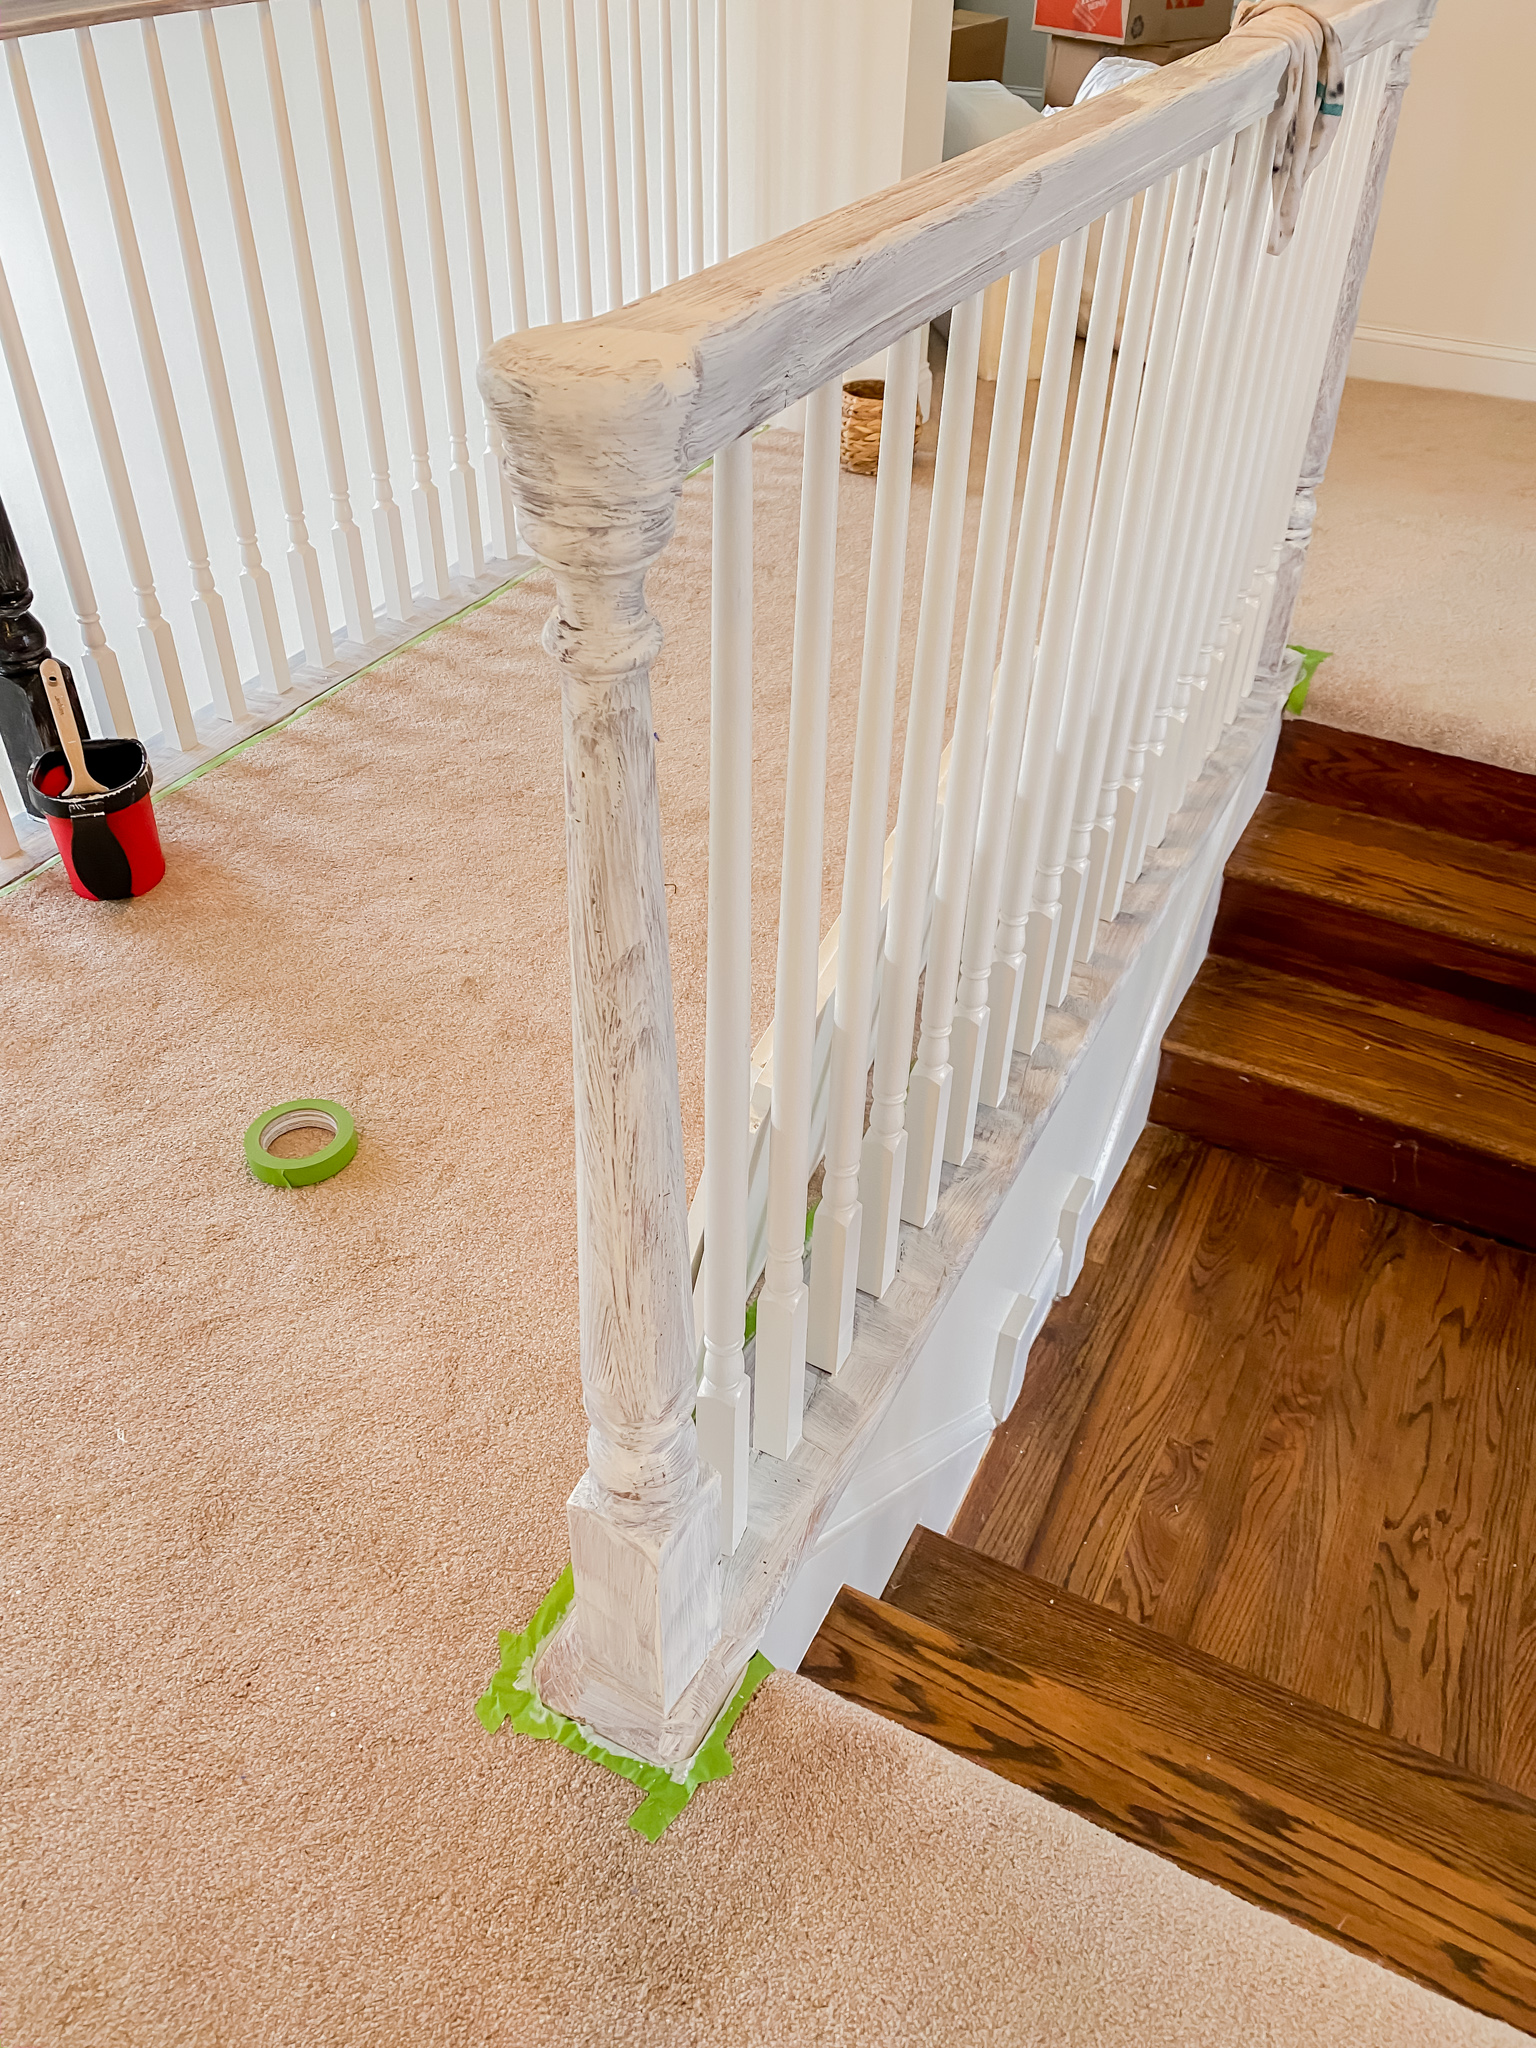
4. Next, you’ll take your paint primer and paint all areas. I used only a brush for this portion of the project. This will take two coats, however, the primer will dry very fast, so you should be able to paint the second coat relatively soon. Let dry completely.
5. Once your primer is dry, it’s time to put your first coat of color on. Work in small sections, using a combination of foam roller and brush. Clean up any drip marks and work in one direction (I went in the direction of the wood grain). Don’t fret if the first coat doesn’t cover, mine took about 2.5 coats.

6. Once your first coat is dry, sand out any imperfections lightly. Once the paint is dry, you’re able to paint your second coat.
7. Use a small touch up brush to perfect any imperfections (I use craft brushes for this, they’re so small, so easy to work with). Once finished, take off your tape and voila!


** If the tape bled at any point, use hot water and an Exacto blade to gently scrape paint off.
A few before/afters.
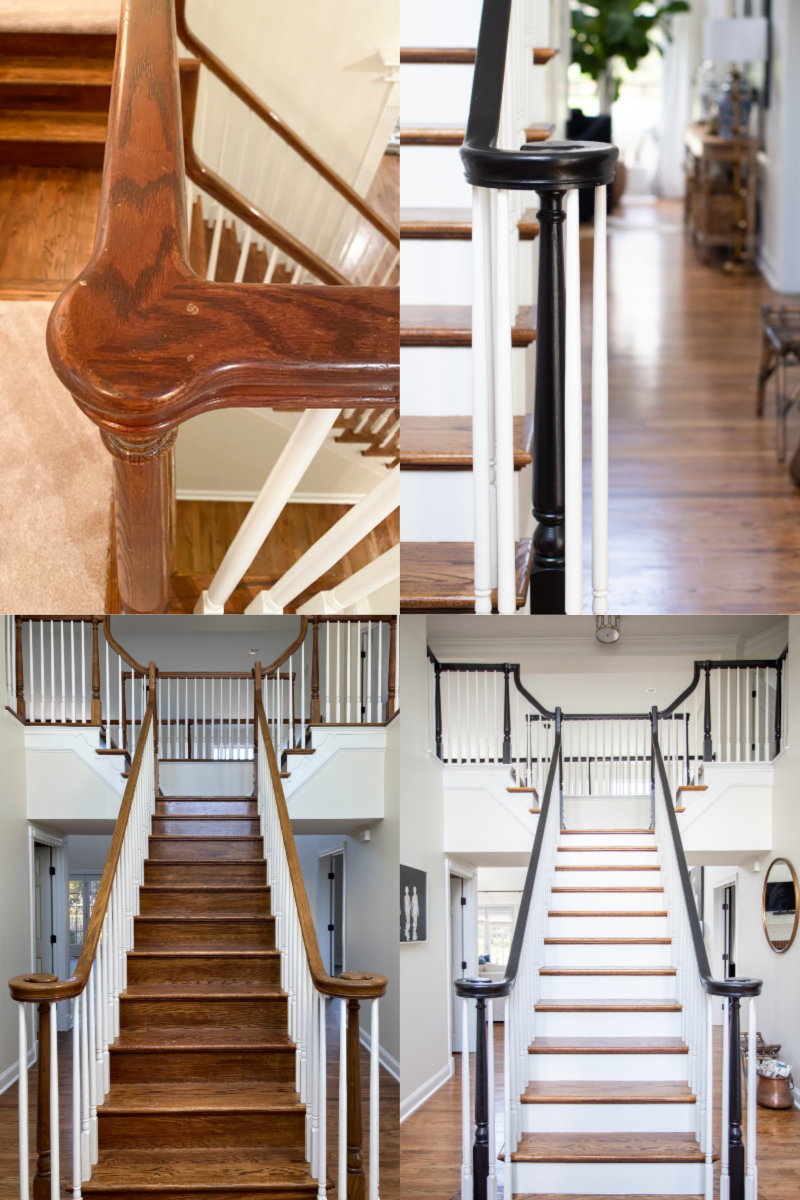
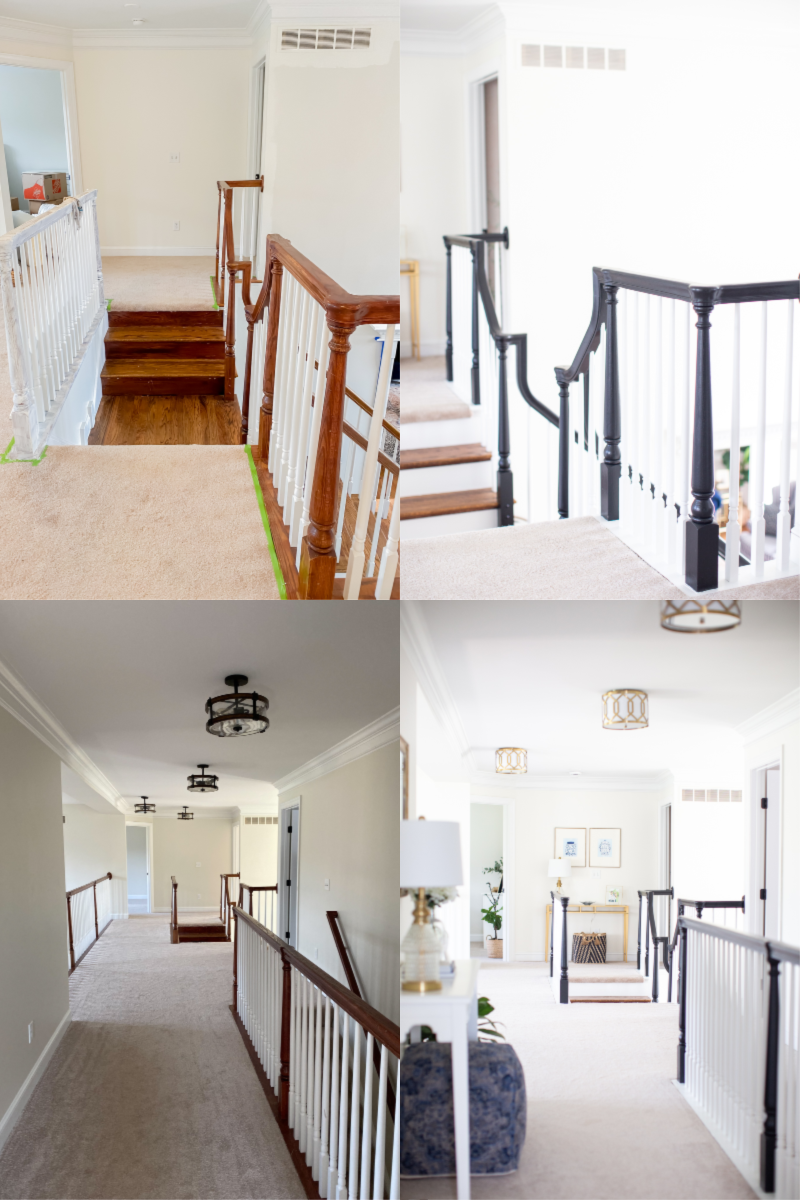
I used this same method for both the Risers and the banister/floor boards and I’m extremely pleased with the results. It looks so much brighter and more modern.
All together, this project probably took two weeks, but I only worked during nap times, etc. We also have two stair cases in the house in addition to an overlook balcony, which means A LOT of banister and floorboard. Painting the risers on the main staircase was actually one of the easiest parts and it made a huge difference making the main stairwell look updated and fresh. I love that this is the first thing you see upon entering the front door. It feels very Southern and grand to me. I can’t wait for Penelope to have homecoming photos here one day!


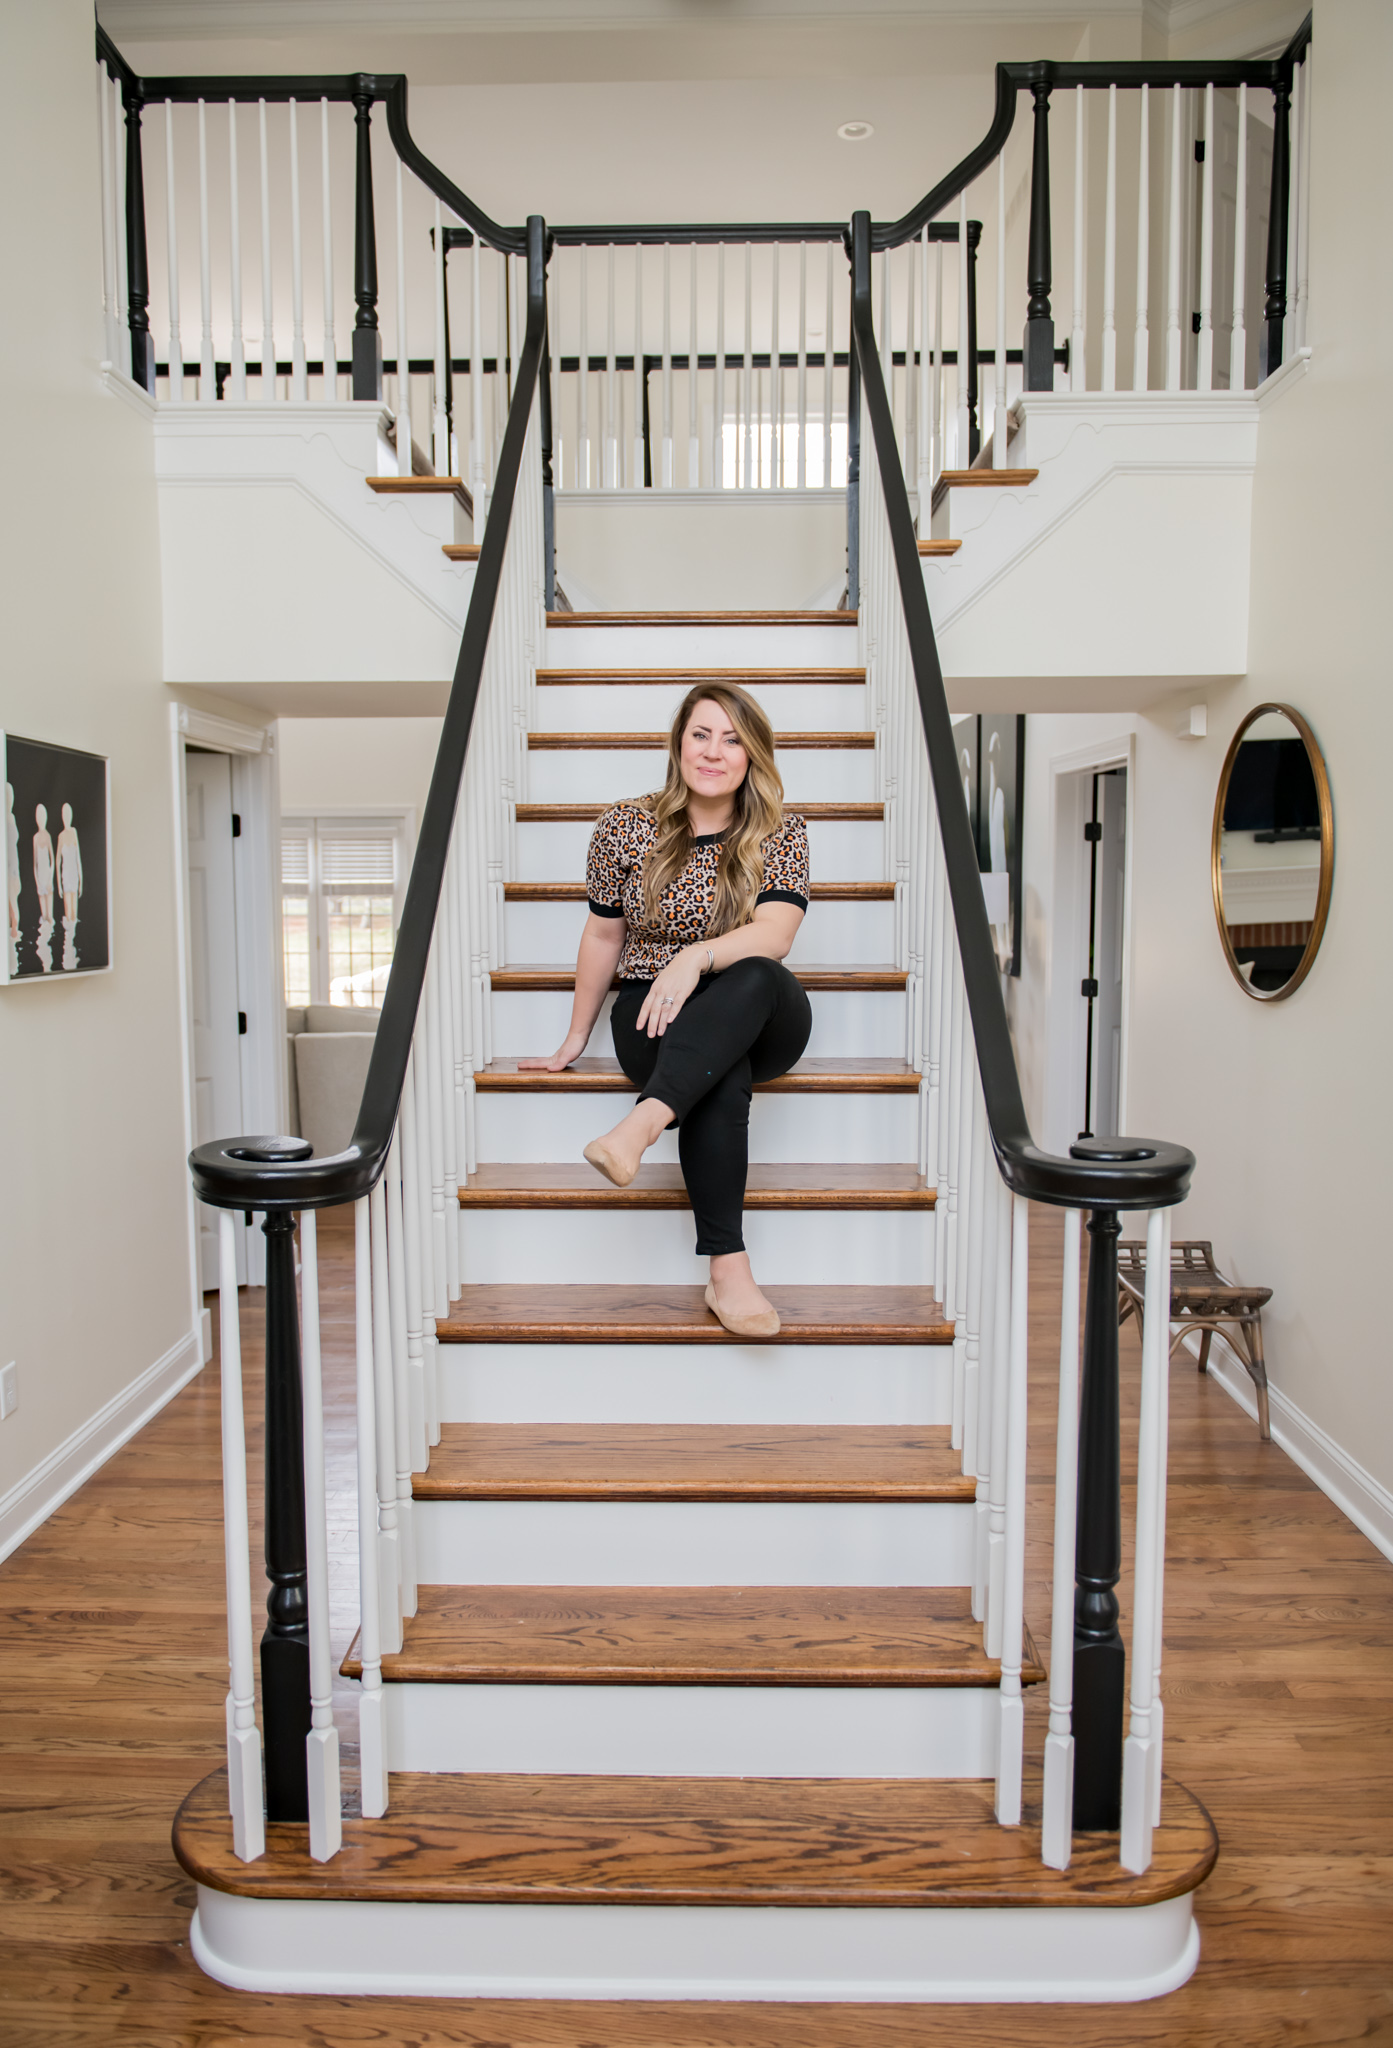

There is no better time than the present to get that DIY task you’ve been wanting to try out of the way. I hope this inspires you a bit!
Now, go forth and DIY with a giant coffee in hand!
XX
What do you think of this DIY stair railing makeover? Have you done a project like this before? Let me know in a comment below!







It looks fantastic! Definitely the right call. Love it! 🙂
Looks amazing!
I love the finished look. It was beautiful before, but even better now! Your home is amazing.
Looks amazing! I love the update
Wow! What a beautiful transformation and
a tedious job! I love the black & white. You always create the most beautiful homes!
Such talent! 🤍🖤
Love!
I love the black!! So dramatic.
Wow, it looks beautiful! Our banister was redone by the previous owners in a cherry stain. They did a good job but it is not my style. I’m super inspired now to paint it!