Hello sweet friends, how are you? Can anyone believe that it’s the middle of June already? 2020 has been a doozy. I totally dropped the ball on planning a Father’s Day post, in fact, I’ve been dropping the ball A LOT lately. I actually had a comment on my Instagram yesterday about how I never follow through and complain a lot. All I can say to that is I am sorry. The past few months have been challenging. As you know, Aaron and I are going through some things and trying to work on our marriage, COVID-19 is still around and in full force, social injustice is taking the world by storm, my dad just had a major surgery and honestly, I’m just exhausted between being a mom, trying to make our new house a home, and dealing with everything the universe is throwing at me, etc. I’m not trying to make excuses, but I guess my main excuse is that for the last couple months (okay, about 9 months), life has just been plain HARD.
I REALLY want to show up for you guys, this website makes me happy and brings me joy; but I’m only human and sometimes that nap seems better than a post, or I don’t put makeup on for days and feel like no one cares what I have to say. I’m going to try to do better, I really am. Not just for you (even though you’re SUPER important! But for me, too). COVID has striped me of routine and I MISS it you guys, I am such a creature of habit and this new normal is not fun. Okay, enough of that…
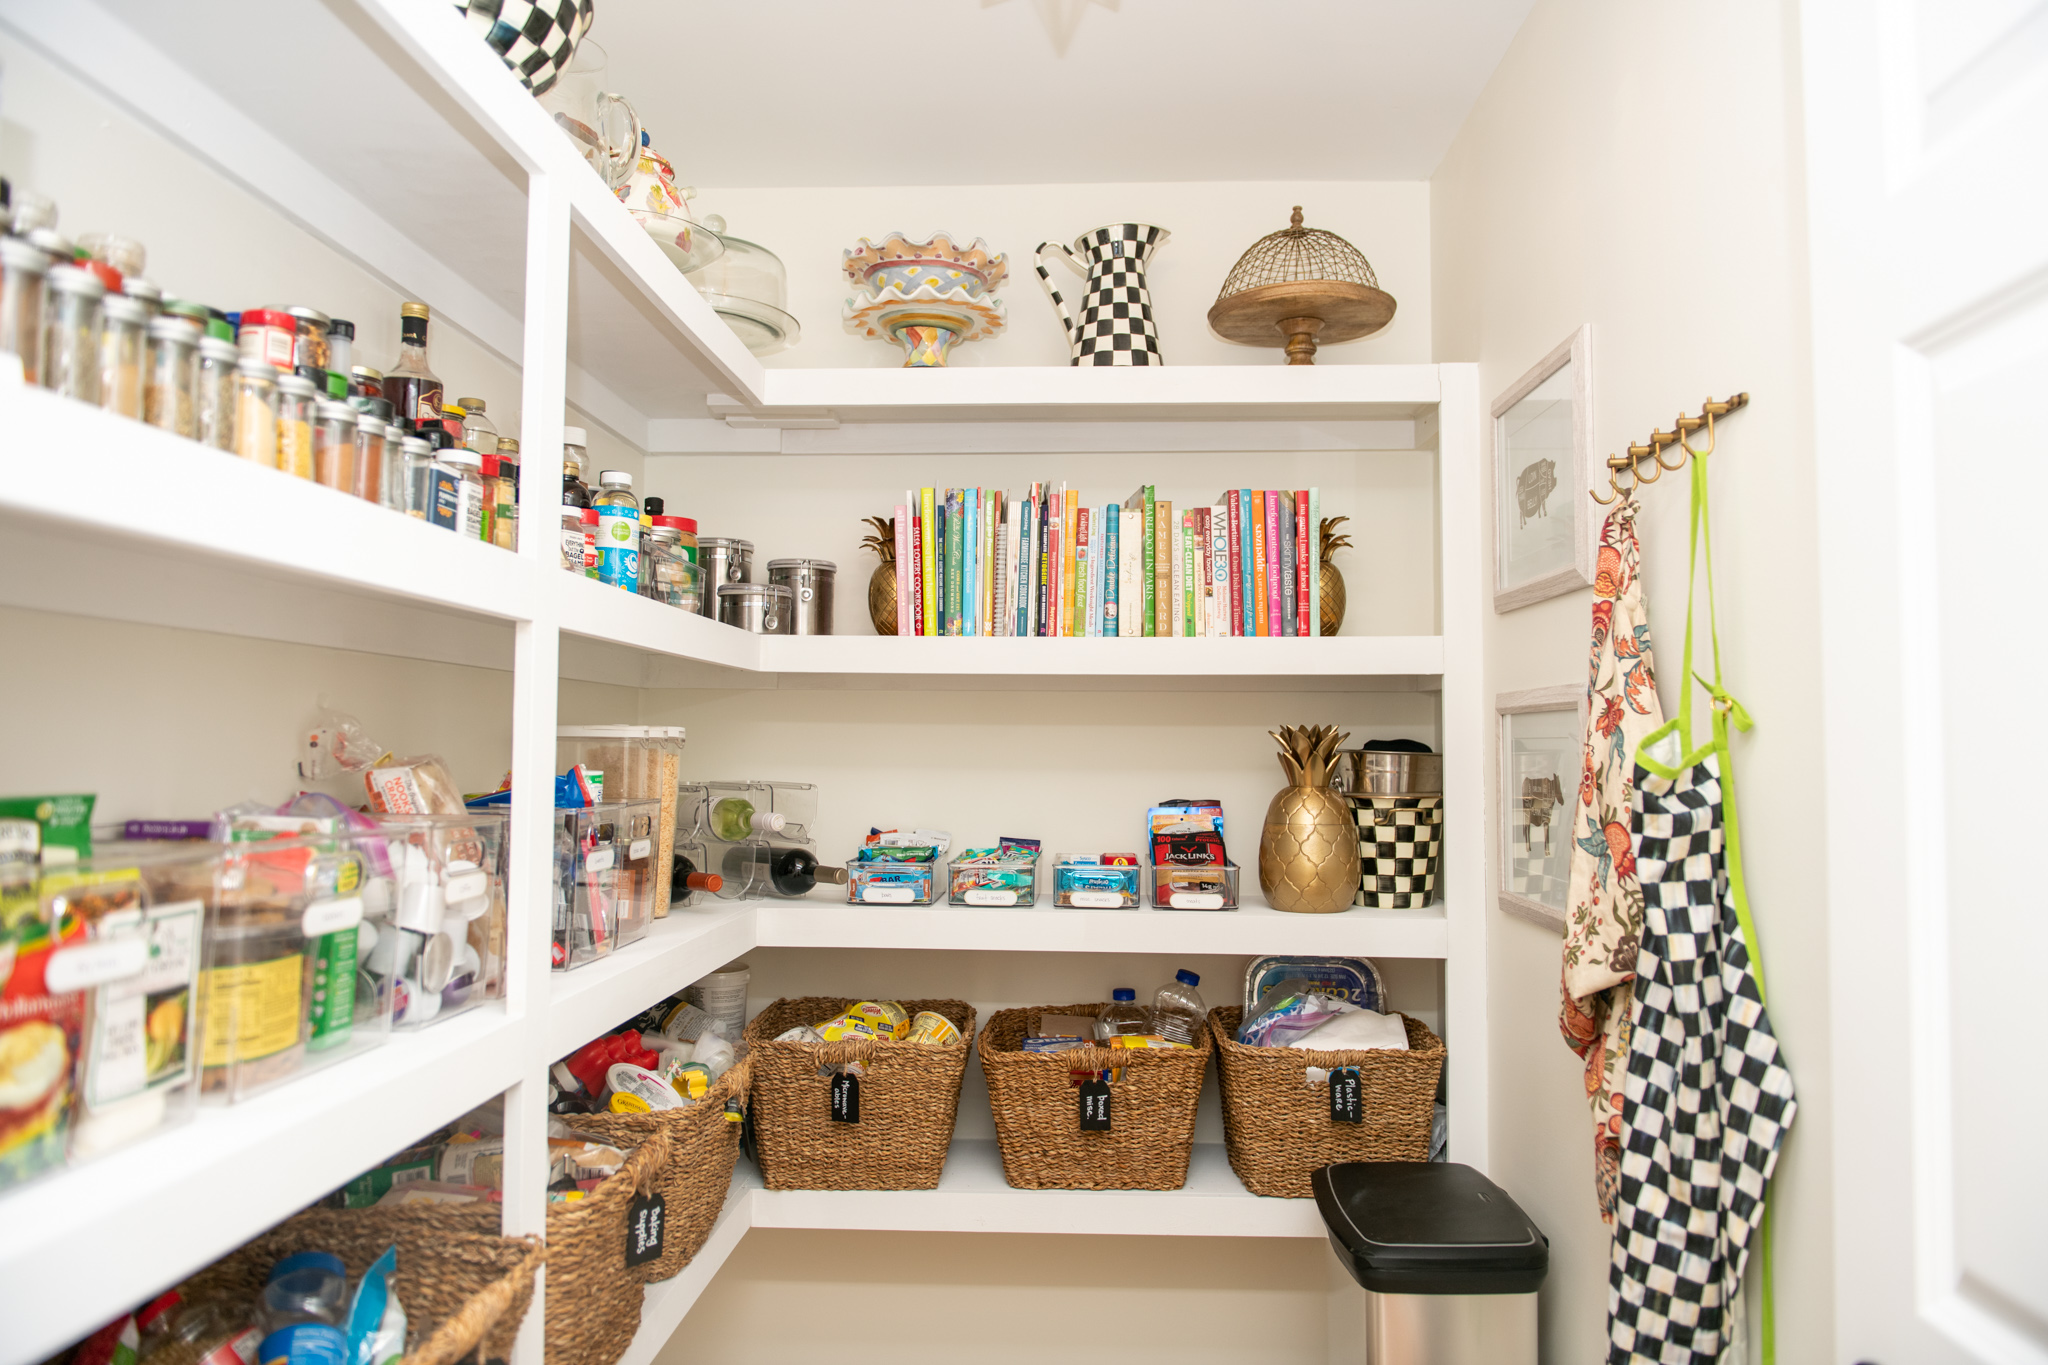
So, remember this post? Well, I realized I went straight to showing you the finished product (it could use some reorganization right now!), but it didn’t occur to me that maybe you wanted a how-to/DIY pantry shelves post. So, Aaron so kindly helped me write some wording up to help you handy people out there suffering from the absolute disgust of wire shelving as I was. Let’s take a moment to remember what this area looked like when we moved in:
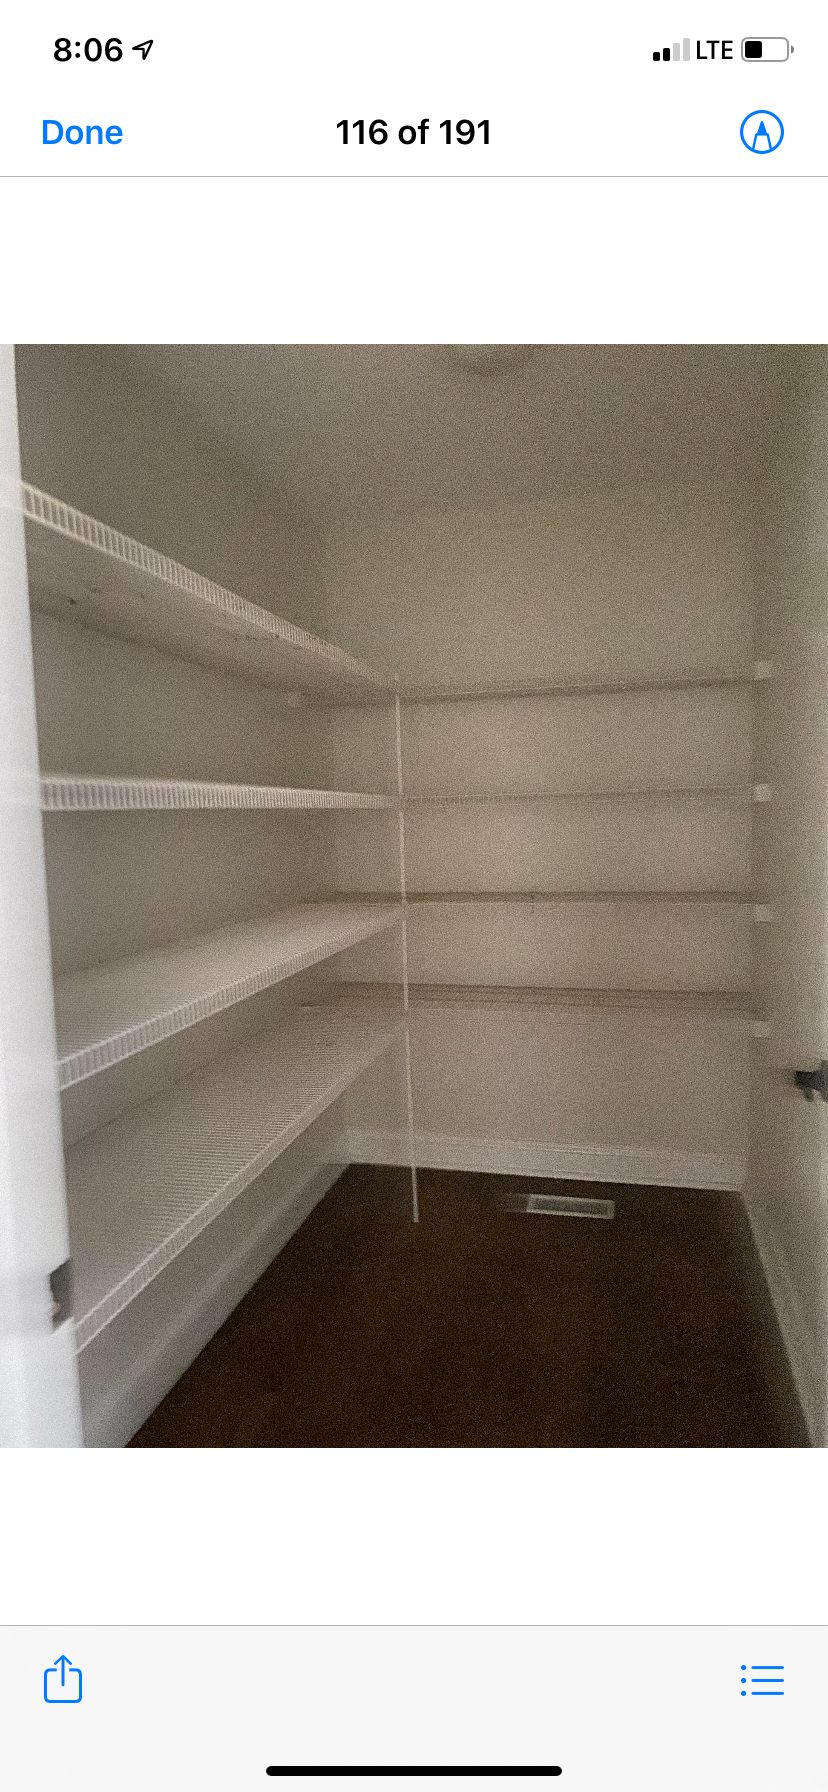
YUCK, also, those shelves were SO sticky/dirty. EW. And here is the after:
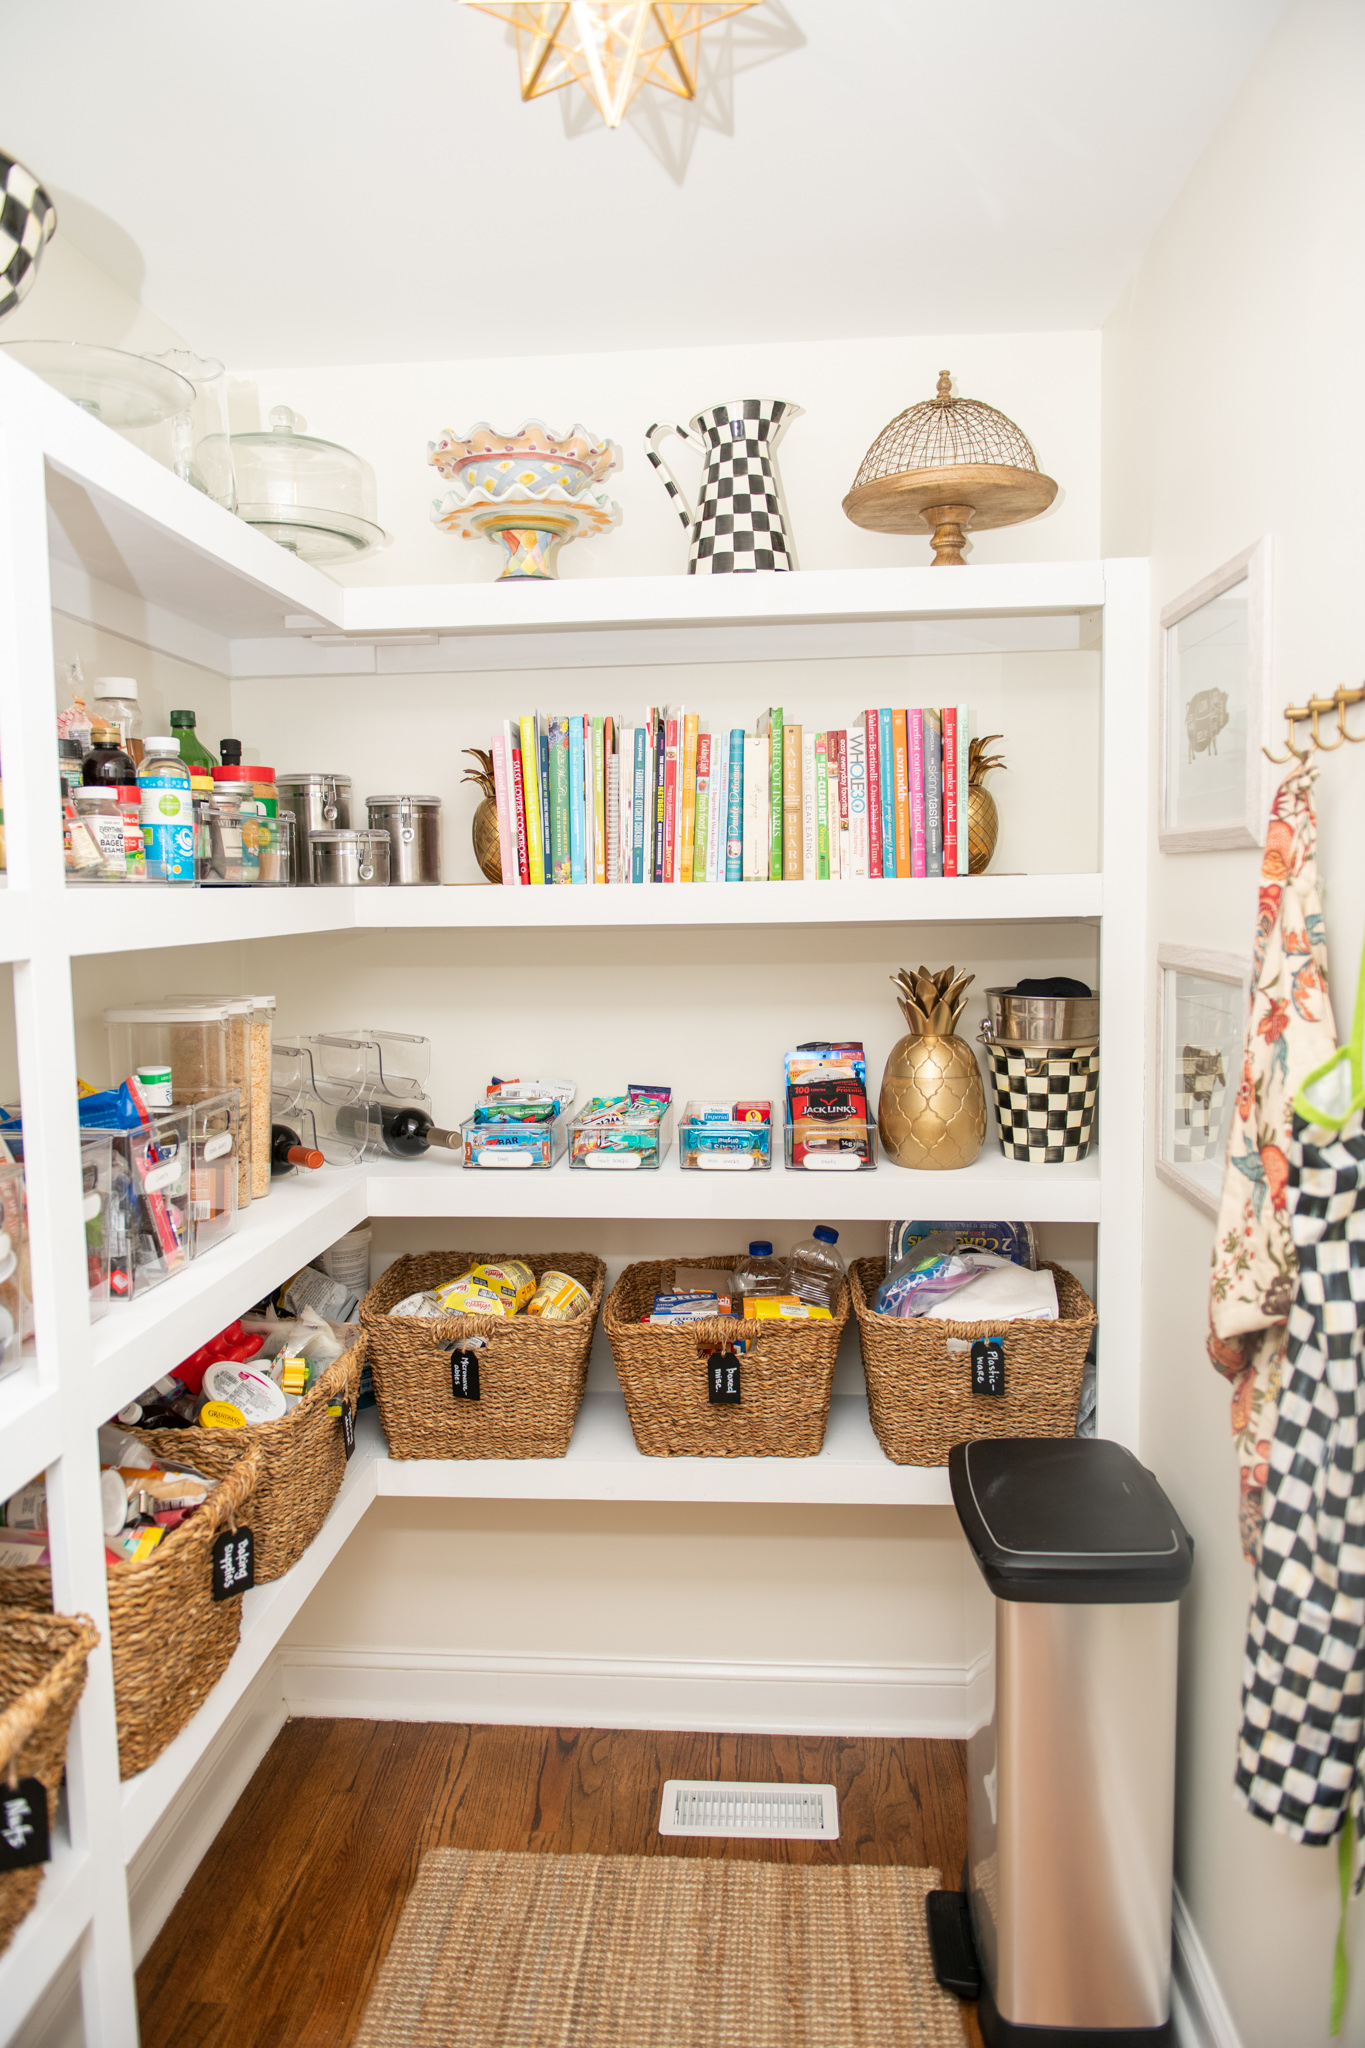
Now, how did we get here? Well, First step for any “re-do” room project is to remove the existing part of the room you don’t like. We had an ugly “wire-like” pantry structure. As I talked about in this post, but we planned to keep the previous pantry for a while since we had so many other projects to do upon moving in. However, it fell one night and we decided we needed a new one sooner rather than later. I swear I had nothing to do with it! So, we got to work!
DIY Pantry Shelves
- After the wire shelving was removed and thrown into the trash (good riddance), we marked the studs all over the entire space. For this type of pantry we made hinges on using wood “bracing” to hold the weight of the structure. We often use a stud finder to find the studs but they can often be unreliable. This one seems to work pretty well. **A trick for finding studs that ensures you are in the stud and in the center every time is taking a small nail and nailing it through the dry wall until you hit resistance. This is easily patched w/ spackling later. Regardless of what the stud detector shows we always like to make sure so I am in center stud for the best amount of support.
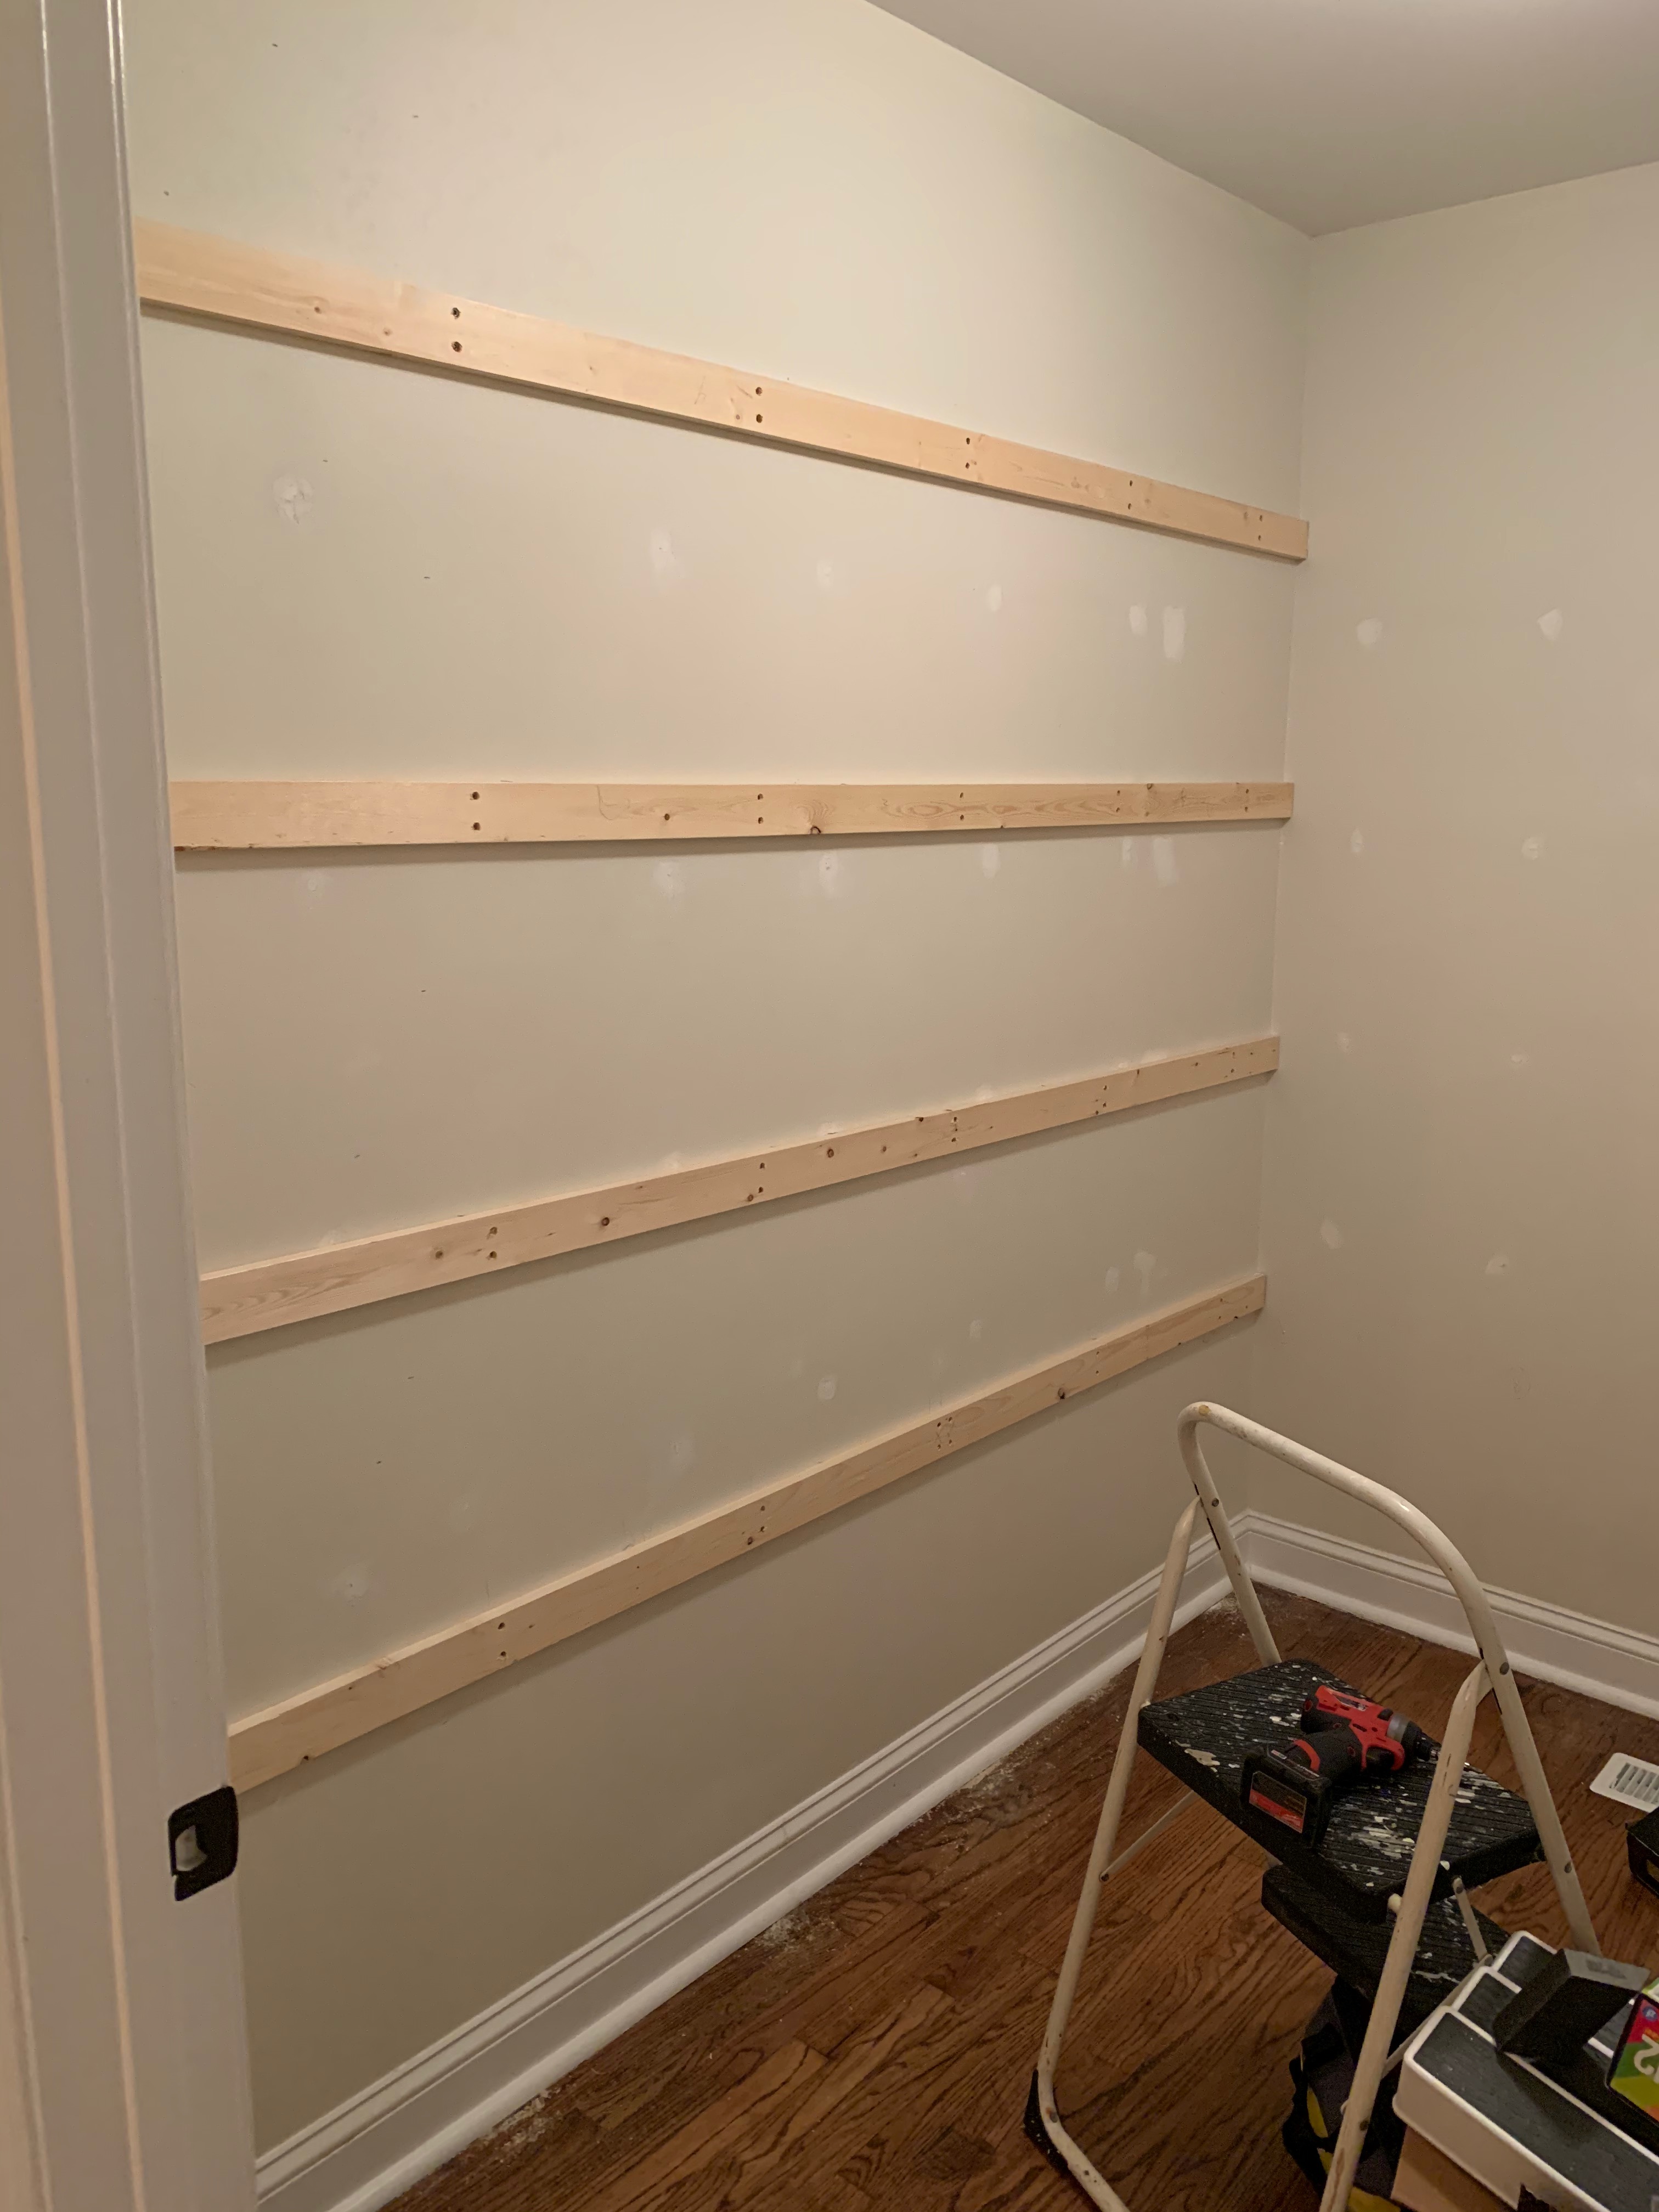
- Plan your spacing before you start bracing! Your space could be different, but we went about 23inches up from the ground to start for the first shelf and then about 15 inches in between there after. Remember to account for height from ceiling when planning as you want to make sure you can utilize the top shelf.
- Once the studs were marked we used wood to create horizontal braces. For this project we decided to use slightly nicer wood and chose 1x3x8 ft sections. There are generally three grades of wood in our experience for projets like this. 1.) furring strips (cheapest about $1.88 per piece of 8ft) 2.) Common board ($4-$6 / 8 ft strip) and 3.) Pine or other high grade wood ($8-$9 / eight foot strip). While some options are nicer than other, remember that paint and caulk seem to make all three look good regardless of what you choose. To secure the pieces of pine to the wall we used a counter sink bit to drill the wood first.
- Counter sinking is a good techniques that creates a bigger hole than you need, the benefit of this is you can fill it later w/ joint compound or spackling and it makes the deformities in the wood much less apparent. Not really necessary if tacking something but if you are creating a support structure with larger screw this makes sense (according to Aaron). We used 2 inch construction screws with the “star bit”. We have used these for countless projects and find them to be the best/easiest to use.
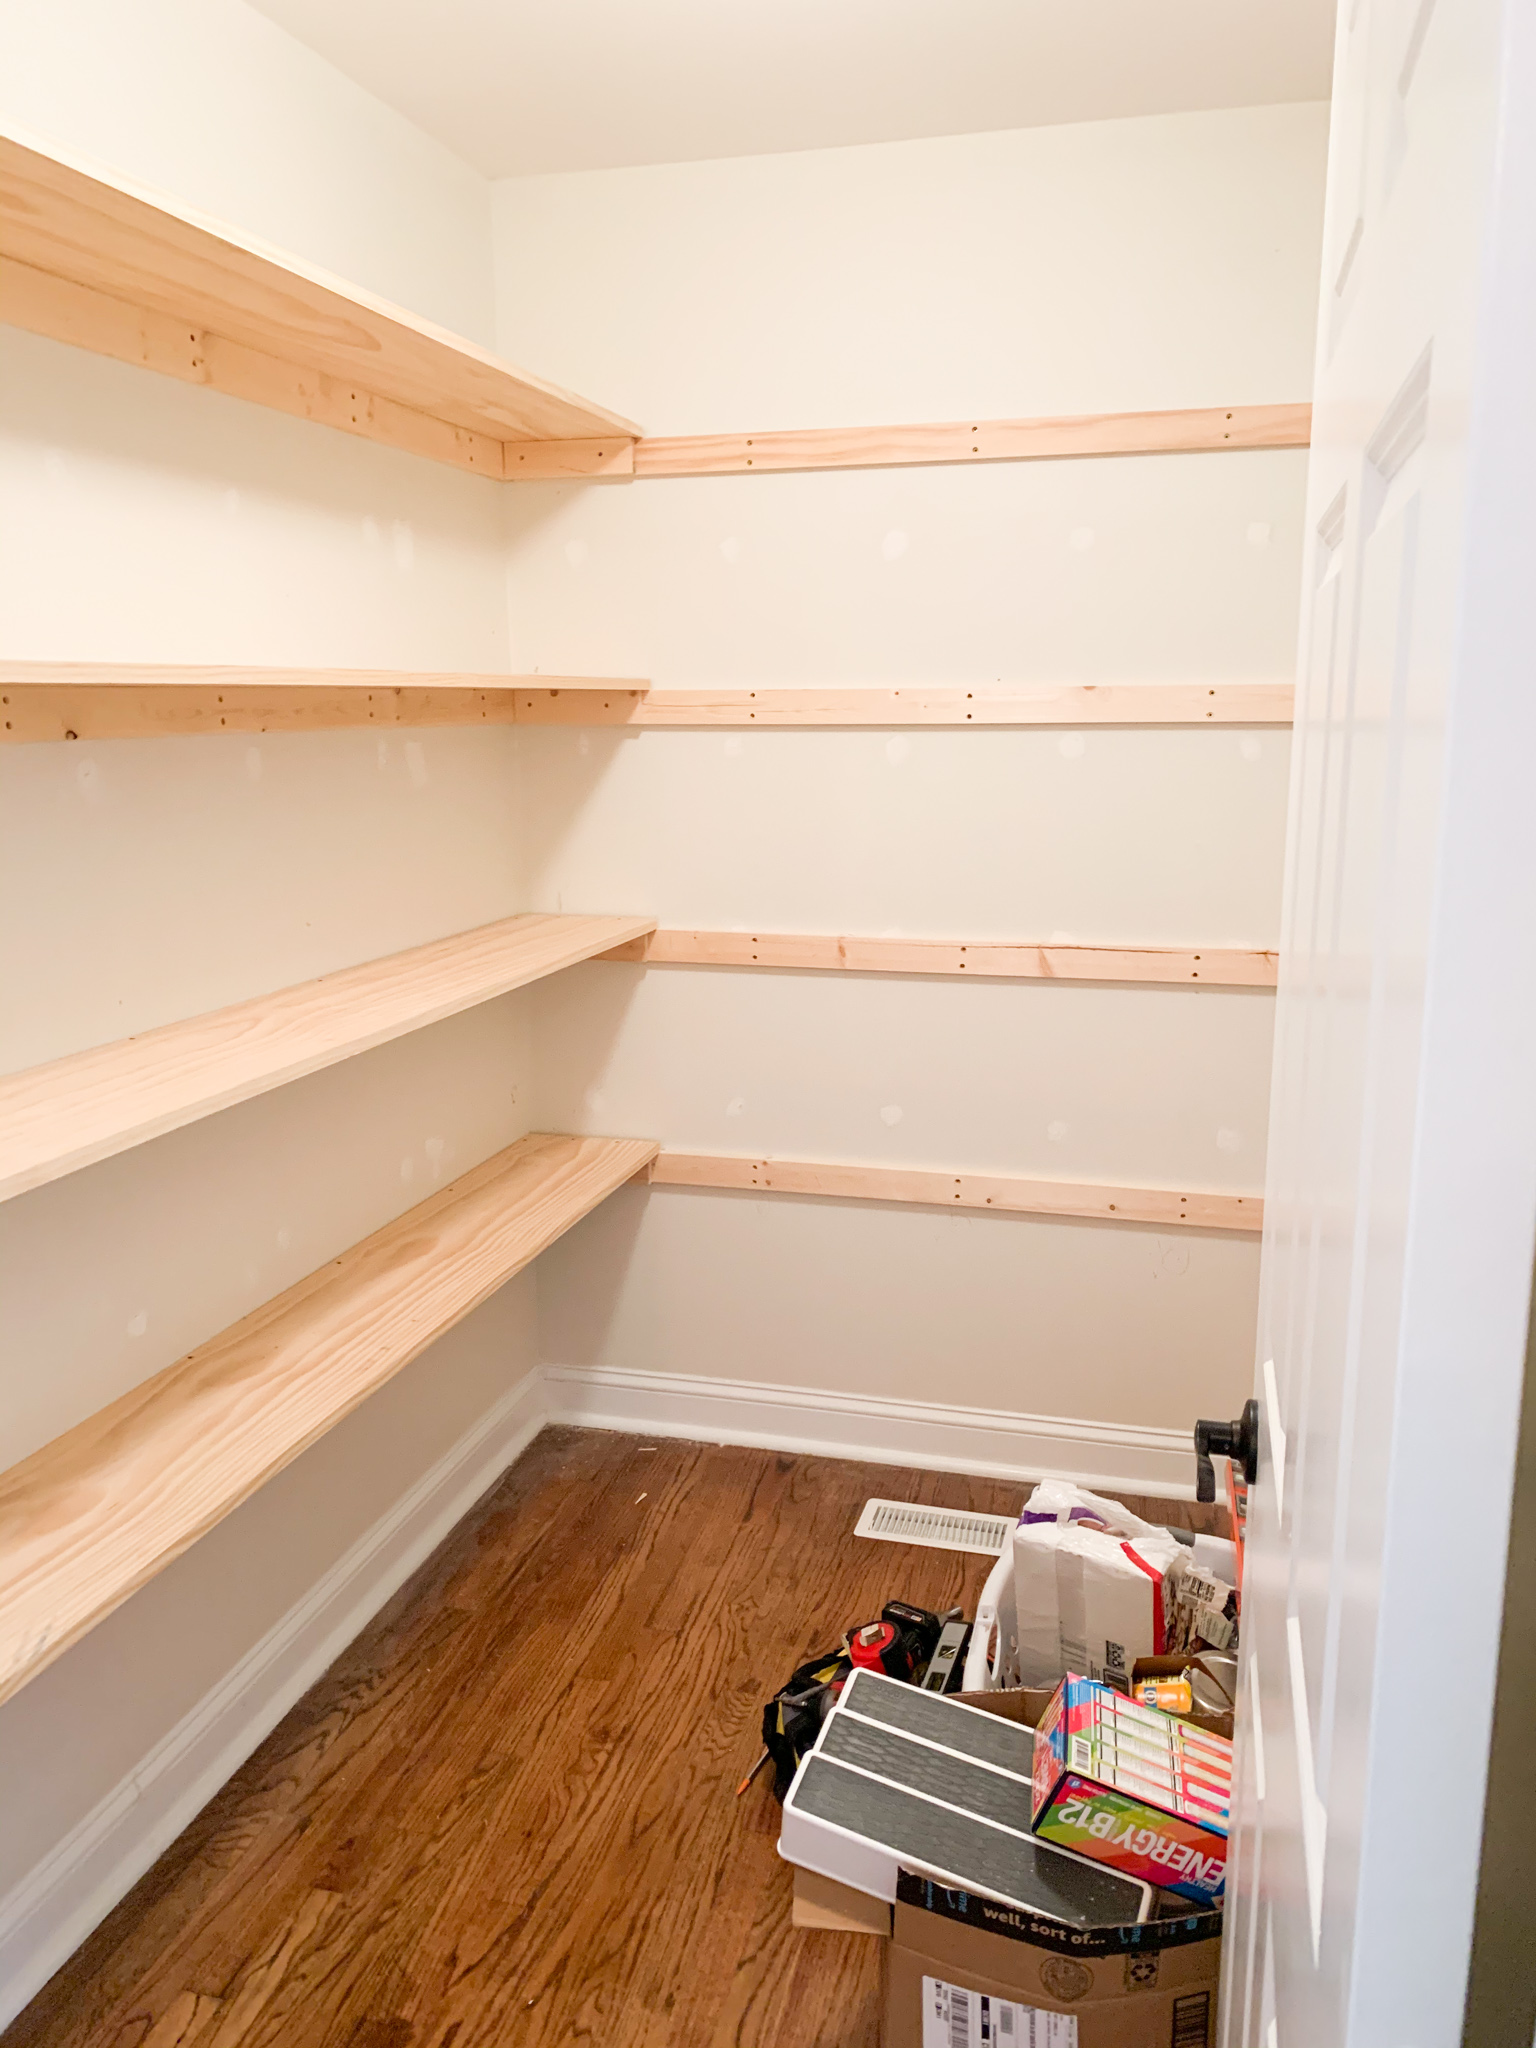
- Next, we purchased a large piece of pine plywood and measured the width we wanted for our shelves (we did 11 inches and had this ripped at the hardware store). You can consider countersinking these pieces into the bracing, but this is not absolutely necessary as no one will see the tops, so we just used a standard drill.
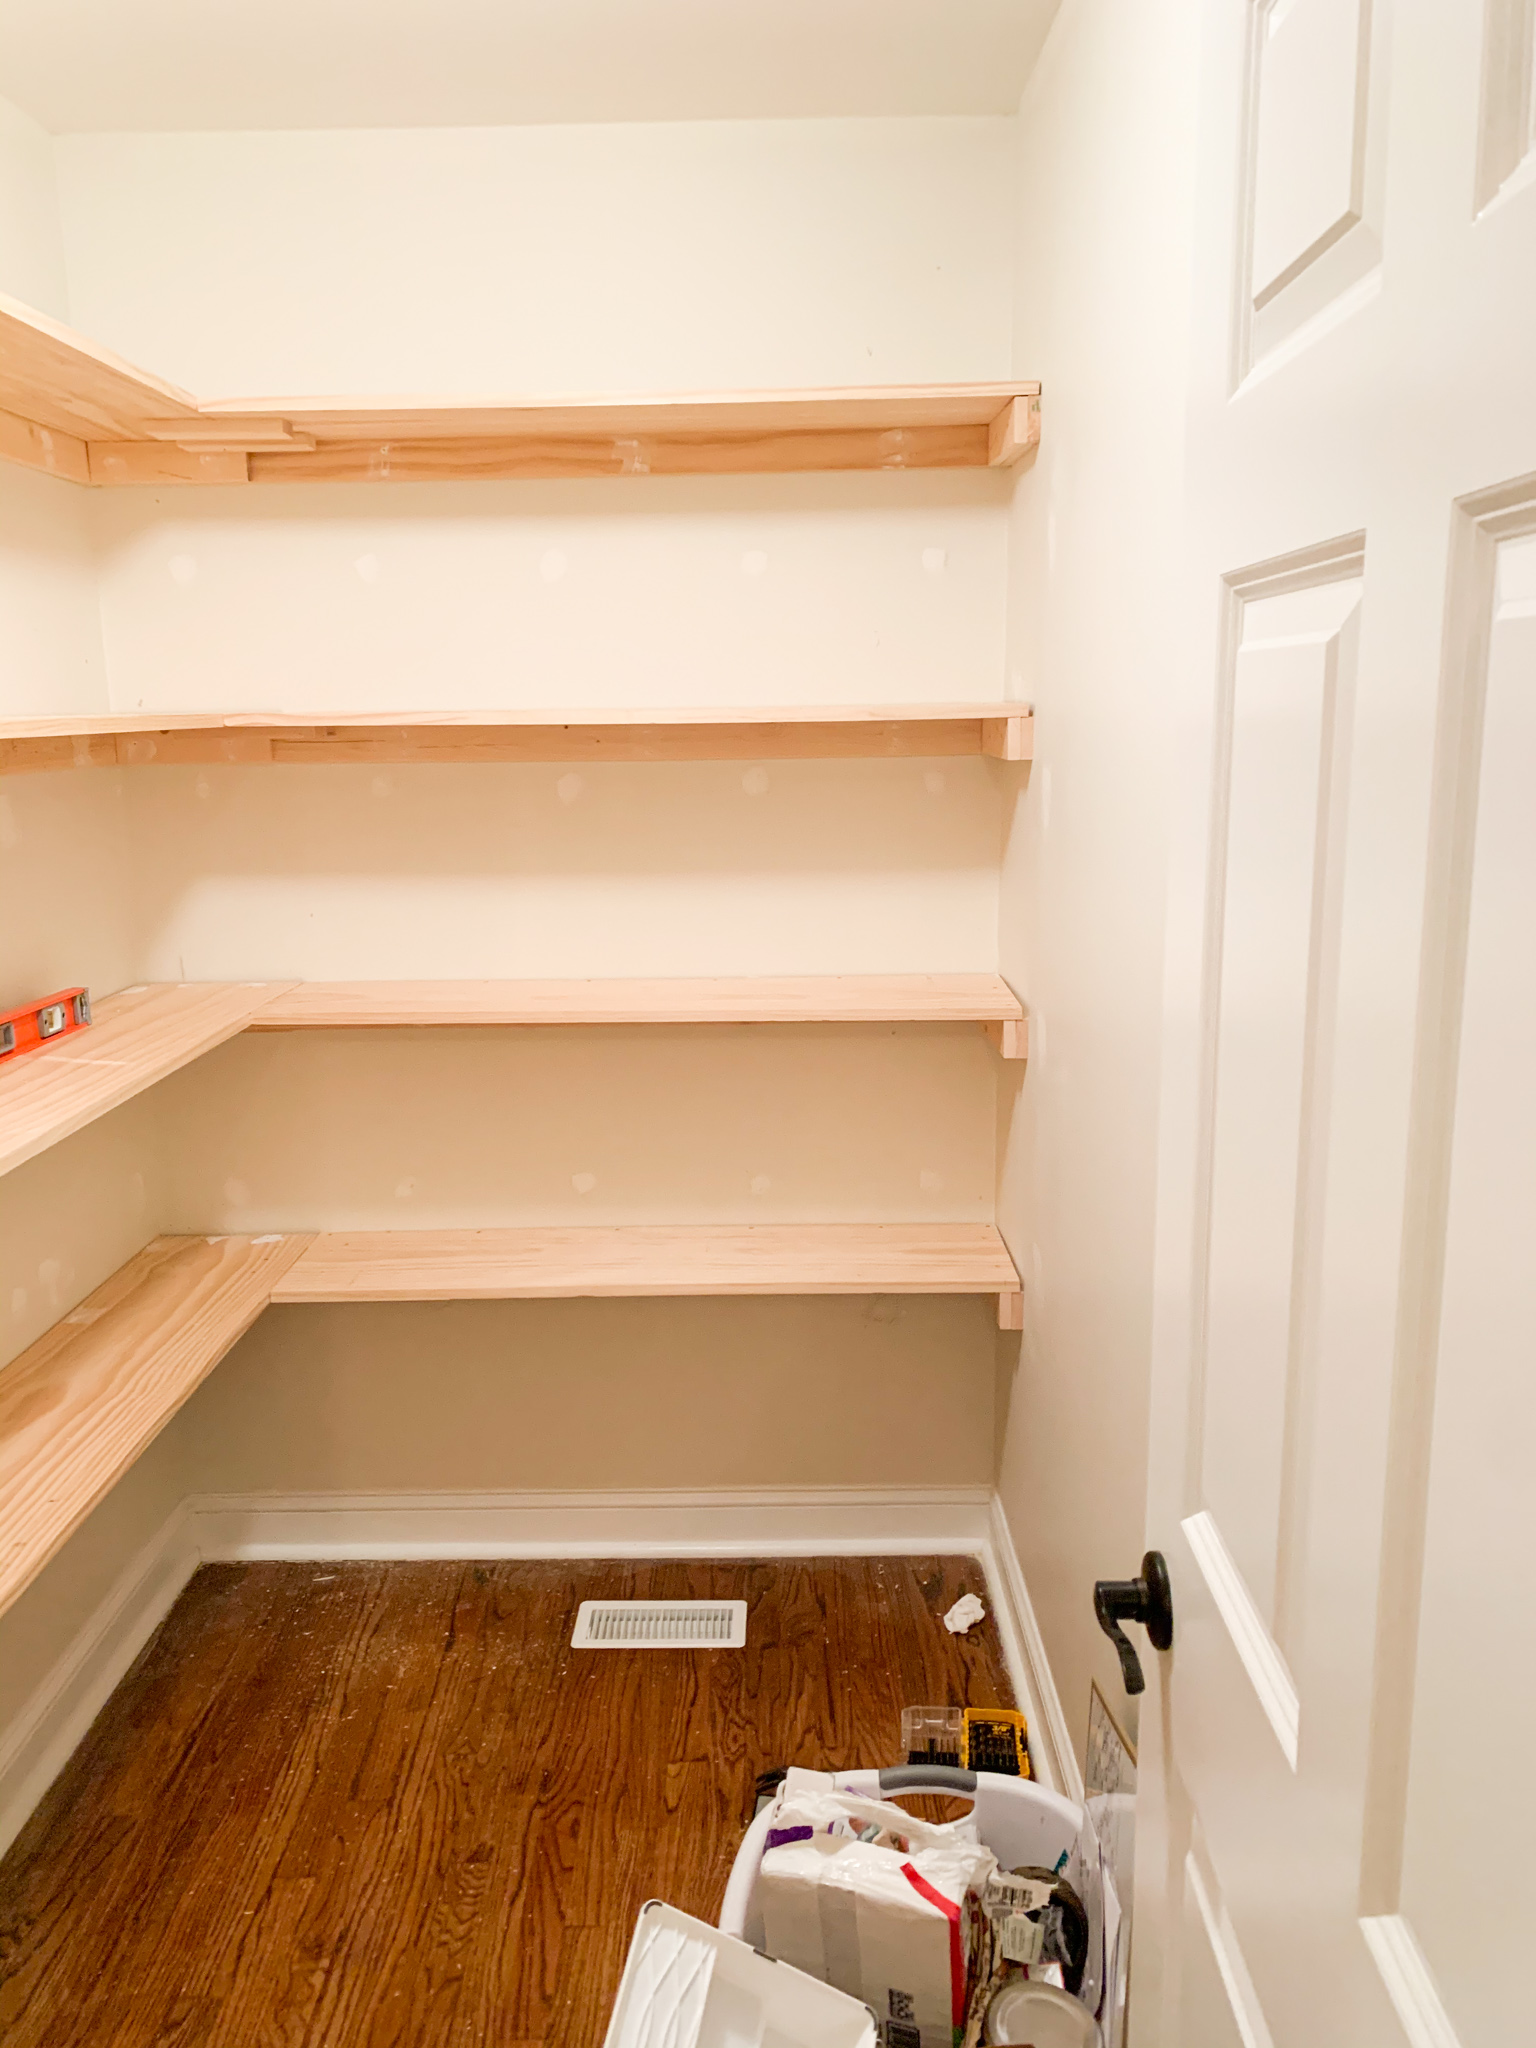
- After that, in a few areas we put smaller pieces under the intersection points of the right shelf and the left shelf for extra support, probably not necessary but it made Aaron feel better since he knows I really “stuff” shelves sometimes (and he didn’t want to have to fix it again if it fell).
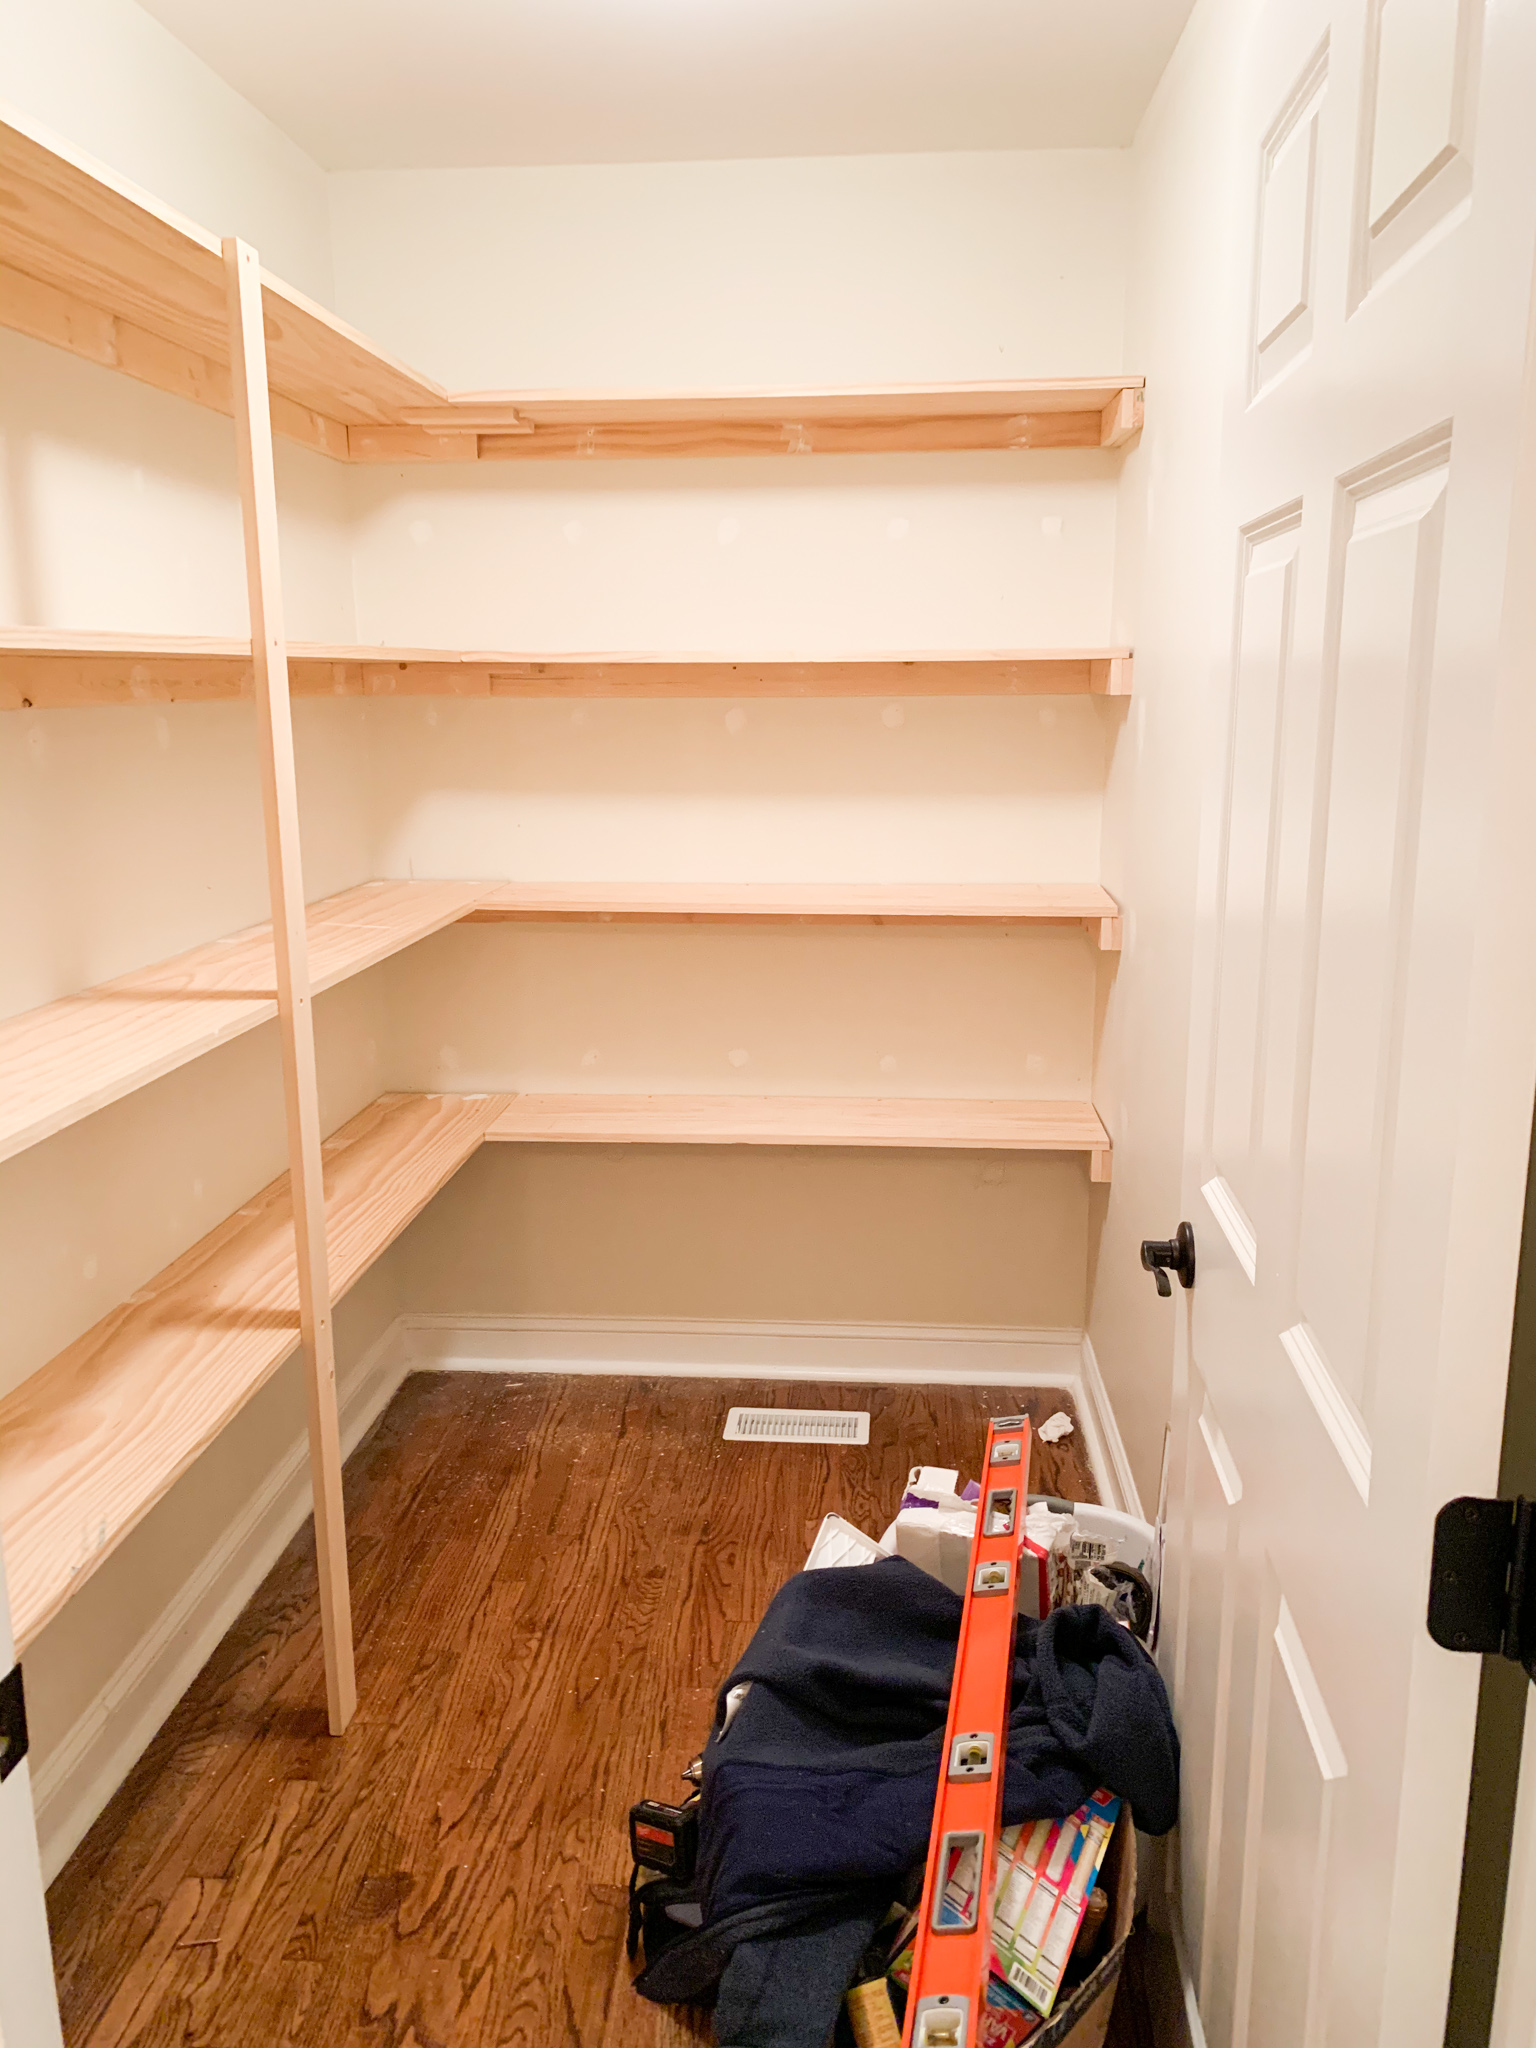
- Once the shelves were up, we screwed an eight foot piece that we cut to size from top to bottom in the middle of the longer shelf structure to add extra support and help split the space.
- And because I’m picky and wanted it to look “pretty,” we decided to add a “face” to the unit to make it look a little cleaner/hide the support brackets. We took remaining pine boards and tacked them up using a brad nailer (we have this one) to the front to make it look a little better.
- Then, we were ALMOST done! After the front façade was on, we filled all the holes with joint compound and sanded down and caulked and painted to completion (which my best friend helped me do, thanks Lisa!).
- Voila, so much better than those wire shelves and honestly, not that hard!
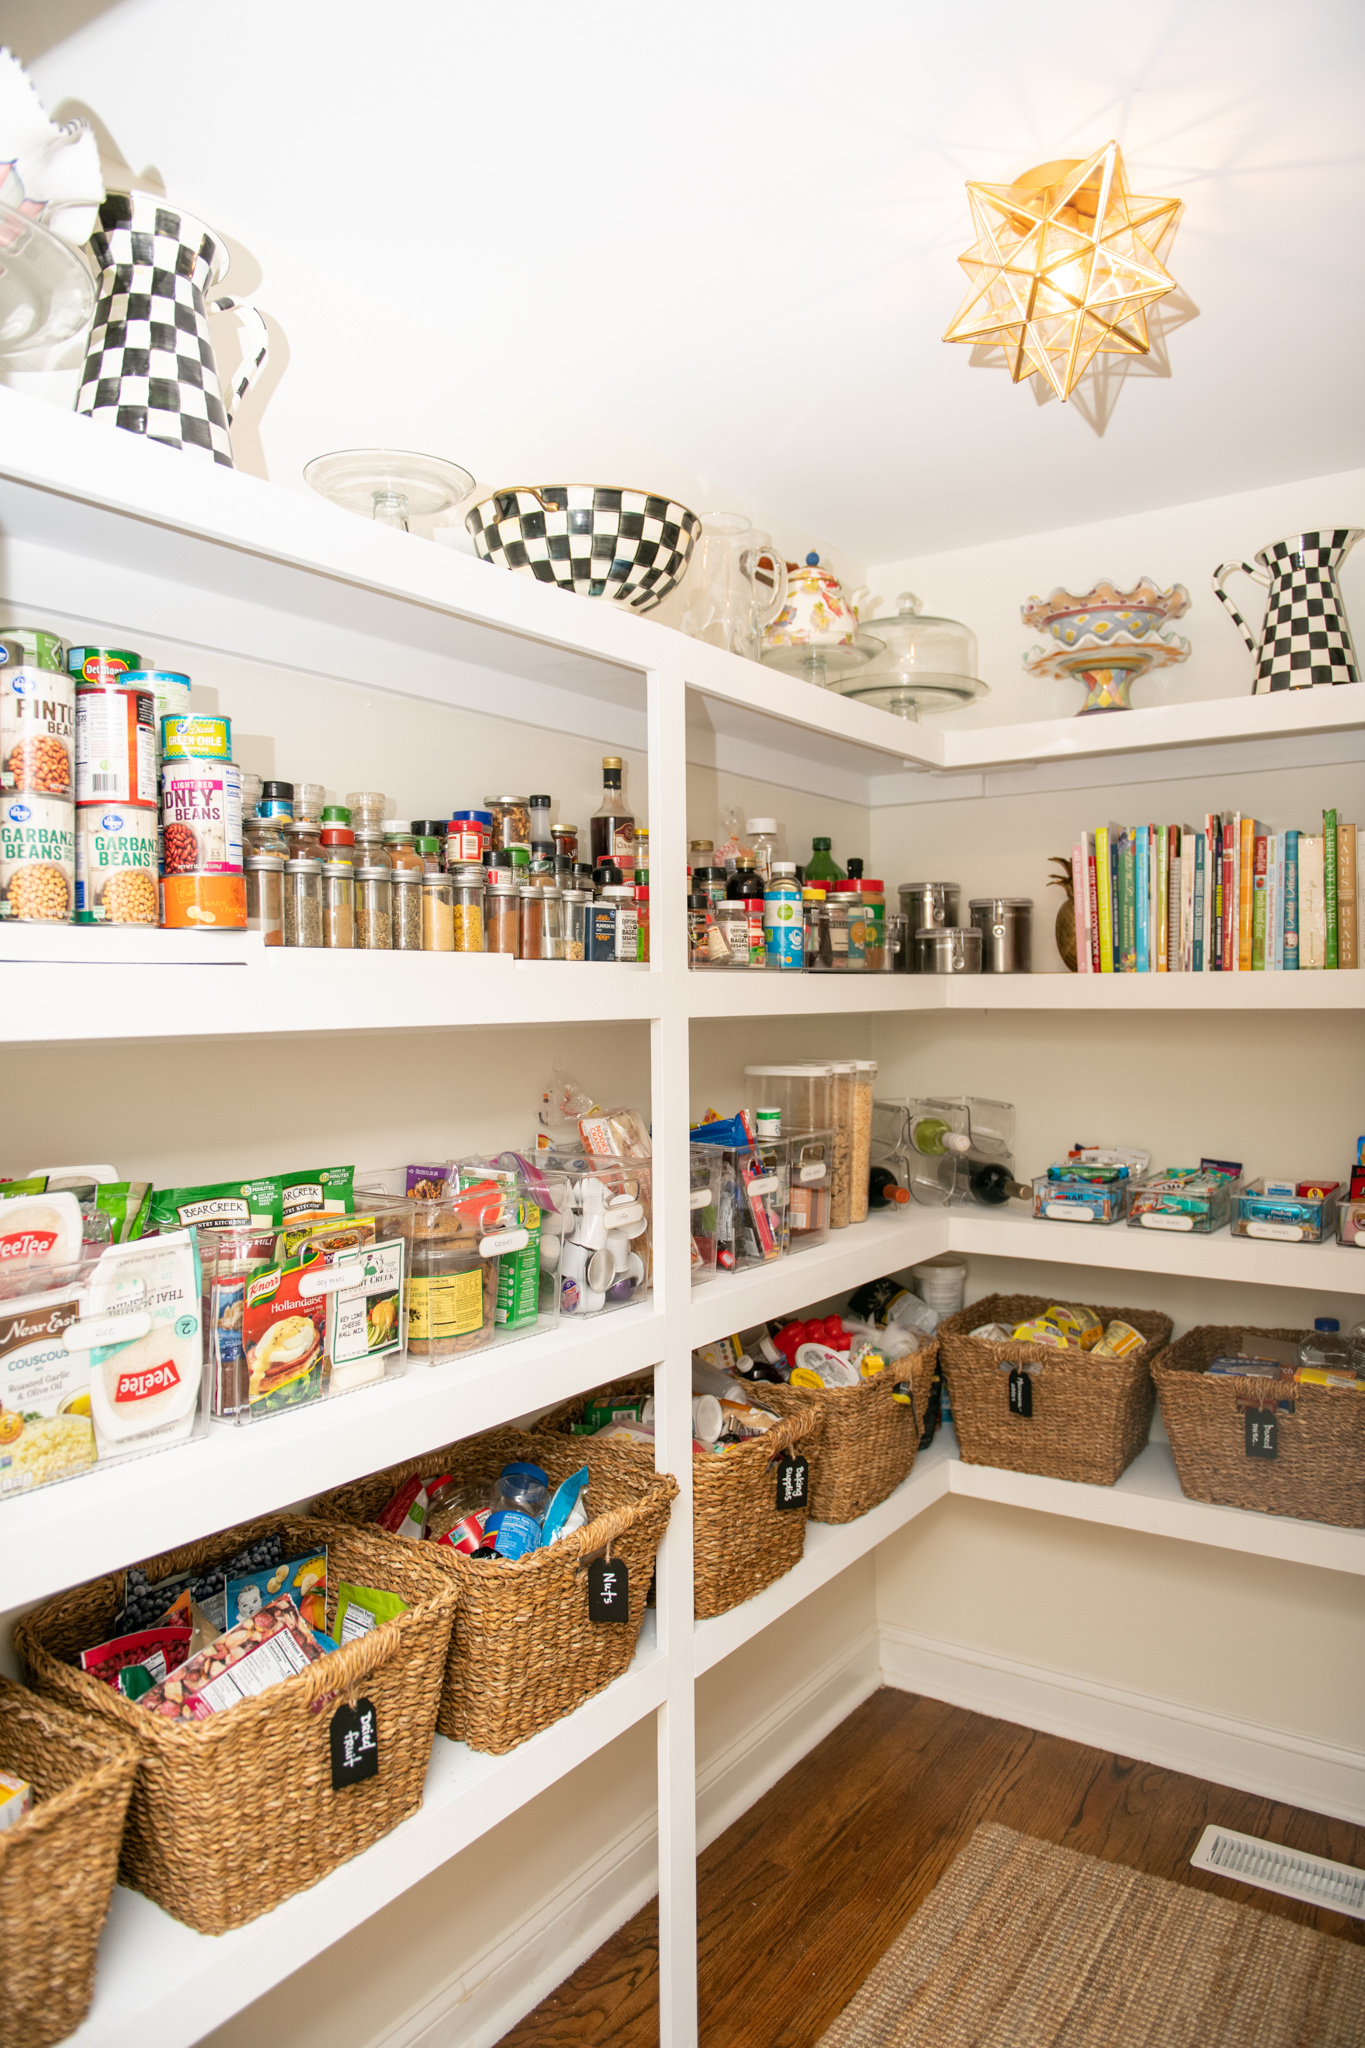
Even though this room gets a little messy, I never shut the door since we’re in and out so much. It doesn’t bother me because it looks nice and I’m actually really glad those shelves fell on me at 1 AM (breaking about 1/2 my spice jars). #woof
Now, do you have the itch to do some DIY this weekend? Go for it girl, you can do it! But first, we all know…coffee! I’m linking all the items used in organization and for the construction above in case your have questions!
Have you tried doing DIY pantry shelves? What did you find most helpful? Let me know in a comment below!
XX

